

Table of contents
This article does not constitute financial, legal, or tax advice. Please consult with a financial, legal, or tax professional for guidance specific to your business.
Invoice management can prove to be a time-consuming, yet essential, task for a small business owner. Developing a strategy for generating, sending, and managing invoices can help you streamline your business operations. Here are some tips for invoice management that encourage regular cash flow, relieve your accounting headaches, and save you time to get you back to work.
What is invoice management?
Let’s look at what invoice management is and how a well-organized invoice management process can be essential for your business. Invoice management is the processing of invoices and payments from clients or customers. The processing will include sending the invoice, receipt of the invoice by the client, establishing a payment due date, receiving payment from the client, and recording that payment as a part of your cash flow.
A comprehensive invoice management process can help prevent errors in payment or charges and alleviate payment delays. Additionally, reporting from your invoice management system can help you plan for inventory needs and forecast the future growth of the company.

1. Choose the right invoice for the job.
Not all clients or projects will fit into one style of invoice template or payment schedule. Using invoice templates can improve your invoice management and save you time. Also, offering different payment schedules allows your clients to have flexibility while ensuring you receive payments on time.
Before you begin a new project with a client, discuss which plan works best for both of you. Some options to consider for your accounts receivables are:
- Multi-installment invoices: Give your client the flexibility of paying their invoice off in a milestone-based payment plan. Instead of paying in one lump sum, you can ask for an initial deposit with the remaining balance due later, equal payments over time, or whatever schedule works best for you, the client, and the project.
- Recurring invoices: For projects that may be ongoing with the same client, recurring invoices can be sent on a previously agreed-upon schedule. Whether these recurring invoices are sent weekly or monthly, your client will know when to expect an invoice and can get in the habit of paying in a timely manner.
- Final invoices: No matter what payment plan you and your client agree to, we recommend sending a final invoice at the completion of the project that details the work done, materials used, and any payments received or outstanding at the time of receipt. Even if the job has been paid in full, it’s good practice to send a final invoice to wrap up the project for both you and the client.
2. Offer flexible payment options.
Meeting the needs of your customer or client, both in payment schedules and payment options, can not only help create a better customer experience for them, but can also help you get paid faster.
Electronic payment methods have become the norm and cash and checks have fallen to the wayside. Electronic options offer more security and require less work when it comes to accounting tasks later on. Electronic payment options such as credit cards, Apple Pay, Google Pay, and ACH fund transfers will expedite your cash flow and provide a more seamless experience for your client.
3. Automate your invoice management process.
Whether you own a small or large business, invoice and payment automation can be extremely beneficial when it comes to saving time and avoiding errors. Physical paper invoices from the past had a habit of getting lost at any point in the invoicing process and failed to be part of an efficient and compact filing solution.
Digital invoice software for small businesses can help recognize potential errors on the invoice or with the payment, sync with your inventory system to track fulfillment needs, automatically resend unpaid invoices, and keep track of your client’s history of working with you.
4. Save time and stand out with custom invoice templates.
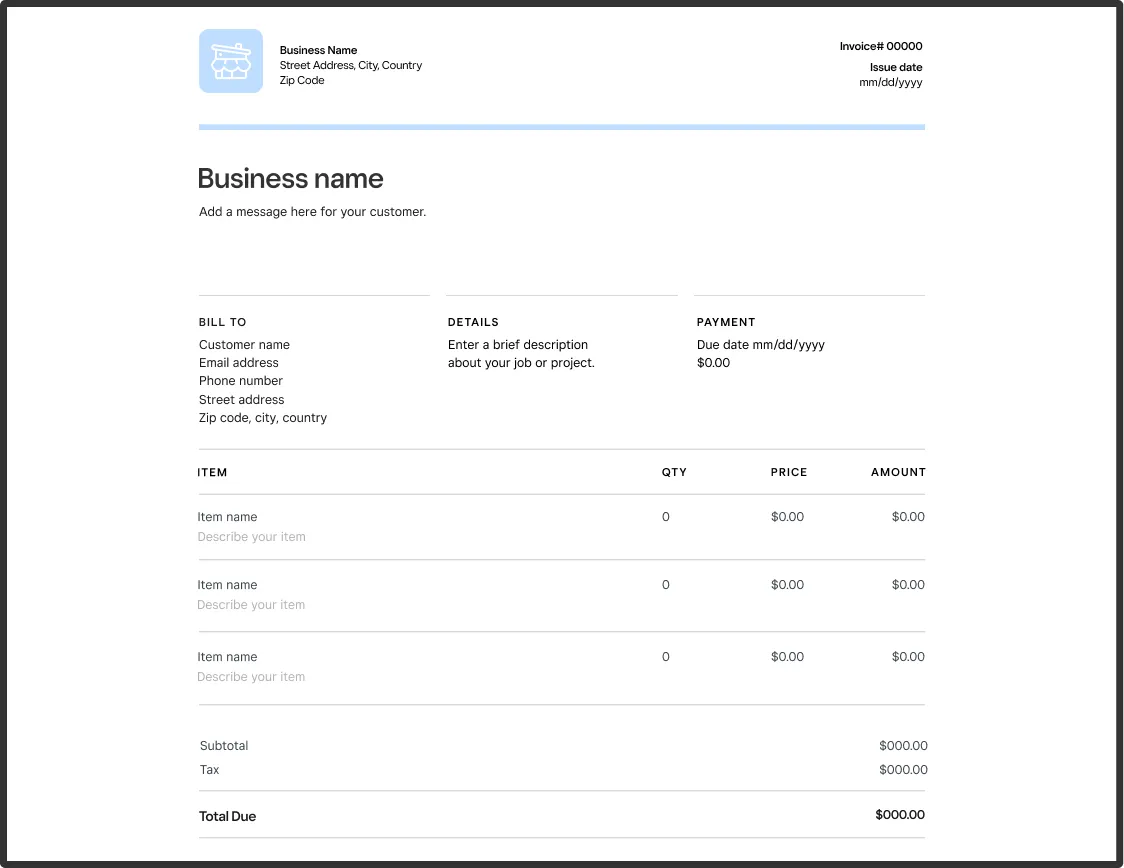
While invoices may look different from project to project, it can save you a ton of time by having a standard invoice template to start with. A useful invoice example for all businesses should include, at minimum, the following:
- Invoice number
- Business name and contact information
- Customer’s billing information
- Description of the goods or services rendered
- Due date/payment schedule
- Sales tax, if applicable
Once you have that information included, it’s time to customize the look and feel of your invoice template. Your clients are most likely receiving different invoices from different businesses, so your invoices and receipts should be immediately recognizable by your branding.
With the Square Invoice template generator, you can generate and send branded professional invoices in a snap with your new template. These customizable templates work with Microsoft Word, Adobe Acrobat, and Microsoft Excel. Add your business name, logo, and brand colors to help your invoices stand out.
5. Avoid common delays.
Even with the use of invoice templates and online invoicing software for small business, there can be other barriers or issues when you’re hoping to get paid on time. Being aware of some of the following common delays can save you time and accelerate your cash flow.
- Sending the invoice to the wrong person: Your primary contact throughout the project might not be the contact who deals with your client’s accounting. To avoid unnecessary back and forths, ask who should be receiving the invoices upfront.
- Unclear payment schedule terms: Reiterate the payment schedule in the brainstorming steps and the final steps of collaboration before the project starts. It never hurts to add these payment terms in writing before beginning any work. Having the payment, cancellation, and refund policies clearly stated can save you and your client from a headache.
- Invoicing on inconvenient days: Avoid sending your invoice on inconvenient payment days, such as the weekend or holidays. Determine a payment schedule ahead of time that works for both you and the client and stick to it. Use automation to schedule invoices for a time that your client is most likely to see them, and don’t forget to send a final one immediately after the project is complete.
6. Audit your accounts receivable regularly.
As you develop an efficient invoice management process, be sure to audit your accounts receivable regularly. With any new process, there may be changes you’ll have to make as you find the way that works best for your business.
Review each step of the invoicing and payment process to ensure you’re sending your invoices in a timely manner, electronic payment options are working seamlessly, and payments are coming in prior to or on their due dates. If you notice some payments are falling behind, consider options to incentivize your clients to submit on-time payments, such as discounts for early payments, late fees for overdue payments, or adjusting payment schedules moving forward.
7. Vendor invoice management is also crucial for larger businesses.
Invoice management is not only important for the invoices you send. It’s highly critical for your financial records so you can manage invoices from your vendors, too. For larger businesses, vendor invoices and payments for those invoices can get complicated if you’re managing them manually.
Accounts payable needs to keep track of these vendor invoices, pay them on time, and add that charge to your business’s records. Manually tracking these steps can lead to errors, missed payments, and even duplicate payments. Streamlining these steps with a vendor invoice management system can help larger businesses manage their accounts receivable and payable with greater efficiency.
8. Managing sent invoices with Square.
Saving time with efficient invoice management doesn’t just happen while you’re in the office. With the Square Point of Sale, you can manage your sent invoices on the go, from anywhere.
While invoice templates and online tracking can significantly decrease manual errors, mistakes can still happen. Square invoicing software makes it easy to edit, cancel, and resend invoices to your clients with just a few steps.
To edit or resend an invoice:
- Navigate to Invoices in your Square Dashboard.
- Select your desired invoice.
- Click Edit to update the invoice details or Remind to send a reminder notification to your customer. Make sure to preview your invoice before you send it to your client to check for any errors or necessary changes.
To cancel an invoice:
- To cancel, select an invoice and click More > Cancel > Confirm.
- To cancel a recurring invoice, select and click End Recurring Series > Confirm.
- If an invoice has already been paid, you can’t cancel or delete it from your payment history. You can issue a refund within 60 days of the payment date to balance your books.
Using these important invoice management tips, alongside Square invoicing software, can transform a once time-consuming task into an efficient, streamlined operation. Get rid of those accounting headaches and get back to the work you love.
![]()


