

Table of contents
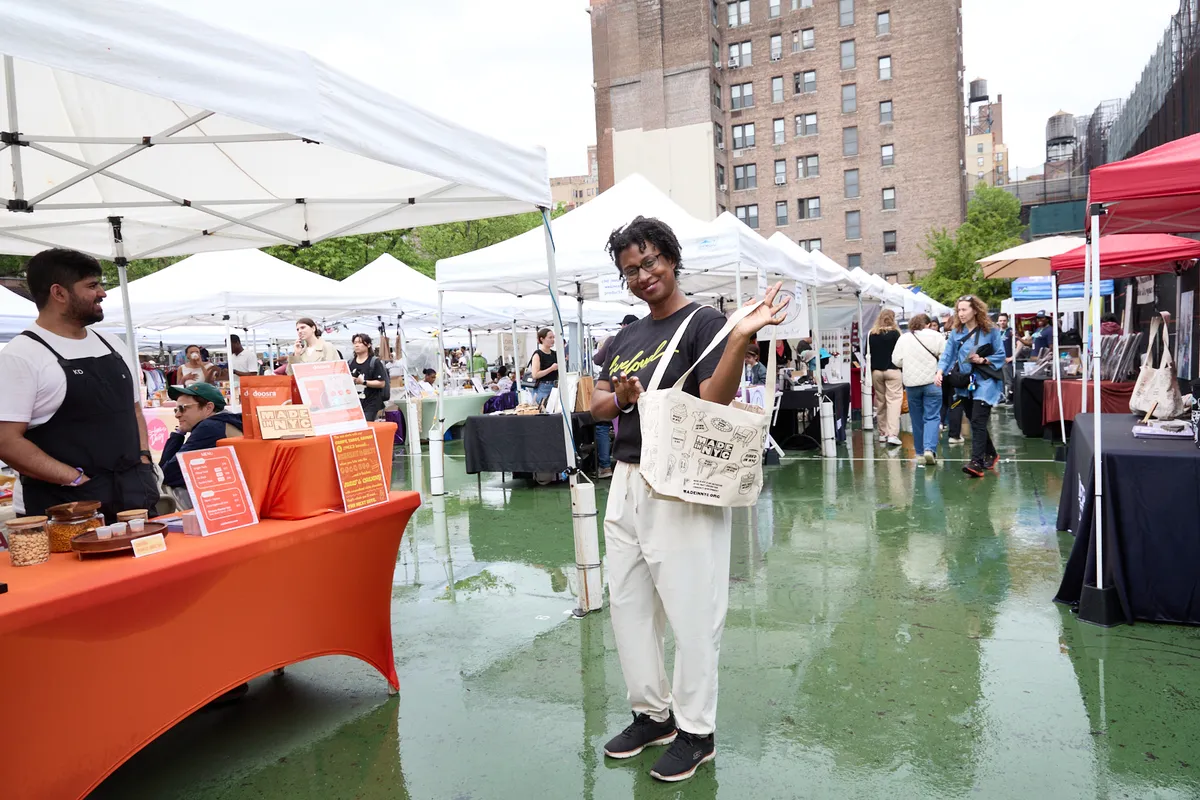
You’ve registered for the event. You have your inventory ready. You’re excited about the opportunity. But success at pop-up events starts before you ever set up your booth.
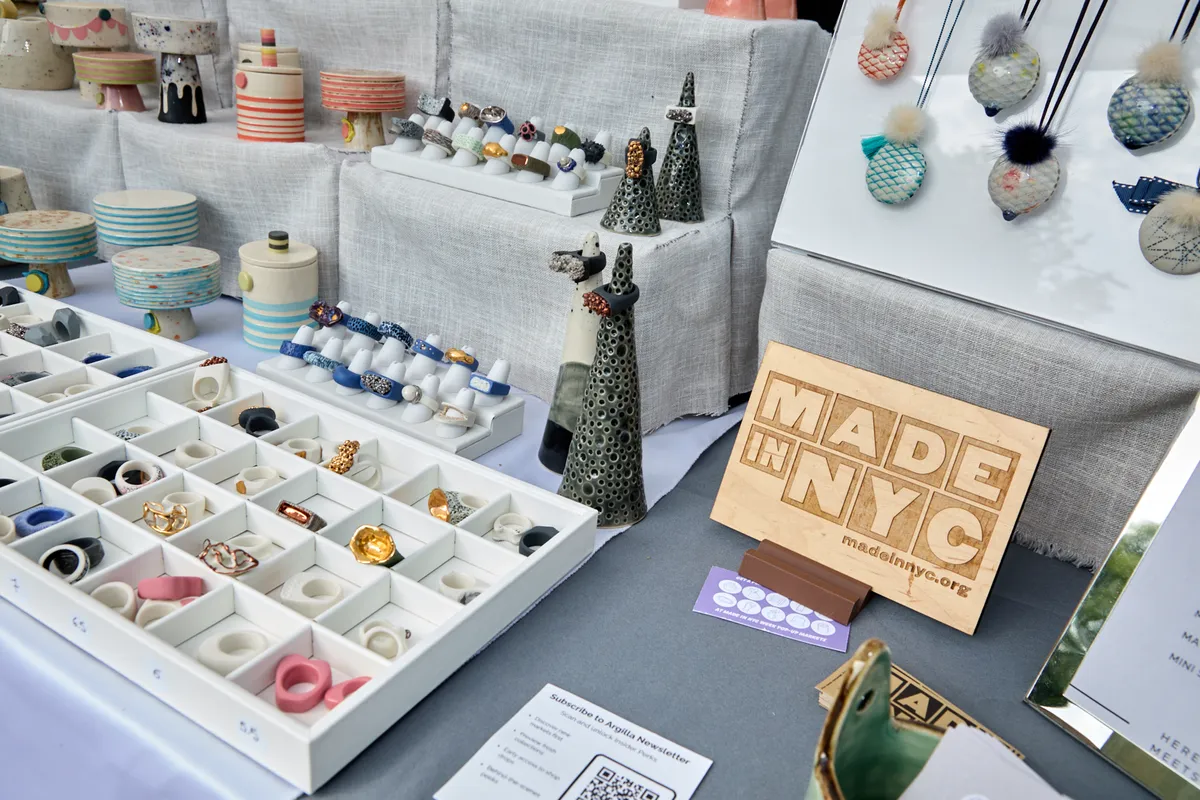
And I’ve seen this firsthand. I’ve advised over 1,000 creative entrepreneurs and participated in more than 200 artist and maker events, including Shoppe Object, Field + Supply, and Parkmart NYC. As an instructor at Made in NYC, I teach artists and makers how to turn their creative practice into sustainable businesses. My approach is rooted in a simple philosophy: I love being a resource. I love being a tool, and I love helping people achieve their dreams.
Through years of working with vendors at markets, trade shows, and pop-ups, I’ve identified a framework that produces results before, during, and after the event. There are so many things you can’t control at pop-up markets, so I try to focus on the things you can control and help people give themselves the best chance of success.
This guide focuses on the “before” — the strategic prep work that gives you the best chance of success before you ever set foot at the market. If you just wrapped up an event, here are my tips on what to do after the booth to turn visitors into repeat customers.

2-3 weeks before: Do your homework
The foundation of a successful event is laid out well before the setup day. This is when you gather intelligence, clarify your strategy, and make decisions that will ultimately shape everything else.
Research the event and your audience
Every market has its own personality, setup, customer base, and way of functioning. It’s important to recognize that and tailor your plans accordingly. Before you lock in the inventory you want to bring with you, make sure you ask yourself the important questions:
- Who shops this event? Are they browsing for gifts, treating themselves, or looking for specific items?
- What’s the price point? Some markets skew budget-conscious, while others attract customers who are ready to invest in quality.
- Who else is vending? Look at the vendor lineup. What products complement yours? Where might you face direct competition?
Pro Tip:
Check the event’s social media accounts from previous years. Look through vendor photos and customer comments. This will give you real insight into what seems to work.Define your event-specific goals
“Make sales” isn’t a real, tangible strategy. Get specific about what success looks like. That means asking yourself the important questions: What’s your revenue target? What do you need to earn to make this event worth your time? How many new email subscribers do you want to capture? Are you launching something new and using this event to gauge interest in a particular product? Are you hoping to connect with store owners or other businesses for potential wholesale opportunities?
When you know what you’re aiming for, every decision becomes clearer.
Plan your inventory strategically
This is where most vendors either over-prepare or under-prepare.
Here’s how to get it right: Lead with your bestsellers by bringing plenty of your proven winners. Use the 80/20 rule — 80% proven products, 20% experiments. Consider price range diversity so you’re offering products at multiple price points and every customer can find something within their budget. Factor in the season and timing, since holiday markets need gift-ready items while summer markets might favor different products. If it’s a multi-day event, prepare for restocking by having a plan for replenishing inventory between days. Before you finalize your inventory list, review your Square Dashboard sales history. Your data will tell you the exact products to prioritize and how much stock you’ll actually need.
1 week before: Your booth is a story
Your booth should be an experience that communicates who you are and why customers should care. This week is when you finalize that story.
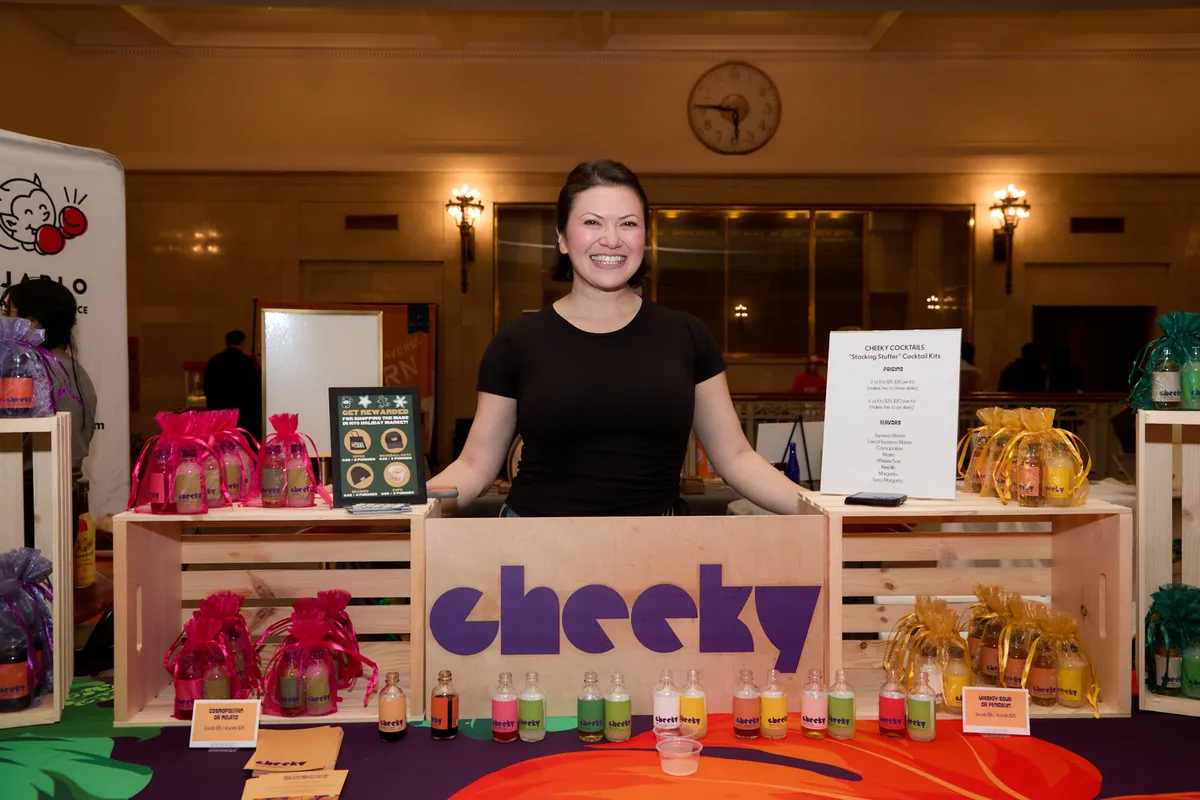
Design your booth layout with intention
Think about customer flow and psychology. Eye-level is buy-level, so your bestsellers and most visually appealing products should be at eye level where customers naturally look first. Create depth by using risers, boxes, or shelving to create multiple levels. Flat tables are forgettable and don’t invite exploration.
Leave space to breathe, because overcrowding confuses customers while strategic spacing draws attention to key products. Don’t forget to plan your behind-the-scenes area where you’ll need space for backup inventory, bags, payment processing, and personal items.
Pro Tip:
Sketch your booth layout before the event day. Take measurements. Visualize where customers will stand and what they’ll see first.Prepare signage that sells for you
Your signage should do more than list prices — it should tell customers what they’re looking at and why it matters. Essential signage includes clear pricing so customers don’t have to ask (unless that’s part of your strategy for engagement), product story cards with brief descriptions that highlight what makes each item special, your brand or business name displayed prominently so customers can find you later, and accepted payment methods like cash, credit card, or Cash App listed upfront.
Optional but powerful additions include “As featured in…” mentions or press coverage that builds credibility through social proof, and a QR code for email signup that makes it easy for browsers to stay connected even if they don’t buy today.
Create your display toolkit
Creating a toolkit will help you succeed, and what’s in it varies from person to person. This includes packing a kit with everything you need to execute your booth vision – display materials like tablecloths, risers, props, and lighting to form the foundation of your setup. It’s also essential to bring signage like printed signs, holders, and tape. And staying plugged in is important, both literally and figuratively. That means remembering to bring functional essentials like extension cords, zip ties, binder clips, scissors, and pens. And of course, pack backup supplies like extra bags, tissue paper, business cards, and product tags so you’re never caught without what you need.
But above all, be sure to run through your setup mentally once everything else is in place.
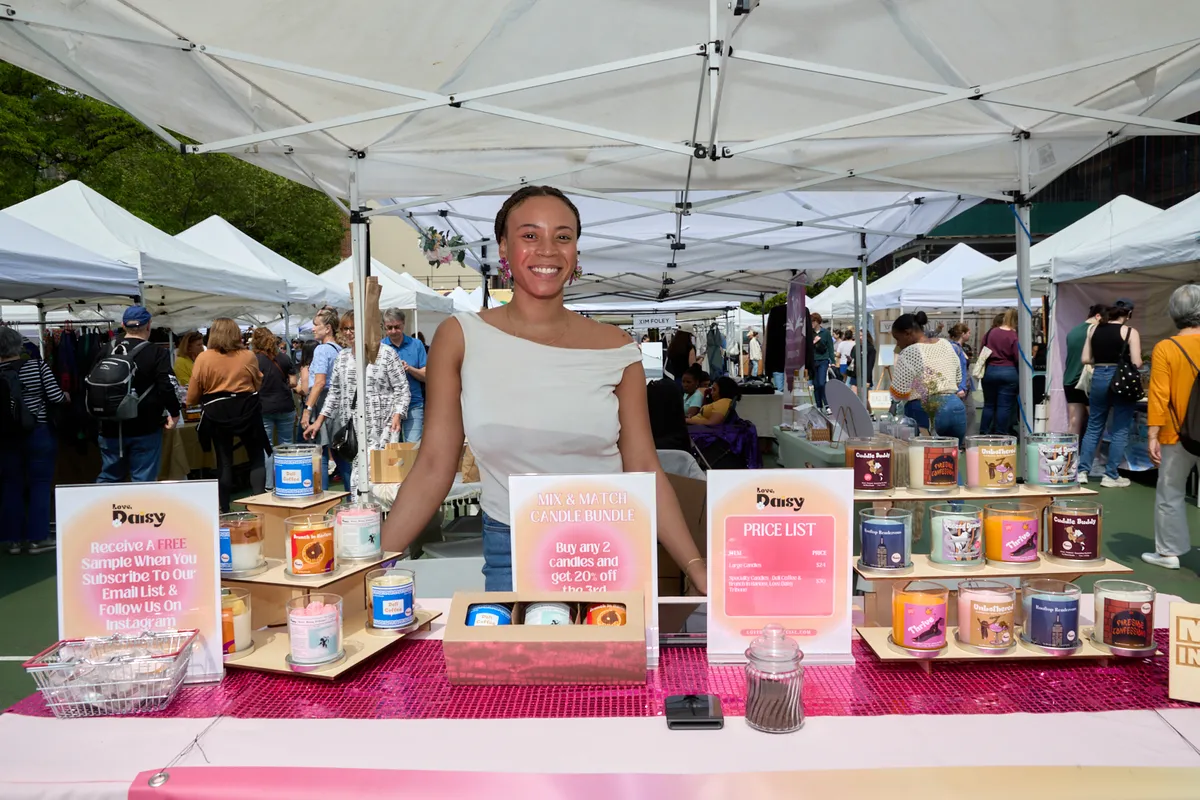
Day before: Nail the basics of your merchandising plan
Merchandising is the number one mistake area that first-time vendors face. Most of us, when we’re customers, are looking from a distance. We’re looking to see what’s going on because we may not want to commit to walking all the way to the vendor to check it out.
Your job as a vendor is to make your booth visually appealing and immediately understandable from a distance. I call this making it “caveman clear”: ‘Me caveman. Me understand food. Me understand jewelry.’
The challenge is that we all suffer from the curse of knowledge. People often think that because they make something and care about it so much, everyone else should care for it the way they do. But they don’t have experience with it like you do.
Group products strategically
Customers buy more when you help them see connections.
Group products by use case, like gift sets, self-care essentials, or kitchen favorites. Create sections by price point, such as a clear “under $20” area for impulse buyers. Or organize by story — products that share a theme, material, or inspiration. If there’s a certain product that everyone buys, how are you featuring that? Because that’s the thing that gets someone in and gets them started.
Use storytelling to amplify your merchandising
Great merchandising tells a story. One of my students is a jewelry artist who uses rare stones from Africa but doesn’t use silver or gold.
A lot of people look at her work and think it’s from a craft store. She has to almost preempt people’s ignorance relating to her work because they can look at it and automatically think it’s something cheap.
Her solution? Strategic signage and verbal storytelling that explains. For example, “This is from raw minerals from a part of Africa, and here’s what goes into this.” The storytelling justifies her price and guides customers through their buying journey.
Use this as a case study. Incorporate storytelling by using product story cards with brief descriptions that explain what makes each item special — the materials, process, or inspiration behind it. Practice a 30-second story about your best-selling product so you can share it naturally with customers. Include visual cues like props or images that reinforce your brand story and help customers understand the value of what you’ve created.
Make it shoppable
- Clear pathways: Customers should be able to move around your booth smoothly and comfortably.
- Touch-friendly: If possible, let customers interact with products (within reason).
- Easy to pick up: Don’t make customers ask for your help to see something.
- Feature your bestseller prominently: This is your “gateway product” — the one that gets customers engaged.
Plan for photography
Your booth will be your content for weeks after the event. Design it to be Instagram-worthy. This means focusing on a cohesive color story. Ask yourself if your display has visual harmony. Consider lighting, too. If it’s an indoor event, will your booth photograph well? And of course, signature moments matter. Create one spot that feels particularly photo-worthy so customers feel inspired to share it on social media.
Confirm the logistics
While you’re finalizing your merchandising plan, double-check these logistical details:
- Load-in time and location: When and where should you arrive?
- Parking and unloading: How will you get your materials from car to booth?
- Booth dimensions: Double-check your space so there are no surprises.
- Power access: If you need electricity, confirm it’s available.
- Event rules: Any restrictions on signage, sound, or display height?

Prep your payment system
Charge your devices — your phone, tablet, and card reader — and make sure everything is at 100% so you can take card payments. Bring a portable charger or two just to be safe, and test your Square setup by running a test transaction to ensure everything works smoothly before you arrive at the event.
Pack strategically
Load your vehicle in reverse order of what you’ll need. First out should be your table cover and foundational display pieces. Last out should be your actual products.
Create a checklist:
- Display setup materials
- Inventory (organized and ready to unpack)
- Payment processing equipment
- Signage
- Marketing materials (business cards, QR codes)
- Personal essentials (water, snacks, phone charger, comfortable shoes)
Day of: Know what to expect
You’ve prepared, so now it’s time to make it happen and be on your A-game. In order to succeed, you have to be dialed in, but you can do it. Now it’s time to execute with confidence.
Arrive early, but not too early
Get there early enough to set up calmly, but respect the event’s load-in window. Rushing can create mistakes, and arriving too early can mean waiting around unnecessarily.
Ideal arrival: 60-90 minutes before the event opens. Adjust based on your setup complexity.
Set up with intention
Don’t think of it as unpacking, but rather, executing a plan:
- Anchor your space: Focus on setting up the table, tablecloth, and major display pieces first.
- Build your levels: This might include risers, boxes, and shelving.
- Arrange products: Start with your bestselling products in prime positions.
- Add signage: Make the pricing, product info, and brand name very clear.
- Step back and assess: Walk around your booth as a customer would.
Prepare yourself mentally
Take a breath. You’ve done the work. Now your job is to be present and engage with customers authentically, stay flexible because not everything will go according to plan, and that’s okay. Listen more than you talk, and enjoy it. You built something worth sharing, so let that energy show.
![]()