Table of contents
Starting your very first business as a sole trader is equal parts exciting and overwhelming. You’re chasing your dreams, sure, but doing so comes with a lot of challenges and unknowns.
While Australia offers simple business structures,, the financial side of operating as a sole trader will still represent a big learning curve for people who don’t have prior experience. Perhaps the most important of financial paperwork comes in the form of invoices, because you can’t run a business if you don’t get paid.
What, why and how do I invoice as a sole trader? We’ve taken a look in our complete guide to invoicing as a sole trader below.
Why do sole traders prepare professional invoices?
Before we get into the why and how, let’s first take care of the what. An invoice is a record of goods or services provided to a client or customer, and a method by which they can pay you for those goods or services. This invoice includes a total cost that must be paid by the buyer.
In Australia, the rules around invoicing are quite a clear cut. If you make a sale for $82.50 or more including goods and services tax (GST), any GST-registered customer must receive a tax invoice from you. Given this rule, most sole traders generate an invoice for every transaction, as it’s a far simpler and easier way to manage your bookkeeping. If your customer asks for an invoice, it must be issued within 28 days of the sale.
What information do I need to include on a sole trader invoice?
What does a sole trader invoice look like? Any Australian invoice must include the following information:
- The words ‘tax invoice’ clearly printed on the document.
- Your Australian Business Number (ABN).
- Your business/trading name.
- The date the invoice was issued.
- An itemised list of the products/services sold (including quantity, price and description.)
- An itemised and totalled amount of GST payable (where applicable.)
- If the total exceeds $1000, the invoice must show the buyer’s details (company name, ABN, address, etc.)
Setting and adding your payment terms
When you first agree to sell to your customer, you need to clearly outline your payment expectations:
- How you expect to be paid: Is your preferred payment method credit card or bank transfer? Do you accept other forms of payment like cash, cheque or PayPal?
- When you expect to be paid: If you don’t ask for payment upfront or as soon as your products and services are supplied, how long are you willing to wait for it? 7 days, 14 days, a month? Business to consumer (B2C) sole traders generally seek payment straight away, but business to business (B2B) sole traders may need to offer more lenient payment terms if they want the opportunity to work with bigger companies.
Once you’ve decided on your terms, spell them out on your invoice so that you protect yourself against any funny business. If you accept bank transfers, include the following information:
- Account Name
- BSB
- Account Number
- Invoice reference number
Once you’ve made your list of payment demands, it’s wise to sign off on a more cordial note. At the bottom of your invoice take the opportunity to thank the customer for their business. Something as simple as “Thanks for choosing ABC Company!” is a simple gesture that shows your appreciation, but that can also help you get paid faster.
Taxable vs non-taxable items
If you earn more than $75,000 p.a. from your business activities, you’ll need to charge the standard 10% GST on all taxable items.
While almost all products and services sold in Australia are taxable under the GST, there is a (surprisingly extensive) list of non-taxable items too, including the most basic food, certain medicines and hygiene products, certain care services, some education courses, materials, and somewhat weirdly, precious metals.
If you deal in both taxable and non-taxable products and services, you need to clearly mark them as such whenever they appear together on the same invoice.
Invoice creation: how to invoice as a sole trader
How do I invoice as a sole trader in terms of creating the invoice itself? There are two ways to create a sole trader invoice.
The first (and most inconvenient) is manually:
- Open a new Word or Google Doc.
- Create a header that includes your business/trading name, ABN and contact details (address, phone, email, etc.), and align it with the left side of the page. If you have a logo, put it on the right side of the header.
- Enter the client’s details below the header on the left-hand side, including their name, ABN (where applicable) and contact information.
- Moving over to the right-hand side, type in the invoice number and date. The invoice number makes bookkeeping easier and helps you to identify the payment when it comes through.
- Create a table with columns that cover all the information you need to supply about the products and services sold, such as product, description, quantity, price, tax and subtotal.
- Devote a new row to each product and/or service sold.
- At the bottom of the table, calculate the fees, taxes and total to be paid.
- At the bottom of the invoice, include any additional notes, outline your payment methods, details and terms, and finish with a friendly message thanking the customer for their business.
Unfortunately, manual invoices are time-consuming to create and difficult to manage, as they don’t connect with accounting systems, which makes it hard to identify which have been paid.
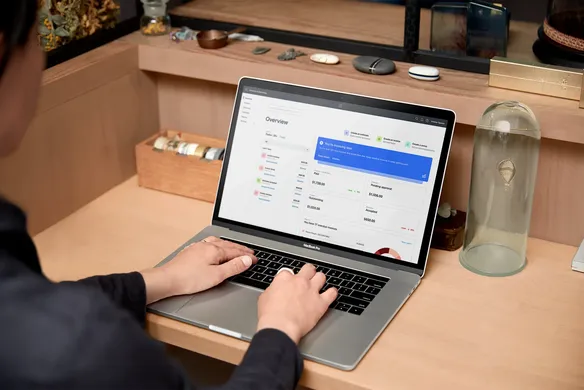
Happily, there’s a better way: automating the process with Square Invoices:
- Setup can be completed in minutes by filling out a few simple fields.
- The Invoice Templates feature makes it super easy to create beautiful and unique invoices.
- An intuitive interface allows you to track invoices and broader company cash flow at a glance.
The benefits of online invoicing
Why should you use an online platform like Square Invoices to take care of your invoicing? The reasons are many and varied but include:
- Less paperwork: With email replacing paper, you spend less time printing and posting, and more time growing your business.
- Safe and secure: With everything stored securely in the cloud, you don’t need to worry about losing that USB stick you might otherwise use as a backup.
- More insights: Online invoicing solutions like Square Invoices make money management a breeze, thanks to intuitive navigation and data visualisation.
- Invoice from anywhere: If you’ve got your phone in your hand, you can invoice instantly (and with Square Payments, you can get your money fast too.)
Starting out as a sole trader doesn’t have to be overwhelming. If you make the most of Square’s suite of smart tools, you’ll spend less time chasing money, and more time making money.
![]()


