

Why is it important that small businesses are on social media?
I believe social media is the quickest way in today’s day and age to get yourselves in front of more eyes. Think of it like traditional word-of-mouth, but a whole lot quicker. When people look for a place to eat, they will most likely search up the restaurant on Google or on Instagram to see photos of the food and to see what others have said about their experiences eating there. Bonus points if their friends or family members have had a great experience there too.

Do I need professional photography?
Not at all. Sure, professional photography is amazing if you would like to take the brand you portray online to the next level. But there are many, many social media pages out there that rely only on photos taken with a smartphone, and I believe that is more than enough.
In hospitality, I’ve seen professional photography most often utilised by larger restaurants and dining spots who look to bring in a particular type of diner. Those that are looking for a certain restaurant experience, whether it be romantic, or swanky, or classy, and those that are more inclined to spend big money.
Smartphone photos and videos though have a more raw, down-to-earth and approachable feel to them. They are a great option for the regular small business.

What sort of photos (and videos) get people to stop and look and engage with them online?
I’ll talk in the context of food, because that is where I specialise as a social media food blogger.
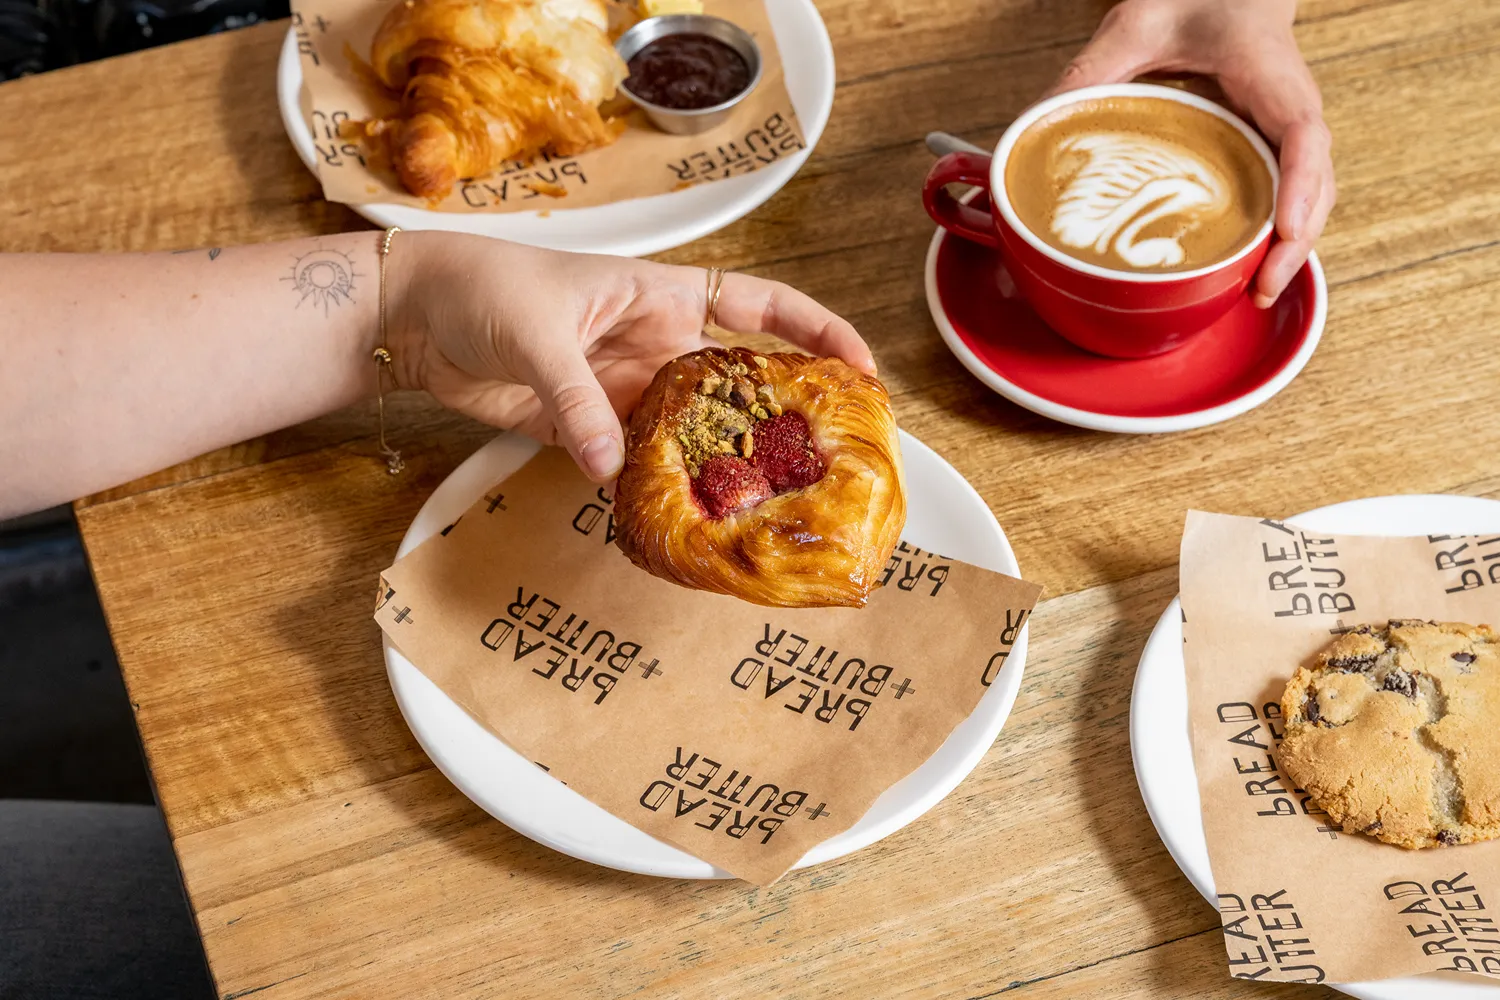
I like bright, colourful photos or videos of food that have the food as the centre of attention straight away. When people are scrolling through social media, they will stop at your photo or video only if it draws their attention. Does it look delicious? Does it look like something you would eat yourself? I ask myself these questions.
To engage your viewers, use your caption or add text on top of the video to ask a question or call for action. “Pick one – A or B”. “Who are you sending this to? Tag them in the comments!” This gives viewers an opportunity to interact with your content rather than just scrolling past.
What are your top tips for taking photos that can catch attention online?
Photos of food or product, in my opinion, are best taken at a 45 degree angle from above. This angle allows you to see both the front and back, and every element in between for the dish in front of you. It also is the most relatable angle for the person seeing the content. When you sit down at a table and are about to eat your food, you are looking down at it from 45 degrees. To the viewer, it makes them feel like they’re in the moment too.
I do occasionally like to utilise a flat lay photo as well, that is, 90 degrees directly from above or a bird’s eye top-down view. I like this angle only if there are many dishes I would like to showcase on the table. Be careful about casting a shadow on the photo though as if your light source is coming from above (e.g. ceiling lights), using your phone to take a photo from above might cause a shadow on the food.
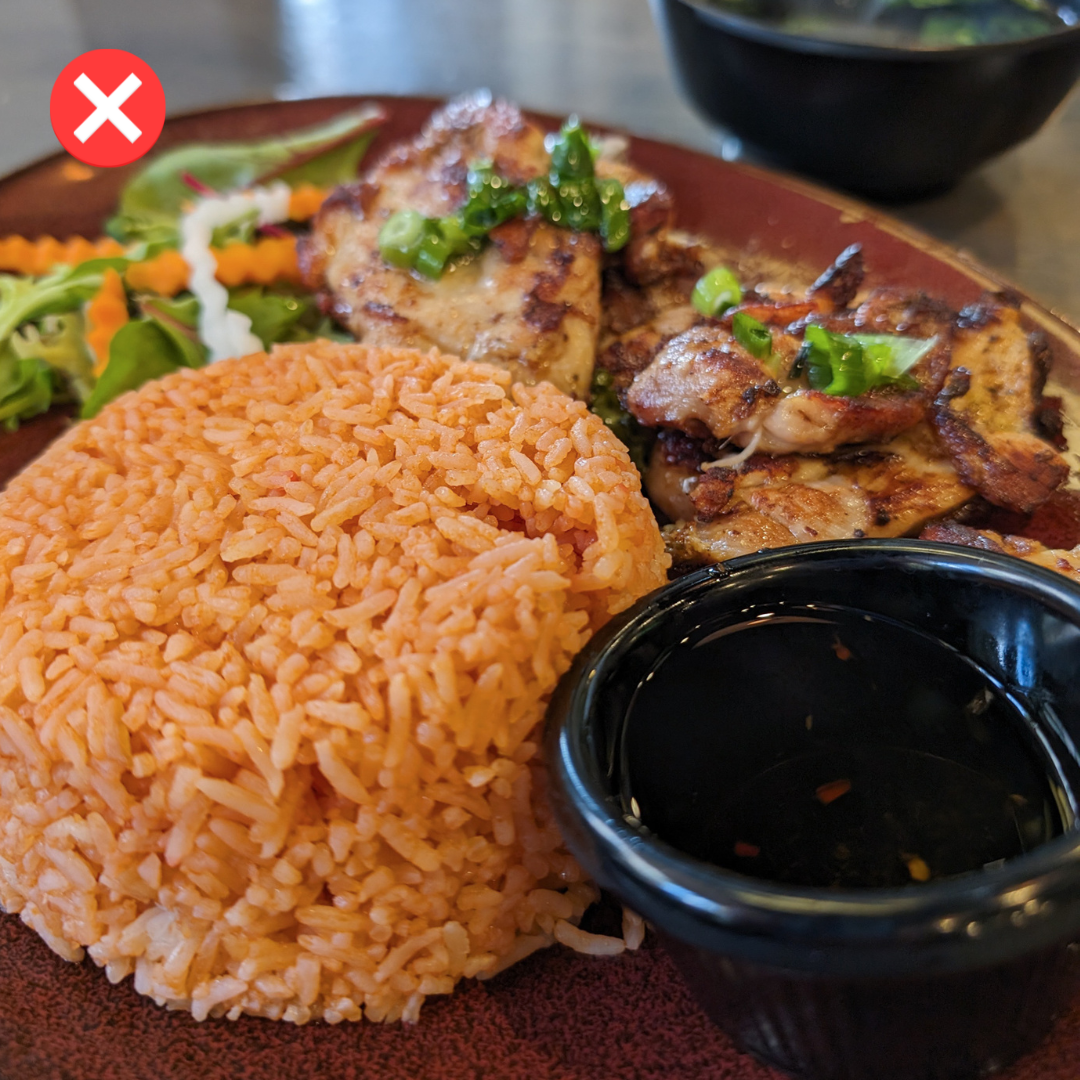


Lighting is very important. You don’t need to have professional lighting equipment. I find that natural lighting works best. If it is a bright but cloudy day, it is an excellent time to take photos outside. If it is very sunny and bright, your photos might turn out over-exposed, which is when I would recommend moving it indoors next to a window. Outside lighting through a window works well as the window softens the light from outside.
If you don’t have the opportunity to use natural light, e.g. you only operate at night time, or maybe you are an underground restaurant and it doesn’t match the aesthetic, I would recommend holding a soft light source to illuminate the food or product while you’re taking photos. You could use a portable handheld camera light (~$50 online), a soft table lamp, or here’s a little trick I’ve learnt: borrow someone else’s phone, turn it up to maximum brightness, and then find a ‘white screen’ on google. You can use this to create soft lighting for your subject too. Regular smartphone flash tends to be a bit harsh and again over-expose the image.
See Kevin’s tips for creating engaging social videos for your food business here.
![]()


