Table of contents
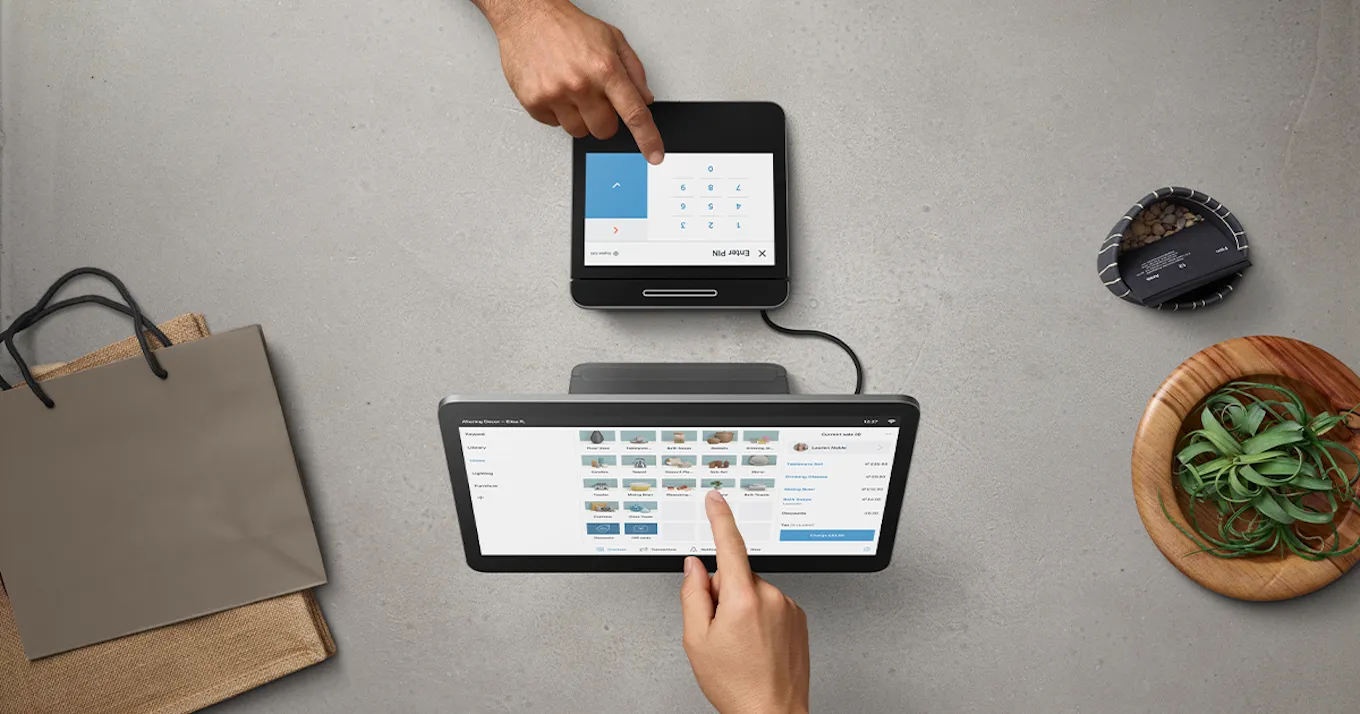
The new Square Register was built from the ground up to create a powerful, more reliable, and more intuitive POS than ever before. Part of that package? A customer-facing display (CFD), also known as a customer display or monitor. It’s a versatile, customizable screen that creates an elevated experience for your business and your customers.
What is a customer-facing display?
You’ve probably seen customer-facing displays at businesses around you. It’s a digital screen that allows you to display itemised order information to your customers without interrupting the payment flow in the Square app. Customers can view their order, discounts, and loyalty information during the checkout process.

Why you should use a customer display
Customer displays can help:
- Improve the customer experience and build trust by ensuring accuracy and reducing incorrect purchases.
- Provide a fully customisable display — you choose where the display is located at the counter and what you want the screen to display to customers.
- Give customers a seamless opportunity to engage with a loyalty program.
- Clean up your countertop by eliminating an additional payment device. This can improve your checkout counter aesthetic.
How to set up your Square Register customer display:
- Your customer display will arrive safely secured to your new point-of-sale terminal.
- Remove the protective wrap that surrounds the customer display. Carefully lift it out of Register and place it aside, ensuring you lay it on a flat surface.
- Connect the the accessory hub to Register with either one of the micro USB ports located on the bottom of Register. Then, grab the power adapter and connect it to the accessory hub.
- Plug one end of the power adapter cable into the power adapter and the other end into a power outlet.
- Determine how you’d like to set up the customer display:
a. Option 1: Dock the customer display by placing it into its slot on Register. Press firmly on the bottom edges of the display until you hear a click to ensure it’s locked in place. You won’t need to use the cord for this option — the display turns on automatically. This setup is helpful for narrow counters.
b. Option 2: The customer display can be separated from the POS, which is helpful for tiered or wider counters. To undock the customer display, turn Register upside down and carefully place the screen onto a soft, clean surface. Hold in the release latch located on the base of Register, and remove the customer display at the same time. Lay the customer display on a flat surface and attach the screen using the included cord.
Option 2: The customer display can be separated from the POS, which is helpful for tiered or wider counters. To undock the customer display, turn Register upside down and carefully place the screen onto a soft, clean surface. Hold in the release latch located on the base of Register, and remove the customer display at the same time. Lay the customer display on a flat surface and attach the screen using the included cord. - Turn on Square Register by pressing the power button until the Square logo appears on the screen. Establish your internet connection via Wi-Fi or Ethernet.
- Log in to your Square account and start selling — Square POS software comes installed and ready to go.
What do customers see on the display?
Customers see items appear on screen as they’re being scanned, with the total in the top left of the screen. If your customer is purchasing a lot of items, the list is scrollable on the touchpad.
Once you scan all the items, the customer display cues customers to pay. Once customers pay, a confirmation message appears on the screen and they hear a beep.
If you have a loyalty program, it’s displayed after payment is taken. Customers can also sign up for loyalty, enter their information, and collect rewards from any participating merchant on the customer display.
FAQ:
Does Square’s display cost extra?
No, the customer display is included with Square Register. Learn more about Register’s features and pricing.
What POS software can I use with Square’s customer display?
Square Register arrives with Square POS software installed and ready to go.
With cloud POS software, you’ll be notified when an update is available. You can also choose to be notified via mobile if a software update is ready.
How do I customize the image on my customer display?
In your Dashboard, open the Account & Settings menu. Under the Business tab, click Location, then scroll down to the Point of Sale Checkout Background. From there you can upload a photo that fits the specifications provided above the box.
You can find more information here.
![]()


