Table of contents
Introducing the Square Invoices App
Running a business requires you to be a jack-of-all-trades. Today, we’re announcing the Square Invoices App, created for businesses who move quickly and want to get paid from anywhere.
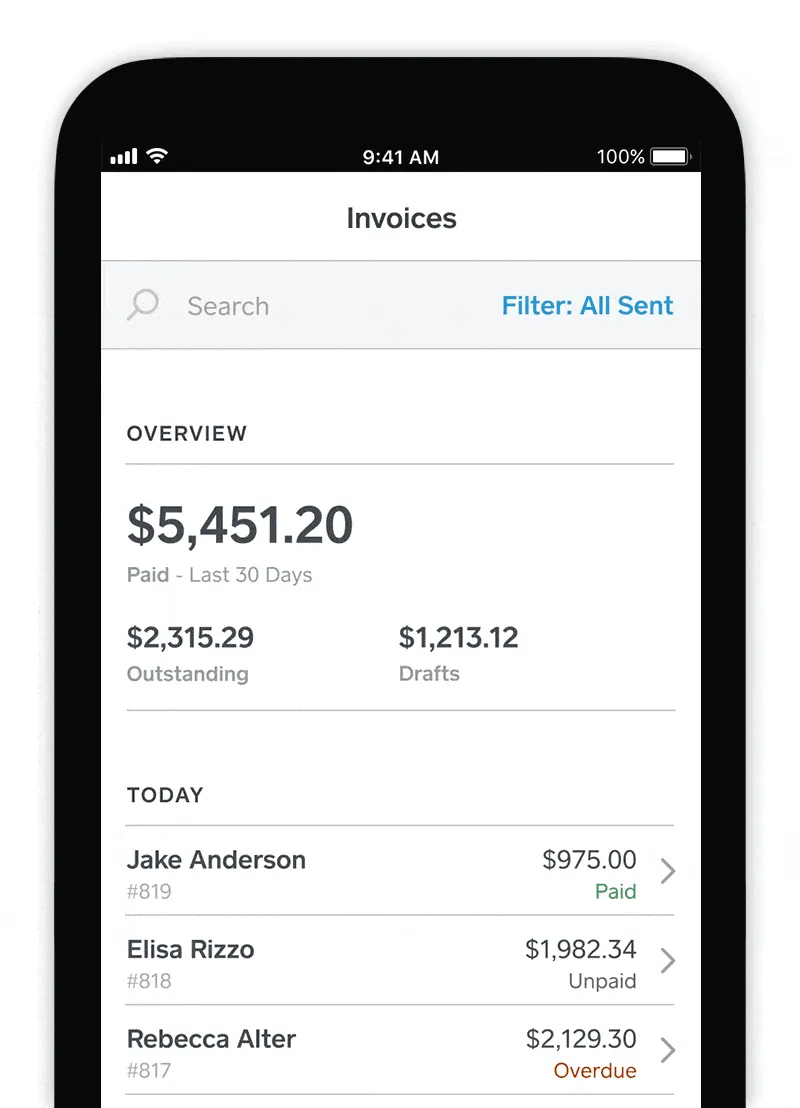
With Square’s new invoicing app, you can send invoices, track payment status, and send reminders from wherever you are – and dedicate more time to running your business. The Square Invoices app is free to download with no monthly fees or commitment.
Here’s what you can do in the new Square Invoices app:
- Send invoices online: Give your customers a convenient way to pay by sending a professional digital invoice to their inbox.
- Send recurring invoices: For ongoing billing needs, send a recurring invoice. Customers can also save their card on file to be charged automatically for future payments.
- Send estimates: Book your next job by sending an estimate that your customers can approve online with one click. Easily convert approved estimates into an invoice directly from the app.
- Track status and set automatic reminders: Monitor when your invoice has been viewed and paid, and send automatic reminders for outstanding invoices.
- Accept any kind of payment: Customers can pay invoices online using major debit or credit cards. You can also accept card payments in person by connecting Square hardware to the Square Invoices app.
- Request deposits: Secure large invoice payments by requesting part of the payment upfront.
- Customize your invoice: Add your business logo, customizing other design elements to up your invoices game.
How to download the Square Invoices App and send your first invoice
Mobile invoicing makes it easy to run your business even when you’re on the go. Here’s how to download the app and send your first invoice:
- Download the free [Square Invoices app]((https://squareup.com/ca/en/invoices) on your Android or iOS device.
- Sign up for a free Square account or sign in to your existing Square account.
- Tap the + sign on the navigation bar and select Invoice.
- Tap Add Customer and either select an existing customer from your Directory or tap Create Customer to enter your customer’s name and email address.
- Tap Add Item to add an item from your Item Library or add a custom amount.
- Tap Send. That’s it!
Free Invoice Templates for Download
![]()


