Set up your health & beauty business with Square
About health and beauty businesses
Square offers a flexible scheduling system for your business and a simple booking tool for your clients. New and existing clients can easily find details about your services, view your availability, and book appointments from your website or from your free Square booking site.
Before you begin
Make sure you have an active Square subscription. Learn how to switch to the new Square subscription plans.
Step 1: Verify your identity and link your bank account
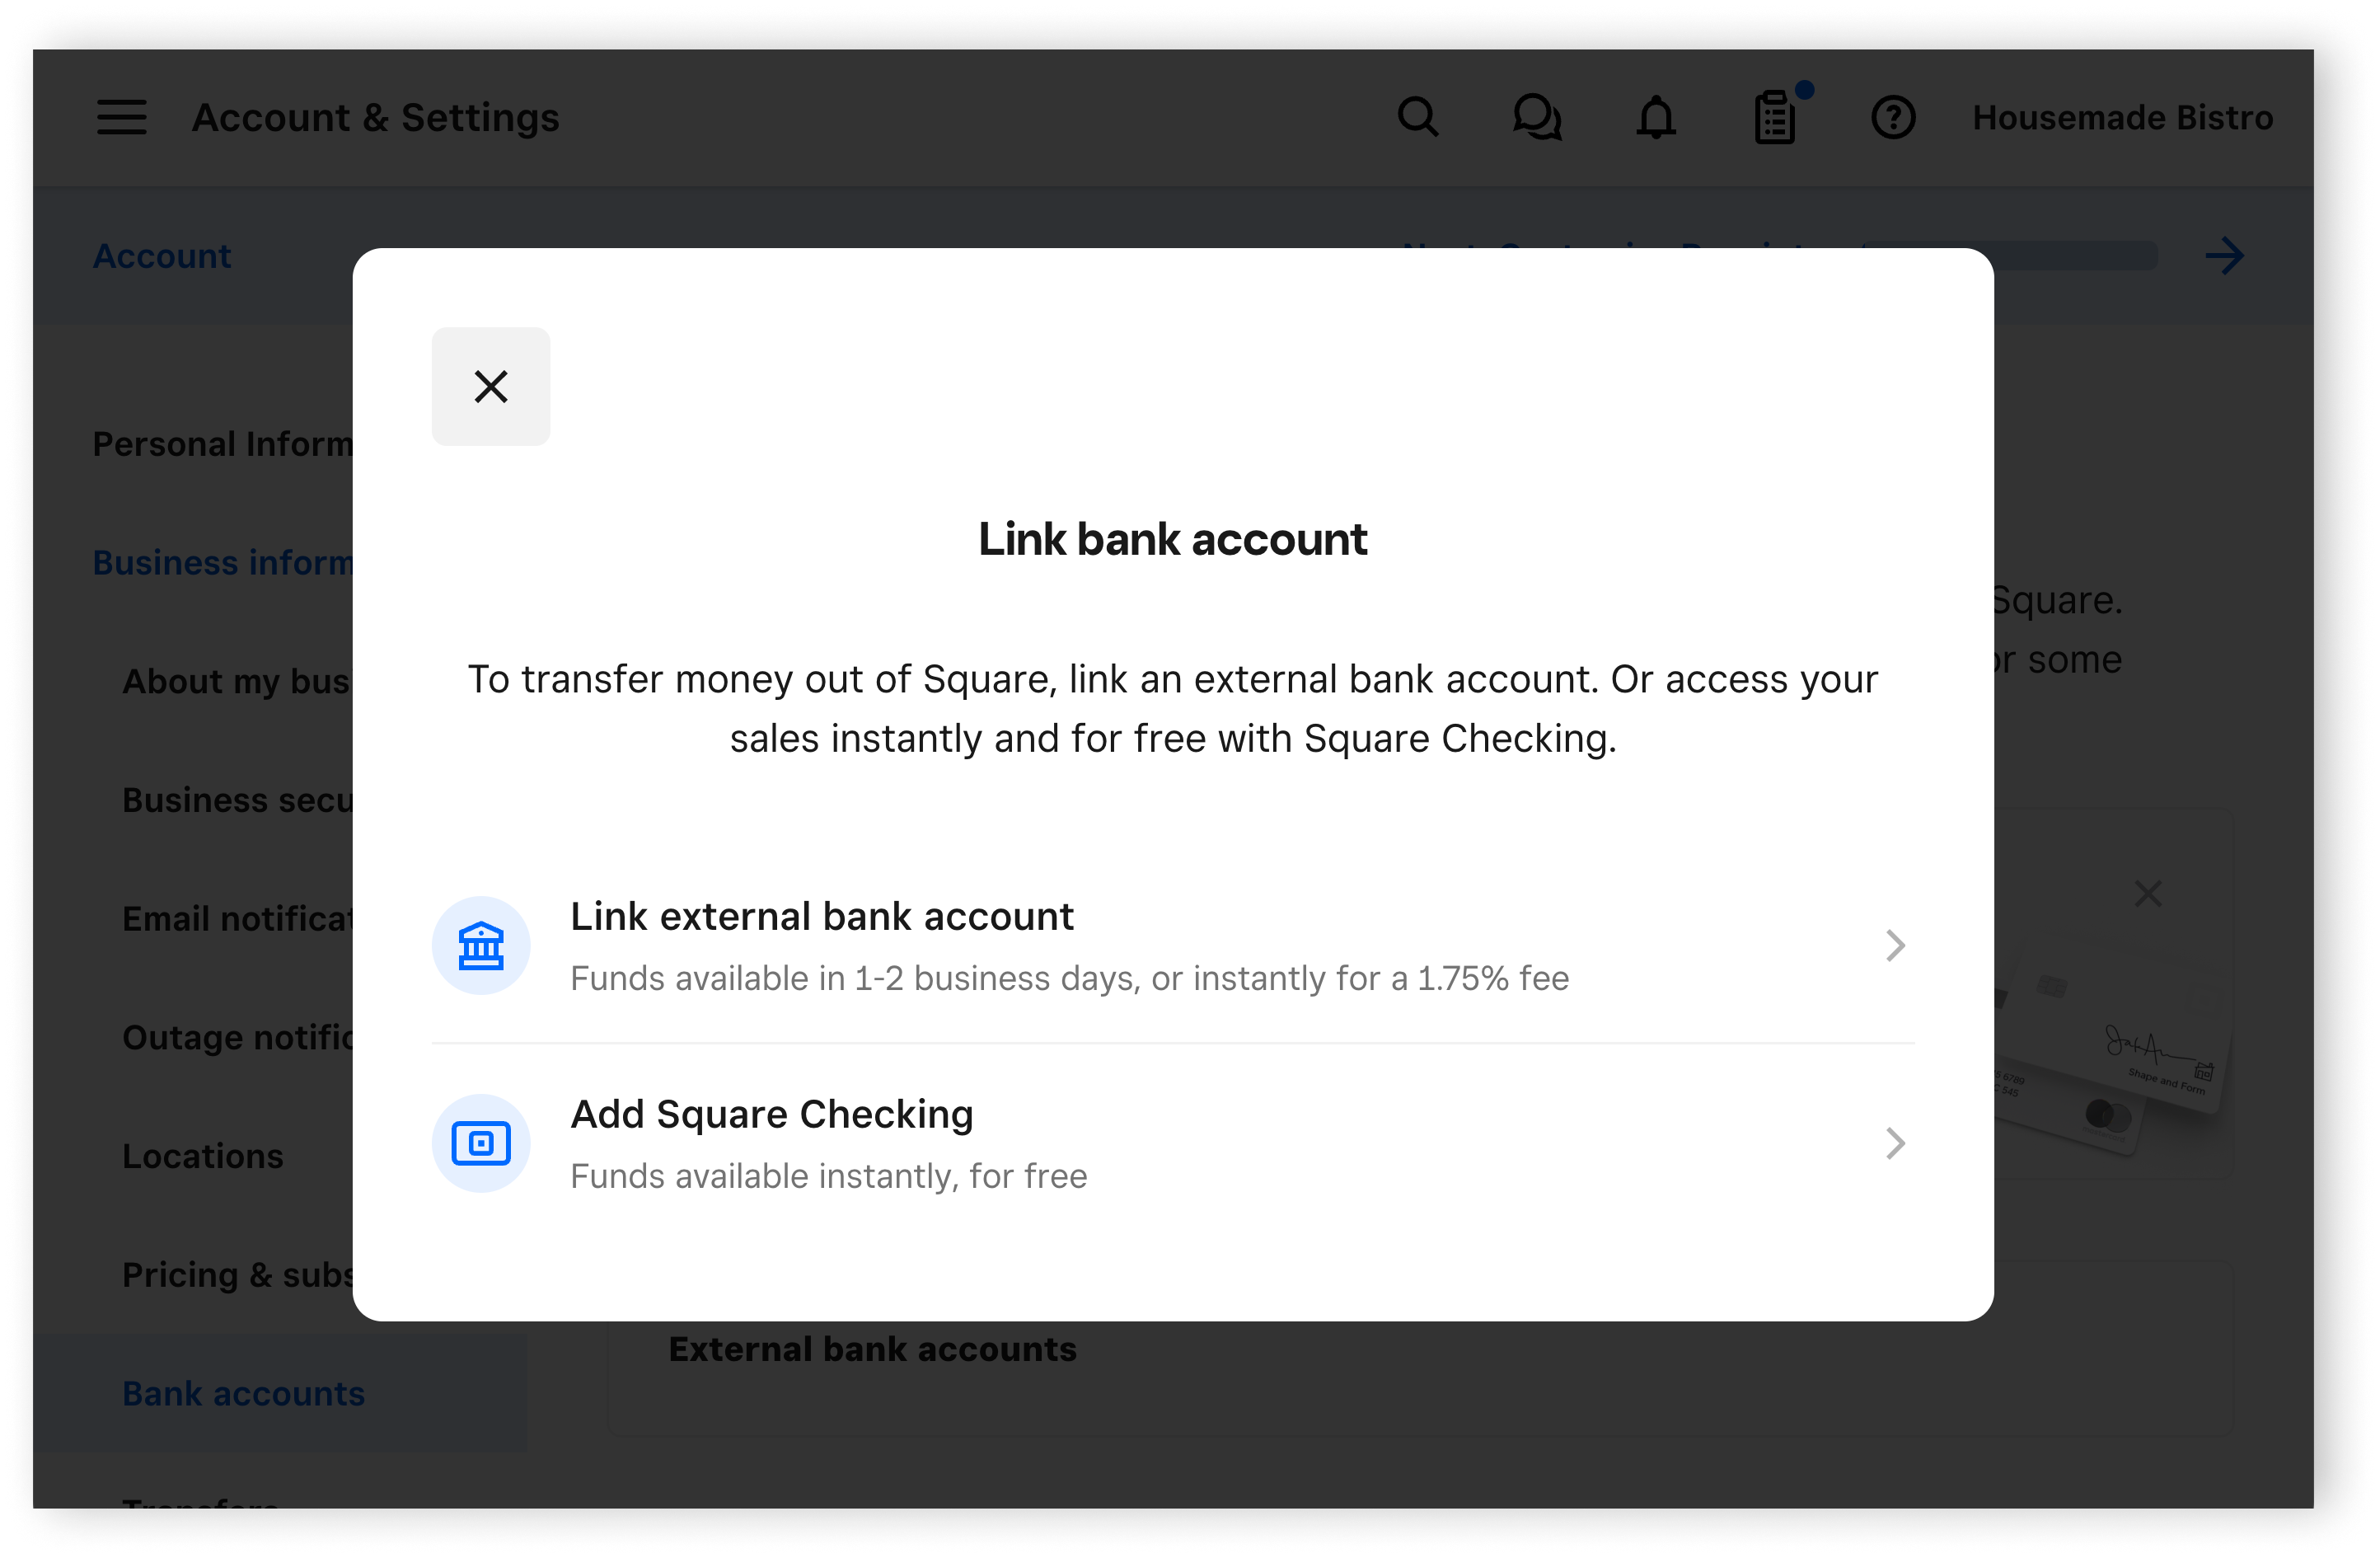
Select a transfer schedule and link your bank account to begin receiving funds from your sales, and complete your identity verification to activate your Square account. You need your bank account and routing numbers for this step. Learn how to link and edit your transfer methods.
Step 2: Add your business location
Create the locations for your business. For each location, you can create unique business profiles with specific hours, add individual bank accounts to differentiate transfers, and more. Learn how to create and manage multiple locations.
Step 3: Set up online booking
Our online scheduling software and tools provide a variety of ways for your clients to book appointments with you. Learn how to set up online booking.
Step 4: Create a service and schedule an appointment
An appointment is a scheduled time when a stylist, massage therapist, or other service provider will complete a service. This could range from a haircut to maintenance and repairs in other industries. This could range from routine maintenance, such as oil changes or check-ups, to more complex repairs or consultations. Learn how to create and manage services and create and schedule appointments.
Step 5: Download the Square Point of Sale app
Start taking payments from customers on your point of sale device by downloading the Square Point of Sale app and utilizing bookings mode. If you are using a compatible device, you can download the free Square Point of Sale app from the App Store or Google Play store. Learn how to use modes with Square Point of Sale and create and assign modes.