Set up your retail business with Square
About retail businesses
Square offers a comprehensive, all-in-one POS solution to help you run your retail business. Use our complete suite of tools made to make it easy to streamline your business by integrating sales, inventory management, purchase orders, a customer directory, and reports in one place.
Before you begin
Make sure you have an active Square subscription. Learn how to switch to the new Square subscription plans.
Step 1: Order hardware
Get the right hardware for your business to start accepting payments, printing receipts, and scanning barcodes. Visit Square Shop to order your Square hardware and compatible accessories.
Step 2: Verify your identity & link your bank account
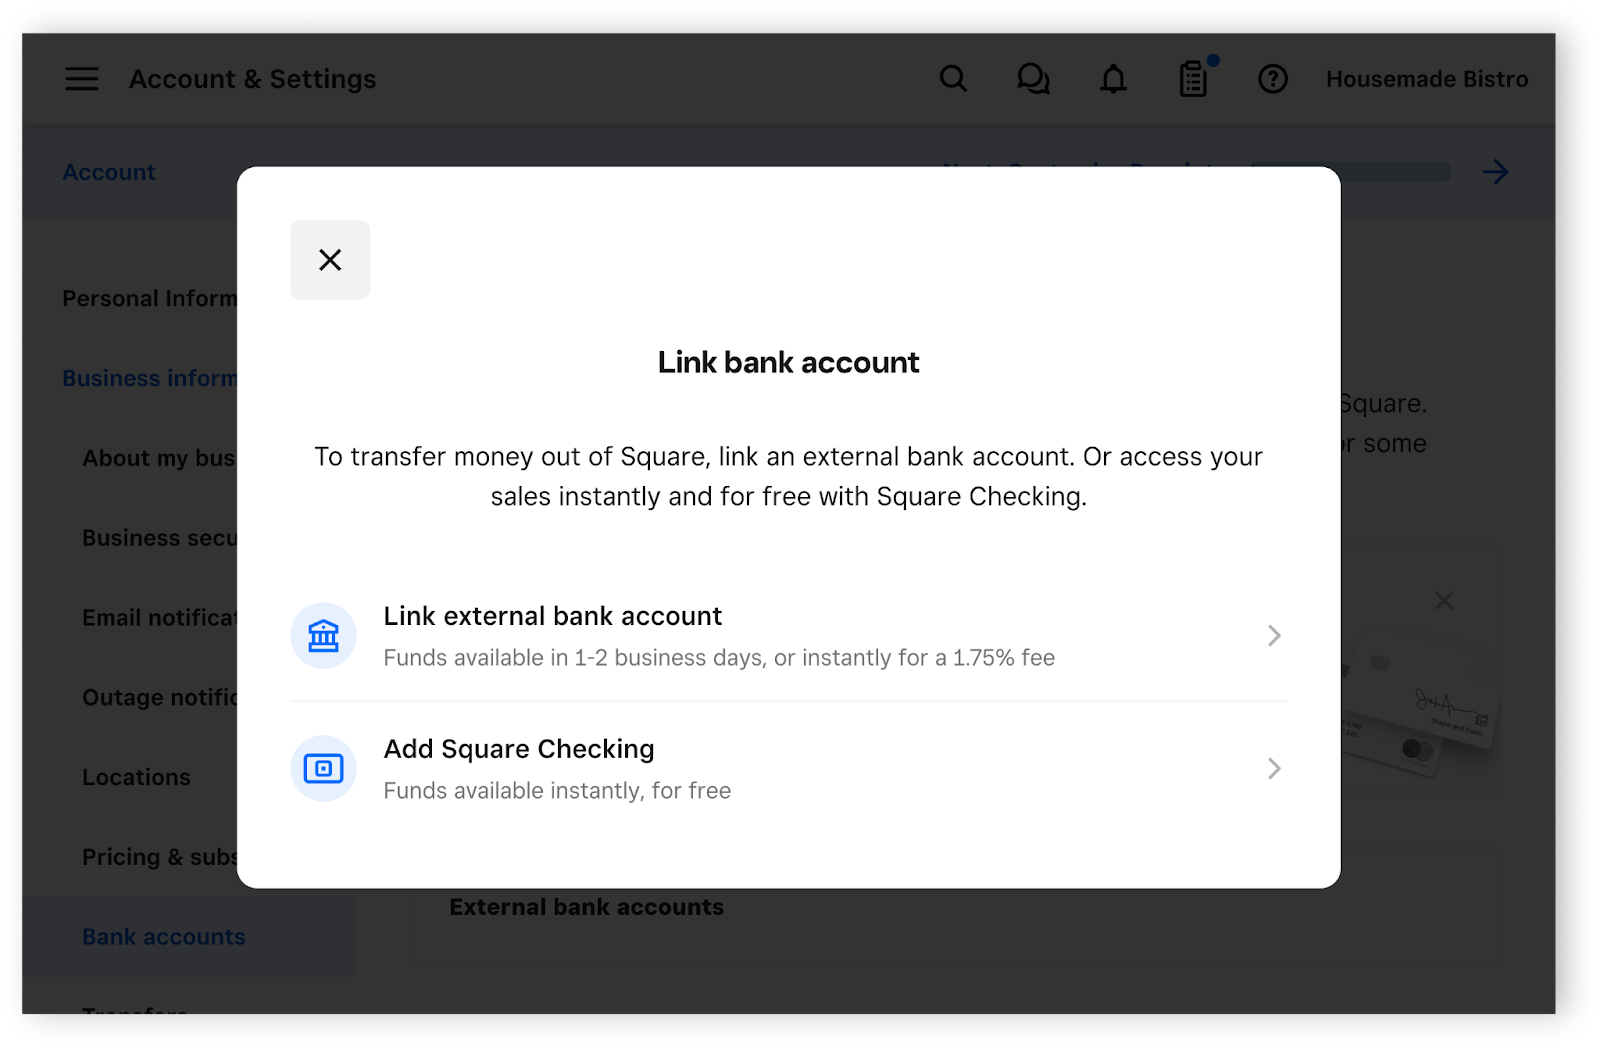
Select a transfer schedule and link your bank account to begin receiving funds from your sales, and complete your identity verification to activate your Square account. You need your bank account and routing numbers for this step. Learn how to link and edit your transfer methods.
Step 3: Create items and manage your inventory
Items are sellable goods and services that make up your item catalog. You can create, edit, and manage items to check out customers faster, know what's selling best, and track inventory. Learn how to create and edit items.
Efficient inventory management helps streamline operations, reducing the time and costs associated with stocking, reordering, and warehousing. Learn how to view, receive, and adjust inventory.
Step 4: Download the Square Point of Sale app
Start taking payments from customers on your mobile device by downloading the Square Point of Sale app and utilizing retail mode. If you are using a compatible device, you can download the free Square Point of Sale app from the App Store or Google Play store. Learn how to use modes with Square Point of Sale and create and assign modes.