Get Started with Square for Retail
Ready to set up your retail point of sale with Square? Get started > |
Square for Retail streamlines your business – so your sales, inventory, purchase orders, customer directory and reports are integrated. The Square for Retail app works with your online Square Dashboard, along with iPad and iPhone, Square Terminal and Square Register, so connecting the dots (while optimising your business’s profitability) has never been easier. With Square for Retail, you have two subscription options:
Square for Retail Free at no monthly cost
Square for Retail Plus at €49 per month, per location.
Some features may be unavailable to sellers using Square for Retail Free. Learn more about the differences between Square for Retail Free and Square for Retail Plus or sign up for a free 30-day trial to see which features are best suited to your business.
Sign up for Square for Retail
If you’re brand new to Square, explore the Square Basics to get comfortable with our ecosystem and tick a few essentials off your to-do list:
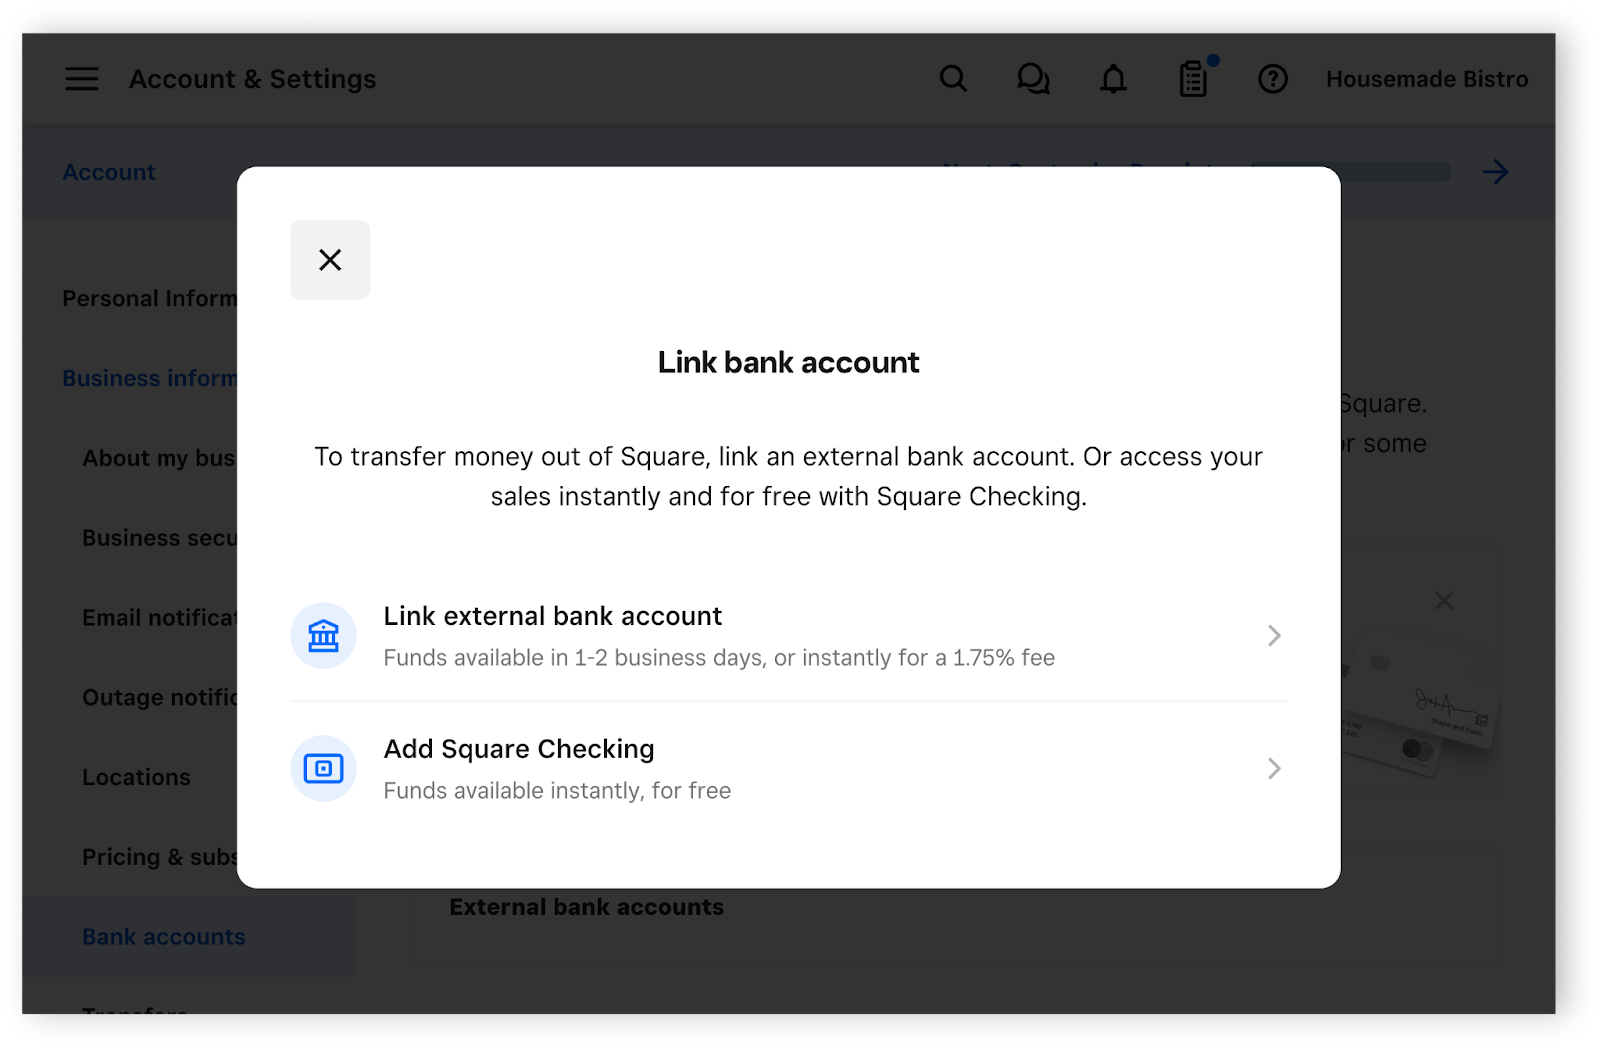
Link a bank account to your Square for Retail account to start receiving transfers.
Set up your item library so you can hit the ground running and take full advantage of Inventory Plus features. Note: This is only available when you subscribe to Square for Retail Plus.
Get the right hardware for your business to start accepting payments, printing receipts and scanning barcodes.
If you don’t have an existing Square account, you can also sign up directly for Square for Retail.
Square for Retail Features
Begin by logging in to your online Square Dashboard and setting up your item library with details such as unit types (kilograms, grams, etc.), unit precision up to the hundredths (.00) or thousandths place (.000) and unit costs. You can also generate device codes and create barcode labels. Note: While PLU barcodes are supported for items with decimal quantities, variable price-embedded barcodes are not yet supported.
Export/Import Item Library: Take bulk actions on your item library and stock.
Import Unit Costs: Import missing unit costs. If you’re importing your stock for the first time with Square for Retail, the stock intake action will reflect as Received. If you’ve imported your item library before, your stock intake will be considered a Recount.
Item Options: Quickly create and organise item variations by combining item options.
Auto-SKU Generation: Automatically generate SKUs for your item variations through your item library and during the barcode label creation process.
Create and Print Barcode Labels: You can generate barcode labels directly from your online Square Dashboard.
Reach Customers: Let customers know about upcoming sales and promotions with Square Email Marketing.
Square for Retail POS App
The Retail POS app is your full front-of-house POS solution.
Retail POS App Navigation: Review the Actions menu of the Retail POS app.
Favourites List: Create a favourites list for your most popular items.
Process a Payment: Manage your basket and process payments.
Issue a Refund or Exchange: Process a refund or exchange from your transaction history or customers list.
Create and Manage Items From the App: Add or edit items for individual locations directly from the app.
Cash Management: Track cash sales and account for paid in/paid out adjustments outside of a sale.
Manage Inventory from the app: Bulk receive inventory to make quantities available, count inventory by scanning, create and receive purchase orders.
Manage Customers: Create, manage or add a customer to a sale.
Notification Centre (iOS Only): View account alerts, new feature announcements and Square news – all from one easy-to-access place.
Learn more about the differences between Square for Retail Free and Square for Retail Plus.
Hardware
Once you’ve purchased Square Register to setup a full POS countertop station, follow the steps below:
If you’re using Square for Retail POS on Square Register for the first time, sign in using your email and password and create or select an existing profile. If you choose to create a device code, you can sign in by tapping Device Code in the top corner of the Square Register screen. Then you can start accepting payments.
If this is your first time using the Square Register and you’ve already completed setup, make sure to check for an update by tapping Configure Device > General > About Register > Software Update. You must be on version 3.26 or higher to log into Square for Retail.
Note: Square Register checks for an update every 15 minutes. If you don’t see an update right away and your current version is lower than 3.26, make sure your device is connected to the Internet and wait several more minutes for an update to appear.
If you have already been accepting payments on Square Register using Square Point of Sale, simply sign out of Square Register. Next, sign in using your email and password and select Square for Retail. You can also create a Retail device code from your online Square Dashboard to sign in and start taking payments.
Learn how to get started with Square for Retail on Square Register.
You can now use Square for Retail POS on Square Terminal. Visit the following support articles to get started:
Square Stand also offers a full POS countertop station. For additional resources, view:
If you’re using a standalone iOS device such as an iPad or iPhone, you can download the Square for Retail App for iOS, create a device code to sign in, pair a Square Reader then start taking payments.
Note: The free Square for Retail POS App is supported by iPads and iPhones running iOS 14 or higher.
Once you sign up for a Square for Retail account and sign in to the app, you can access the Setup Guide. If you haven’t completed the primary setup steps, you can do so through the Setup Guide, as well as explore guided walkthroughs, tutorials, and advanced setup steps. You’ll also see a tracker at the top of the Setup Guide and/or Checkout screen that shows your setup progress.
To dismiss the Setup Guide, tap ••• in the top-right corner of the guide, and select Dismiss Setup Guide. This will remove the Setup Guide tracker from your Checkout screen, but you can easily access it any time after you dismiss it.
- If you’re using Square for Retail on your iPhone, tap ≡ Menu at the bottom right side of the app screen, and tap Support > Tutorials > Setup Guide.
- If you’re using Square for Retail on your iPad, tap ≡ Menu at the bottom left side of the app screen, and tap Support > Tours and Tutorials > Setup Guide.
Note: Setup Guide is not currently available for Square Terminal or Square Register, but you can access the same checklist directly from your online Square Dashboard.
Team Management
Your Square for Retail subscription includes unlimited team member profiles with Team Management, which you can set up via the Team section of your online Square Dashboard.
Team Members: Create individual team member profiles and track time using Timecards.
Set Roles and Assign Permissions: With Square’s Team Permissions you are able to customise each of your team member's permissions and access to your Square account.
Backend Inventory and Ordering
Square for Retail is geared towards businesses with more inventory and ordering needs. You’ll have access to these important tools:
Vendor Management: Create vendors with associated items, assign a vendor cost (unit cost for specific vendors) and view each vendor specific item library.
Purchase Orders: Purchase orders allow you to request and receive stock from vendors and track partial receives.
Bulk Receive Stock: Bulk receiving stock allows you to quickly scan or enter your inventory via Square for Retail on iOS.
View Square for Retail Reports
View Inventory History: View a detailed report of every inventory adjustment.
Advanced Reporting: Square for Retail offers a suite of powerful reporting tools.
Commission Rates with Retail Plus
Square allows you to assign unique commission rates to each of your team members, giving more experienced team members a higher rate and less experienced team members a lower rate for services. Learn more about setting up commission tracking.