Set up your restaurants point of sale
About setting up restaurants point of sale devices
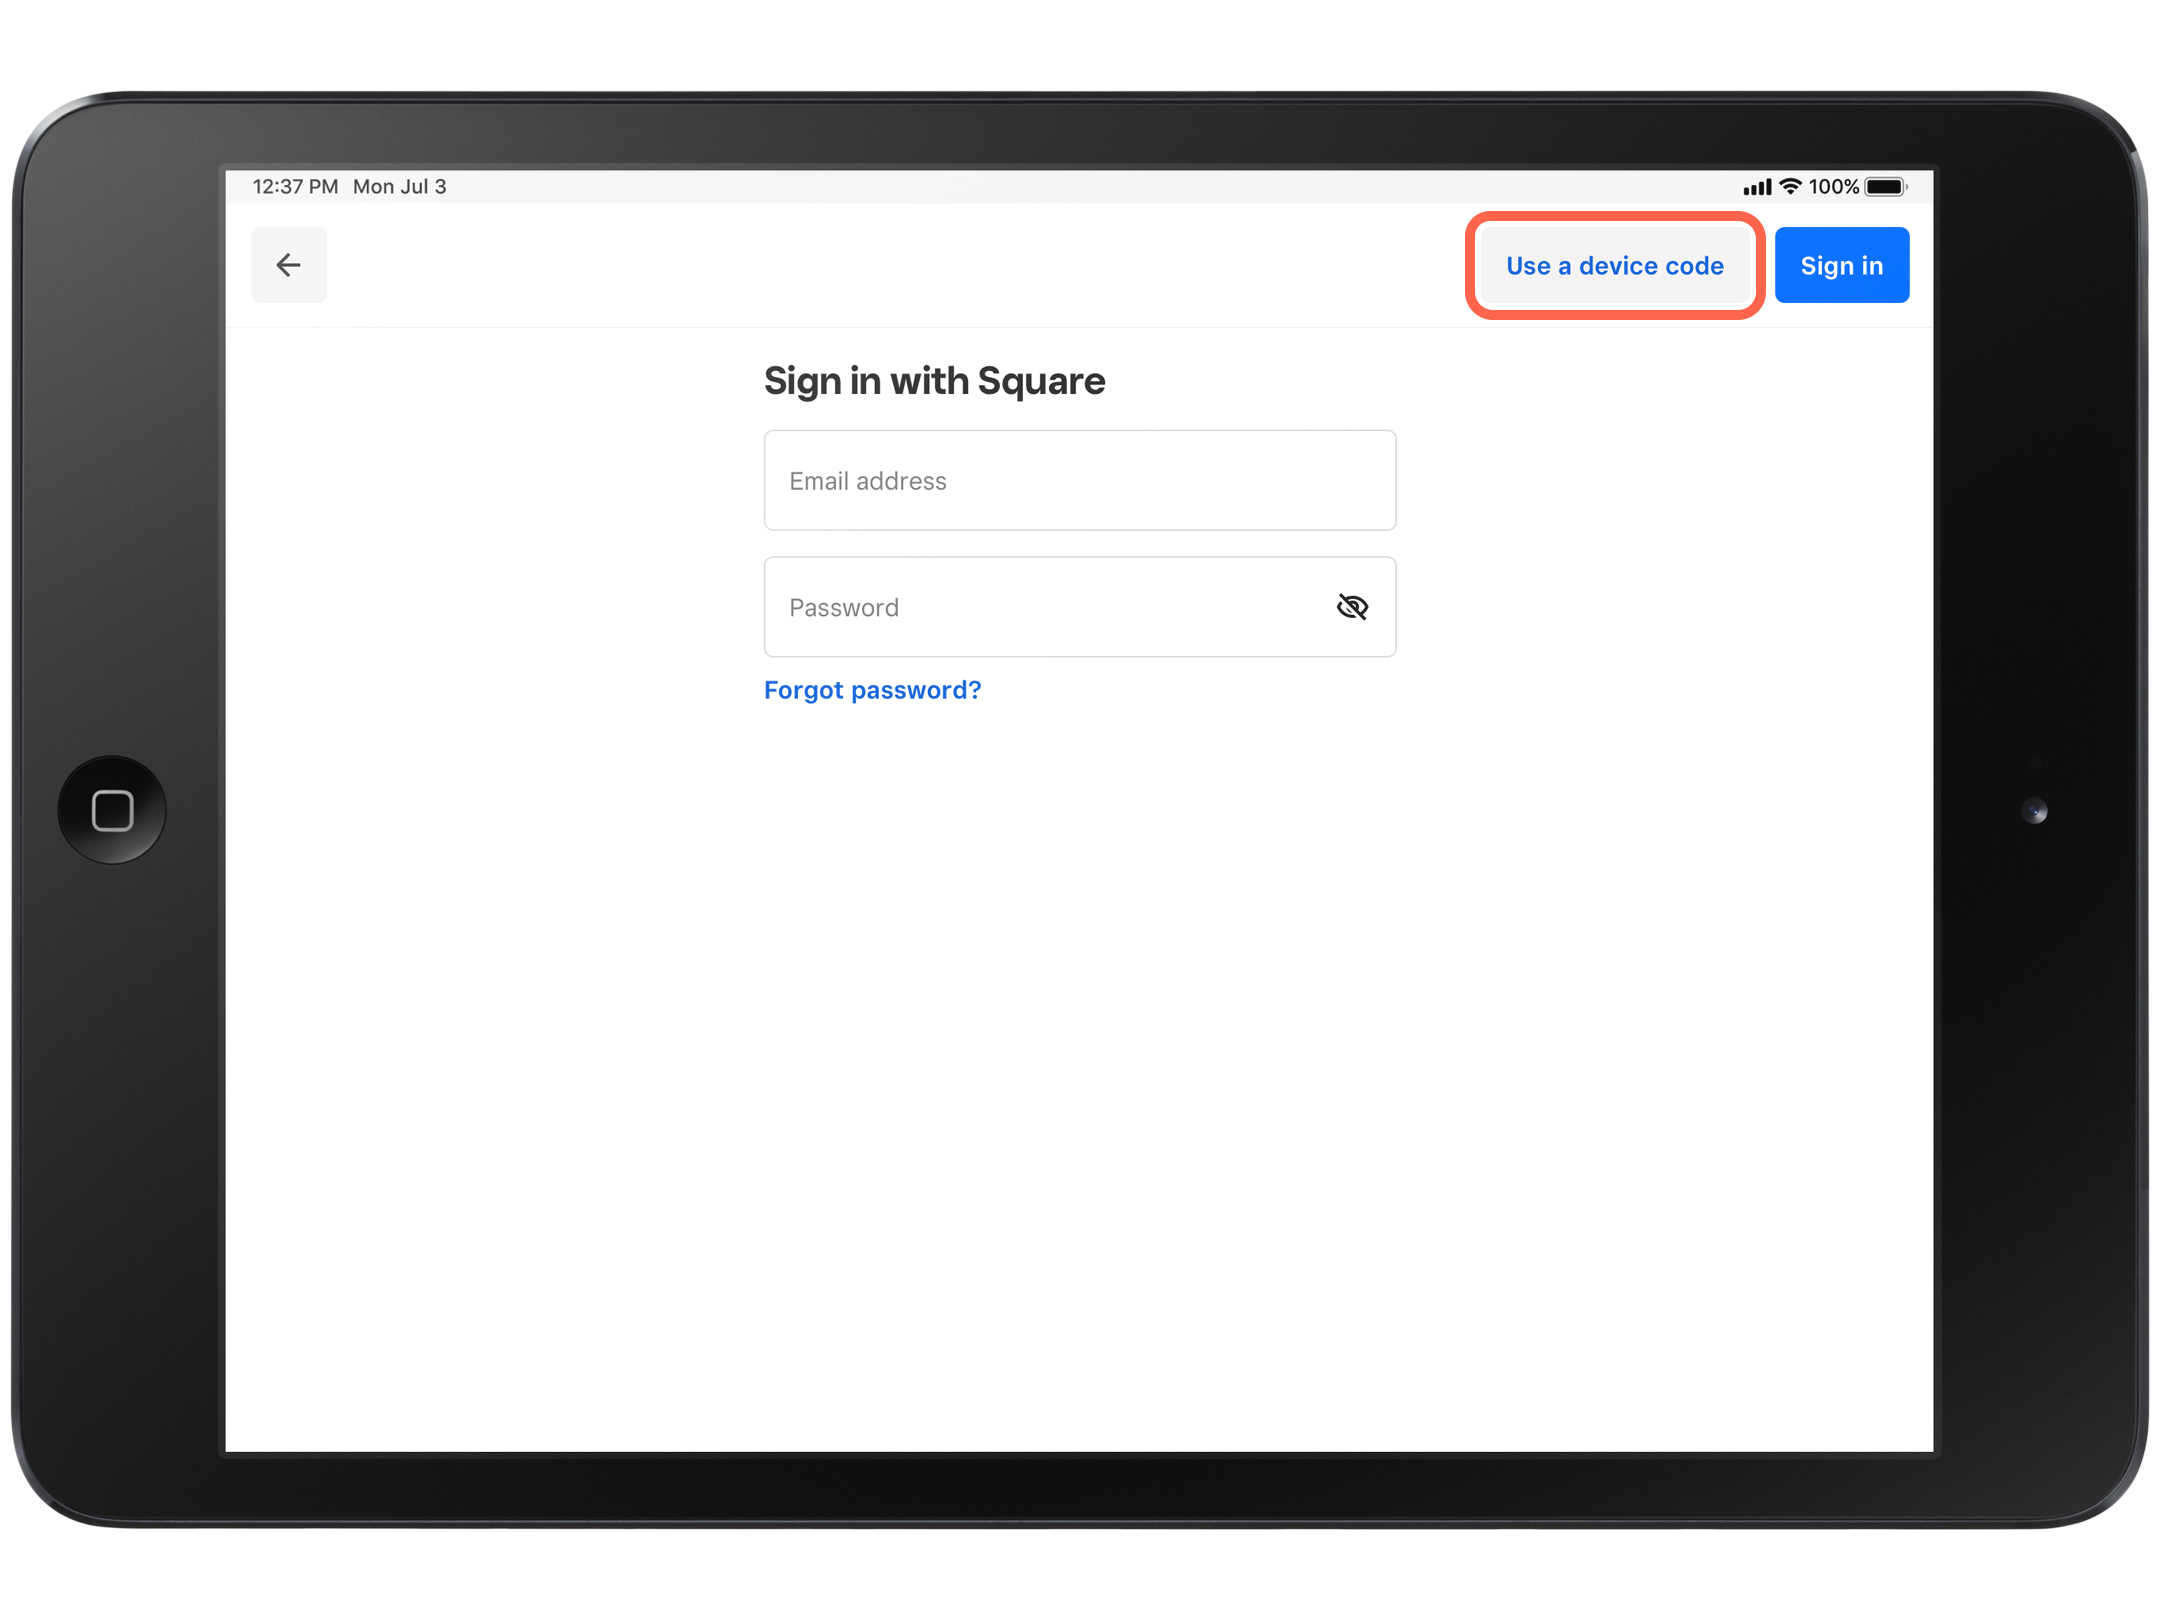
Once you receive your Square hardware, you can set up your restaurants point of sale. Rather than using your email address and password to sign in, you sign in with a device code. Once you create a device code, you can sign in and start taking orders.
Before you begin
Before you can set up your point of sale device, you need to set up your food and beverage business. Learn how to Set up your food & beverage business with Square.
You can only use a device code on a single device — so if you have multiple devices for a location, you need to create a unique code for each device accessing Square for Restaurants. Learn how to Set up device codes and Create and assign modes.
You need access to your Square Dashboard to select your point of sale and create a device code, and you need your hardware in front of you to download the Square Point of sale app and sign in with the device code.
Mode: A mode is a specific configuration of device settings. Devices (by way of device codes) can be assigned to modes. With modes you can keep settings for multiple devices the same, by assigning the device codes to the same mode. Then, any change you make to the mode setting gets applied to all of the assigned device codes.
Settings templates: Settings templates offer service specific settings configurations that you can assign to your devices to get started quickly. There are 3 settings templates: Table service, Counter service, and Bar or lounge.
-
Service settings: Customize your restaurant's workflow — ranging from closing procedures to gratuity settings.
Closing Procedures: Updating closing procedures will keep your employees from running a Close of Day or Shift Report before completing certain actions. For instance, when you enable Adjust all credit card tips, employees will not be able to end for the day until each payment awaiting tip is settled.
Menu Behavior: Allows you to set the default screen after you add an item to a check.
Printed Receipts: When you have a compatible printer connected for paper receipts, you can choose to consolidate or list out items and modifiers.
Automatic Gratuity: Trigger gratuity for a customizable percentage for certain table sizes. For example, for tables of 6 or more, you could apply an auto-gratuity of 20%.
Tip Adjustment: Tips will be assigned to either the employee who opens the check, or the employee who closes the check.
Straight Fire Categories: Send specific item categories right to the bar or kitchen. For example, drink or appetizers.
Step 1: Add a point of sale device and create a device code
Sign in to your Square Dashboard and go to Settings > Device management.
Click Device codes > Create.
Enter the number of device codes you need to create.
Select Point of Sale > Next.
Assign the device to the location where you plan to use it.
-
Assign the device to an existing mode or click + to select a mode. Learn how to create and assign modes.
If you are setting up a KDS device, select how you will use the device.
If you are setting up a Kiosk device, assign an existing Kiosk profile or click Not now to choose the settings later. Learn how to create, assign, and edit Square Kiosk profiles.
Enter a device code name and click Create.
Your new device code will display on your screen. You can select Send Device Code to send yourself the code via email or SMS message, select Copy to copy the device code to your clipboard, or write the device code down. You can then use this device code to sign in on your device.
Click Done.
Step 2: Adjust your service settings
Sign in to your Square Dashboard and go to Settings > Device management.
Click Service settings.
Select each service setting option.
If applicable, choose the desired location.
Select and customize your preferred settings.
Click Save.
Step 3: Download the app and sign in on your point of sale device
You need to download the Square POS app to your device and sign in. Select your device for specific instructions.

- Download the Square POS app from the App Store.
- Open your point of sale app and sign in with the device code you created.
You can now start taking orders and accepting payments.