Create orders
About order creation
With Square Order Manager, you can manually create orders across multiple channels and manage the fulfilment of orders for either collection or delivery.
Before you begin
You can create orders from the Virtual Terminal in Square Dashboard or the Square Point of Sale app.
Before you can create orders, you need to do the following:
Turn dining options off to create orders from your Square Point of Sale app. Learn how to create and manage dining options.
Update your device and Point of Sale app to the latest software versions.
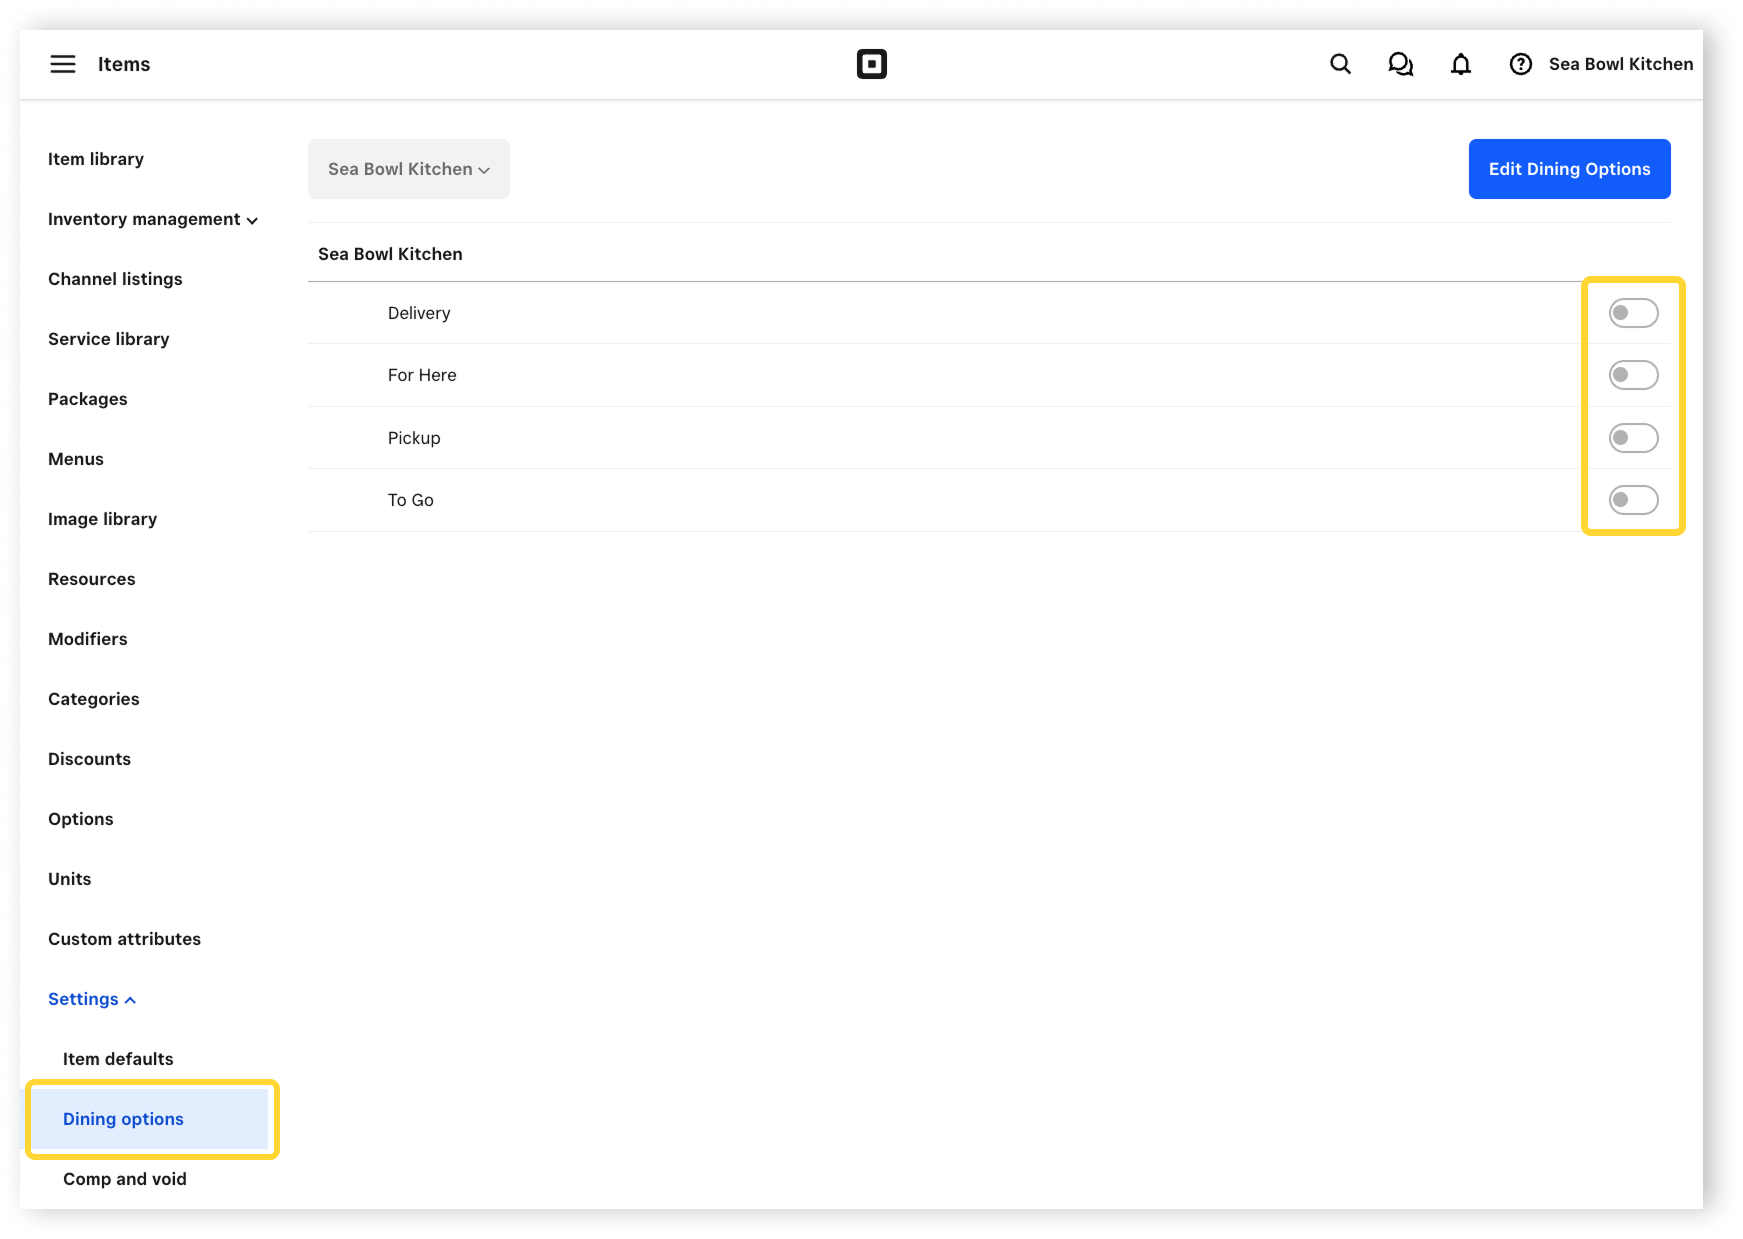
Step 1: Turn dining options off
Sign in to Square Dashboard and go to Items & orders (or Items & menus or Items & inventory) > Items.
Click Settings > Dining options.
Toggle all your dining options OFF.
Step 2: Create orders
From the Square Point of Sale app with full service, quick service or bar mode enabled or from the Square Restaurants Point of Sale app:
To add menu items to an order from the Square Restaurants Point of Sale app:
- tap New Sale and start adding menu items to the bill.
- Tap Checkout to start the payment process.
To create an order from your floor plan:
- From the floor plan view, tap the desired table.
- Choose the number of covers seated at the table.
- Take your guests’ orders and start adding menu items to the bill.
From the Square Point of Sale app with retail mode enabled or from the Square Retail Point of Sale app:
- From your Point of Sale app, go to Checkout.
- Tap Add customer to add an existing or new customer.
- Add items to basket, then tap Checkout.
- Tap (•••), then select the fulfilment method: In-Store, Delivery or Collection.
- Tap Save.
- For each fulfilment method:
- In-store: No further details needed.
- Delivery: Tap Add shipping details to add a new or existing customer, the relevant delivery address and an optional delivery note.
- Collection: Tap Add collection details to add a new or existing customer and collection details (collection time, location and an optional collection note).
To edit, tap (•••) again to Edit shipping/collection details, Change fulfilment location, or Edit fulfilment method.
Learn how to manage cross-location orders with Square for Retail.
From the Square Point of Sale app with standard mode enabled or from the Square Point of Sale app:
- Go to Checkout.
- Add items to the current sale.
- Tap Review sale > Schedule.
- Add an existing customer to the sale or tap Add Customer to create a new customer.
- Select an order type. Tap Next.
- Select a Collection location and time.
- Tap Done.
- Tap Charge to continue the checkout flow.
From your Square Dashboard, you can manually create a collection order using Virtual Terminal.
- Sign in to Square Dashboard and go to Orders & payments (or Invoices & payments or Payments) > Orders > All orders.
- Click Create Order.
- Click Quick charge or Itemised sale and add transaction details.
- Add the relevant payment details.
- Click + Add a customer to select an existing customer or Create customer.
- Under Fulfilment details, select Add collection.
- Enter the collection details, including the order name and the collection date and time.
- Review the order details, then click Create order.
Sort items by basket
Basket Sorting gives you more control over how items are organised in your basket, making it easier to manage orders and improve accuracy. You can sort items alphabetically, by time added, by course or by seat from your Square Restaurant POS.
Open your Square Restaurant POS app.
Select the bill you’d like to sort the basket for.
Tap Actions, then scroll down and tap Sort Basket.
Choose your preferred sorting method:
By Seat
By Course
Alphabetically (A–Z)
By Time Added
5. Tap Make Default if you’d like to use this sorting method in future.
6. Tap Update to apply the changes.