Create pages and navigation for your Square Online site
About creating pages and navigation menu
Pages are an essential part of your website. They display your content and give your navigation menu a sense of purpose.
There are multiple types of pages you can create:
Blank page: an empty page with a blank canvas to add sections from scratch.
About: a page with an informational text and image section already included to edit and customise.
Contact us: a page with a contact form already included for you to edit and customise.
Gallery: a page with an image gallery already included for you to edit and customise.
Instagram: a page with an Instagram section already included for you to edit and customise.
Shop: an ordering page for customers to purchase from your online store.
Blog overview: an overview page for all of your Square Online blog posts.
Blog: a page where you can add an individual blog post.
Home: a homepage for your website.
Gift Cards: a page to offer customers the option to purchase Square Gift Cards while browsing your Square Online site.
Appointments: a page with an online scheduler that works with Square Appointments to allow customers to book on your Square Online site.
Before you begin
You can add pages and manage your site navigation from your Square Dashboard.
Manage your Square Online pages
If you want to add an item or category page to your site, go back to your Square Item Library to create a new item or category. Once you do, return to the editor and refresh your browser. A page for the newly added item or category will show as an option in your page list.
- Sign in to Square Dashboard and go to Online.
- Click Website > Edit Site.
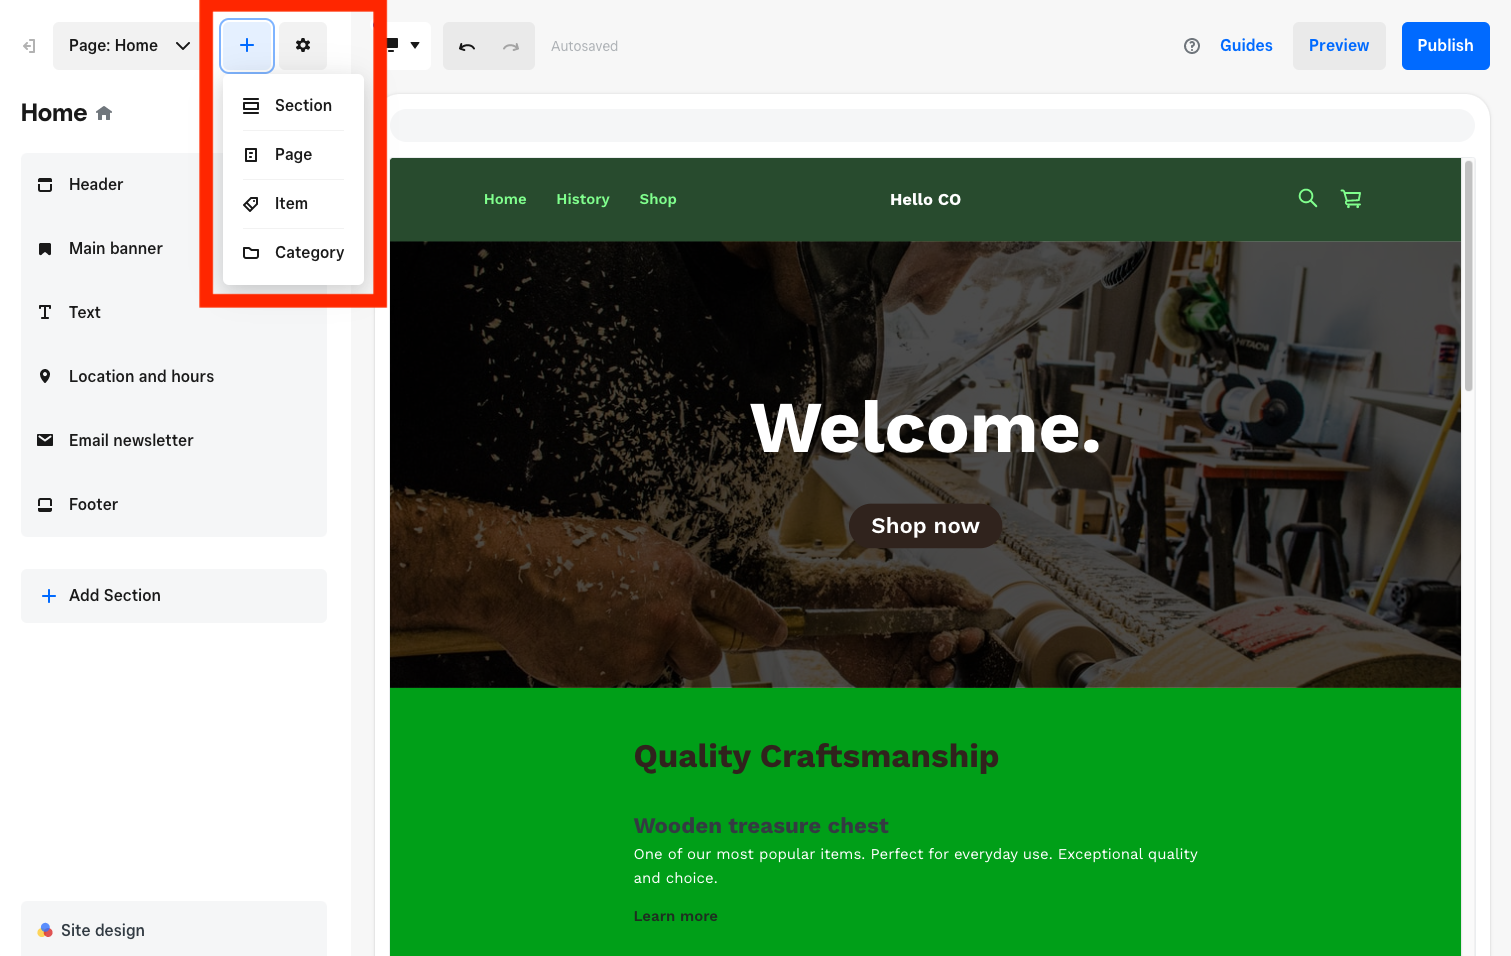
- Select +Add > Page and choose the type of page you’d like to add to your site.
- Enter a name for the page to display on your navigation menu. You can uncheck Add page to navigation if you don’t want the page to be accessible from your navigation.
- Select Add to finish.
Your current homepage has the house icon by the page name. You can choose any page to be your homepage, including the Shop All and Order Online pages.
- Sign in to Square Dashboard and go to Online.
- Click Website > Edit Site.
- Select the Page drop-down menu.
- Under the page you want to set as your homepage, select ••• > Make this my homepage.
- Sign in to Square Dashboard and go to Online.
- Click Website > Edit Site.
- Select the Page drop-down menu.
- For the page you want to rename, select ••• > View page settings.
- Enter a new page name and select Save.
- Sign in to Square Dashboard and go to Online.
- Click Website > Edit Site.
- Select the Page drop-down menu.
- Select Duplicate page to make a copy of a page and add it to your site. Some page types (including item pages and category pages) can’t be copied.
Sometimes, deleted content can’t be recovered, so make sure you no longer need your page.
- Sign in to Square Dashboard and go to Online.
- Click Website > Edit Site.
- Select the Page drop-down menu.
- Select either the bin icon or Delete page, then select the button to confirm it’s okay to delete the page.
Customise your navigation menu
You can change the navigation menu style from your Square Dashboard.
Sign in to Square Dashboard and go to Websites.
Click Website > Edit Site.
-
Select the header of your website and select Header on your editing panel. From there, choose the navigation style that fits your website.
If your website doesn’t need navigation, select No navigation.
If your website has five or less navigation links, select Dropdown.
If your website has more than five sub navigation links and a high number of items, select Mega menu (this option may require an upgrade to your subscription).
Once you choose the navigation style, select Edit links to add navigation links, or arrange pages. Editing or removing links from the navigation menu won’t change or delete the associated page or section.
Select the menu buttons and use the Customise section to make changes to the header layout, colour and scroll settings.
To add a new link to your site’s navigation menu, select either your website header or footer. Then, expand the Navigation option and select the button to open the link destination options.