Customise receipts
About customising receipts
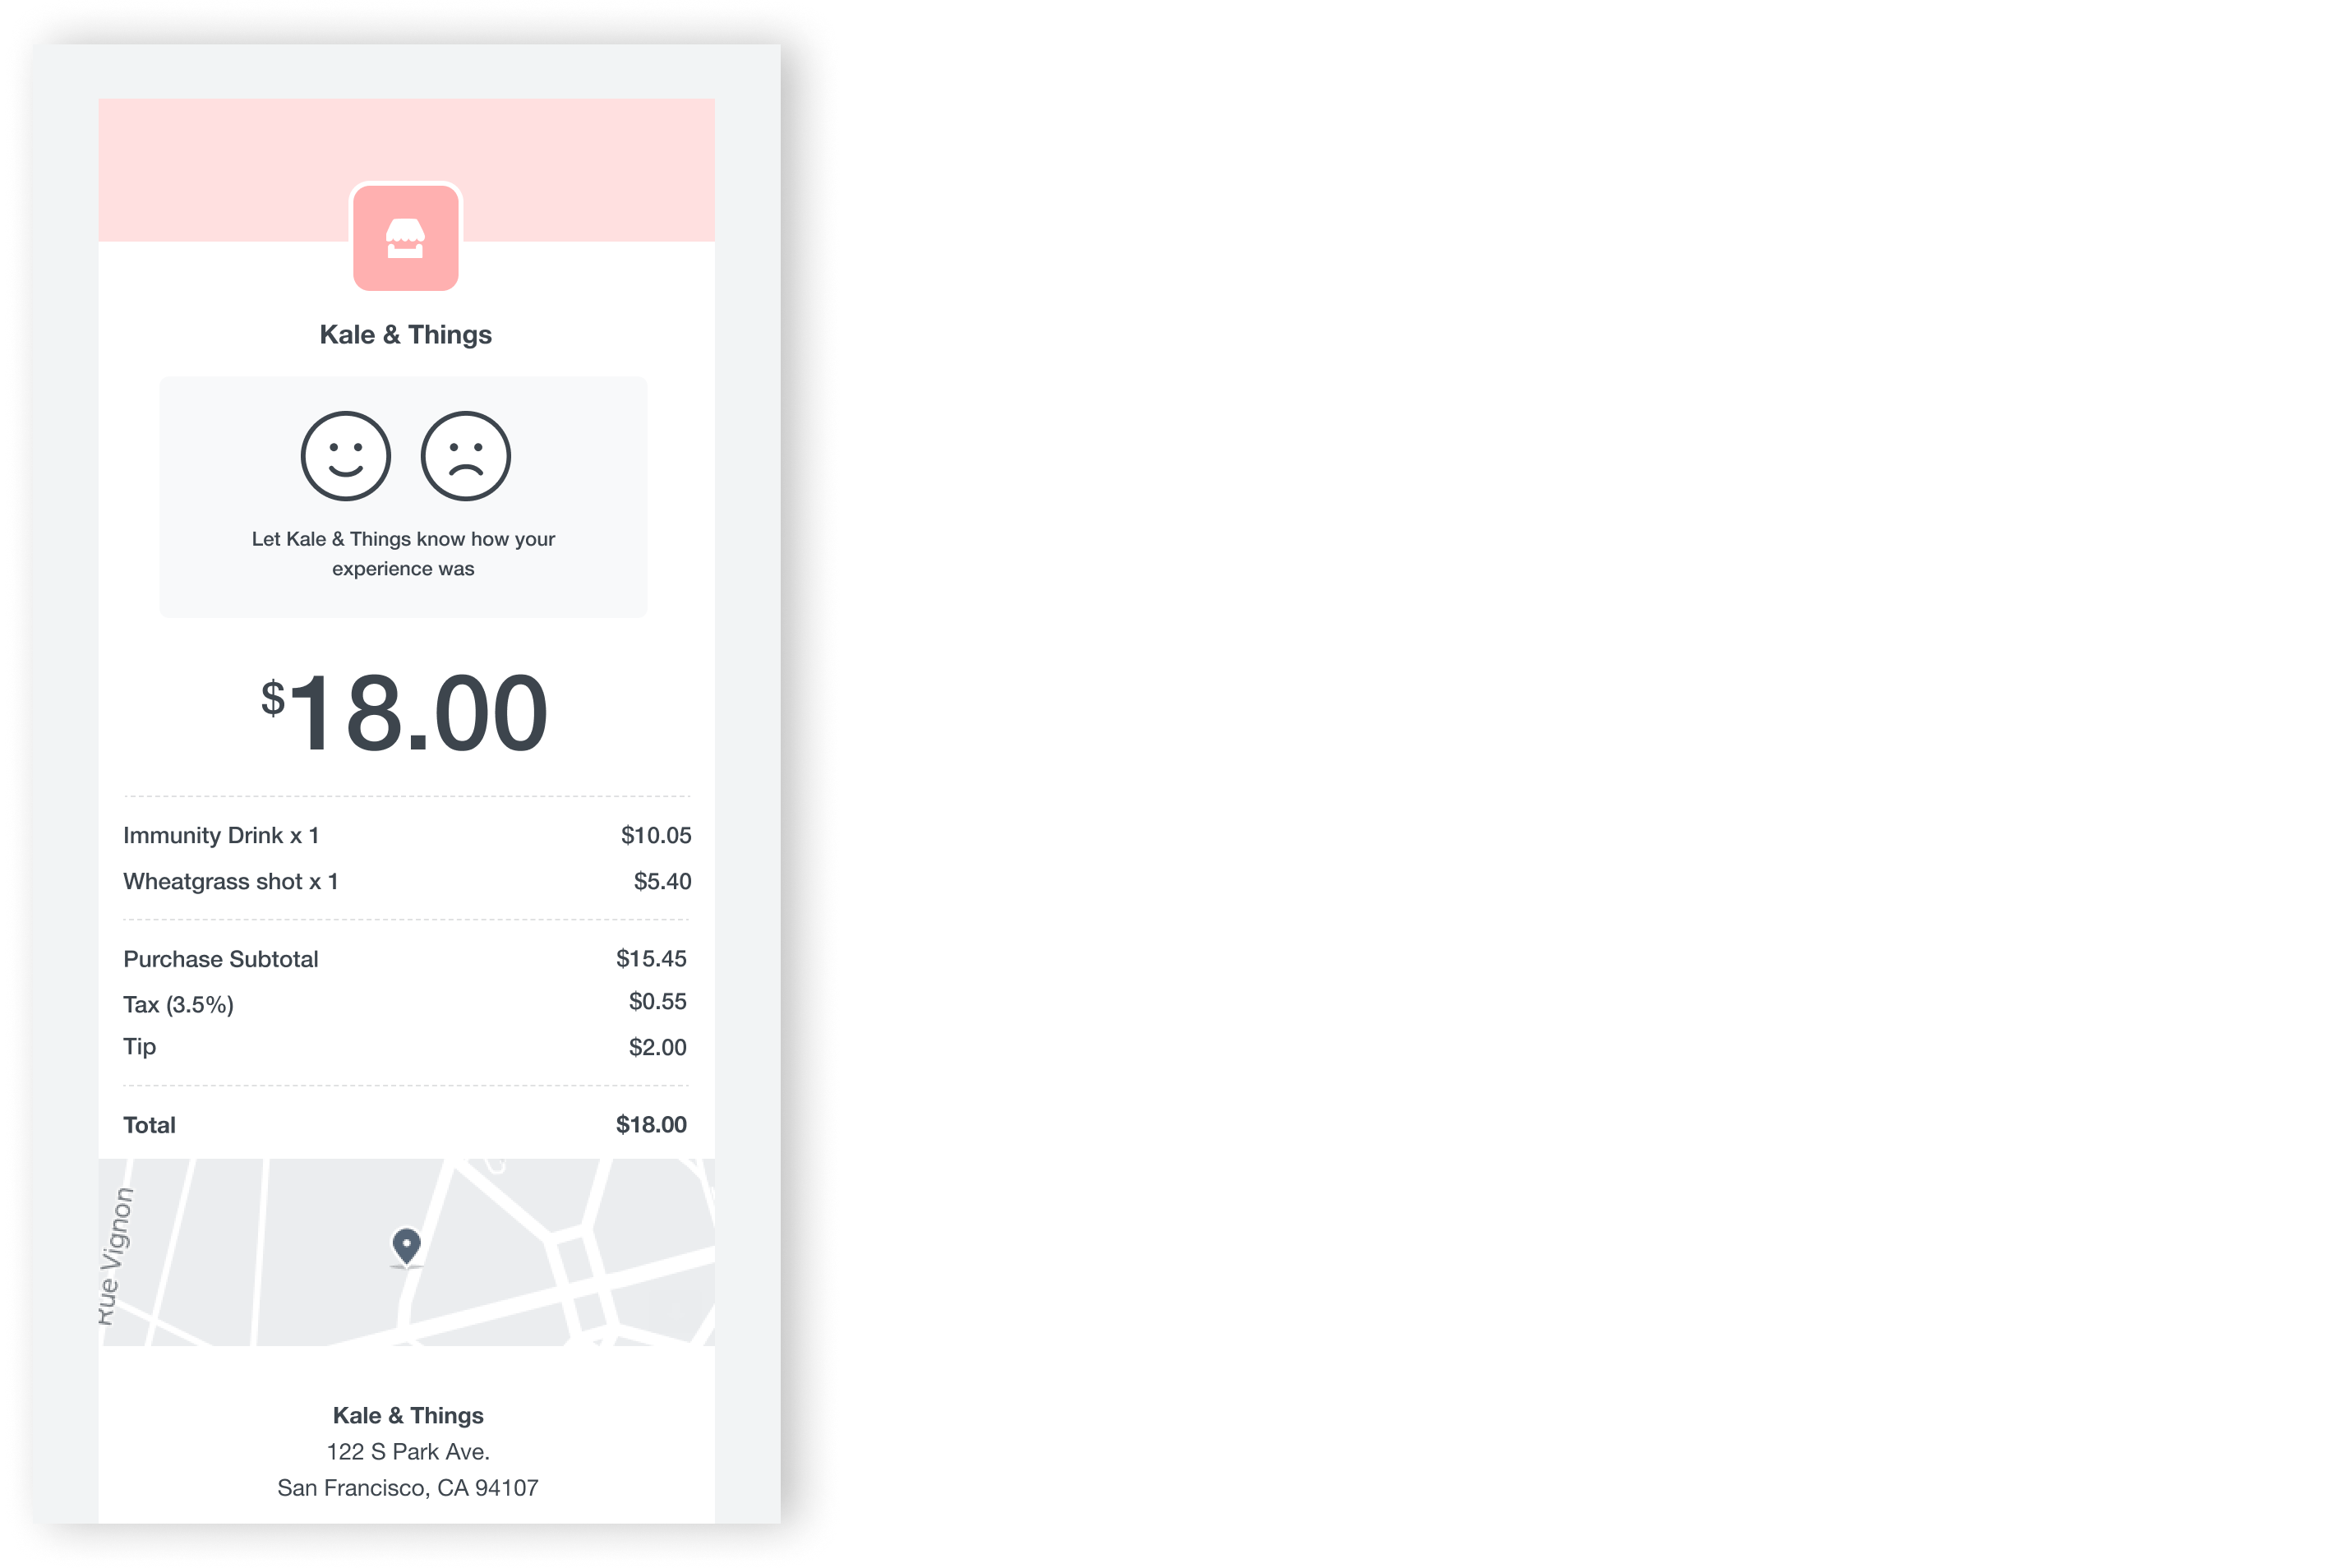
You can customise your receipts to better represent your business to your customers. Descriptive receipts help customers recognise purchases and prevent disputed payments. On your receipts, you can customise:
Logo
Brand colour (brand colour only shows on digital receipts and invoices)
Item information (item information only shows on digital receipts and invoices)
Business location
Contact information
Return policy
Custom text such as announcements or special promotions

Before you begin
You can customise the appearance of your customer-facing receipts from your Square Dashboard.
Your logo and colour will be reflected across Square, including on your receipts, invoices, loyalty campaigns, appointment flows, kiosks and anywhere else your customers interact with Square. For your logo, follow these guidelines:
Your logo should be at least 200 pixels wide and 200 pixels tall.
For a full logo, the image should be at least 1,280 px and 648 px to view in high resolution.
For a small logo, the image should be 400 px and 400 px.
For a printed logo, the image should be at least 400 px and 200 px.
For the Square Register Customer display, the recommended image size is 2560 px and 1600 px.
All logos and images must be a .jpg or .png file.
Maps of business location do not show on receipts with manually-entered payments. If you have four or more locations on your Square account, you will need to update each location receipt individually. Learn how to create and manage multiple locations.
Customise receipt appearance
Customise your customer facing touchpoints like receipts, invoices, appointment booking flow and checkout screens with your brand’s colour and logo.
- Sign in to Square Dashboard and go to Settings > Account & Settings > My business > About.
- Under Branding, click + Create new.
- Upload a full and small logo by selecting Add, and choose your brand Color. Click Next.
- Click Receipts, and review your branding for printed and digital receipts.
- Click Point of Sale to view your branding on the customer display on Square Register or Mobile.
- If you use Square Invoices, click Invoices to review branding via email or on the Invoice pay page.
- Once you’re done reviewing, click Next.
- Select locations to apply your branding to, then click Publish.
To edit your brand’s colour or logo, click the pencil icon next to the branding set you’ve created.
Manage branding on Square Register
Once you’ve created your branding set, you can adjust the visibility settings on your Square Register Customer Display. To do so, go to Settings > Hardware > Customer Display on your Square Register. You can toggle on Show Business Name on Idle Screen and Show Profile Image on Idle Screen.
- Sign in to Square Dashboard and go to Settings > Account & Settings > Payments > Receipts.
- Under Business, toggle on Show location to show the location name on your receipt.
- Under Contact, provide any contact information you want available to customers. Your phone number is automatically included.
- Under Additional text, add a Return Policy or Custom Text.
- Review your preferred receipt settings, then select Save.
Select receipt language
Your receipt language is the language of your customer receipts and emails from Square for a specific location. Receipt language and your reply-to email address are based on the location information provided. To choose the language:
Sign in to Square Dashboard then go to Settings > Account & Settings > My business > Locations.
Select the location you want to edit.
Under "Preferred language," choose a language from the dropdown menu.
Click Save.