System updates

We’re experiencing issues that may affect your Square services. We’ll continue to update our status page with more information.

Home>Site Design and Content

Customise Images and Backgrounds in Square Online

Square Online

Sell in more ways with a free online store.

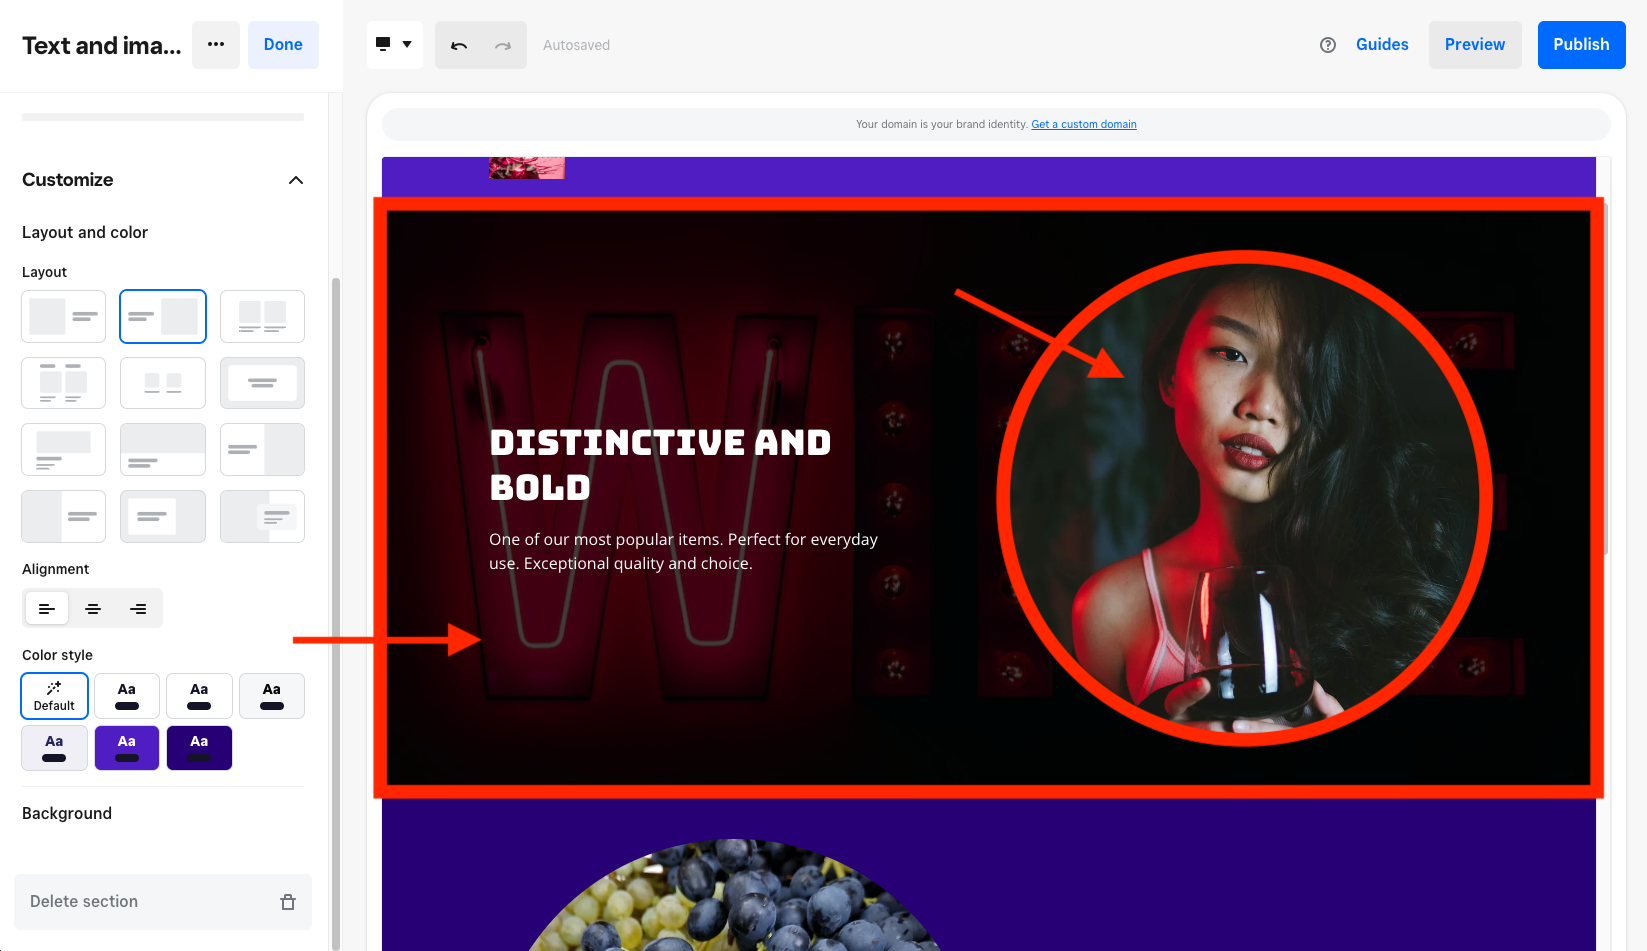
Images are a crucial element of any website. They can add a personal touch, sell more items and enhance the overall experience of your online presence. In the Square Online site editor, most sections will include an image option for you to customise, including the following:

  • Upload multiple images with an image gallery section and choose from different layout styles like static galleries, slideshows and more.

  • Connect your Instagram account with an Instagram feed section so you may sync and display your social images online.

  • Showcase your top items and categories with a featured items section to allow customers to quickly order or shop.

  • General text and image sections let you add multiple forms of content, with additional customisation options to choose from.

  • Most other sections allow you to add a background image.

Note: You can also add item and category images to Square Online directly in the editor.

Learn more tips for managing both non-background and background images for your Square Online site.

Non-Background Images vs Background Images

Square-Online-Non-Background-vs-Background-Images-EN

When working with images in the site editor, you’ll see these two primary types:

  • Non-Background: These images are part of the added content that appears on your site along with text. They can usually be right-clicked and copied, or opened in a new browser tab. You can also think of them as foreground images.

  • Background: These images aren’t a part of the primary content that appears on your site, but are in the background (or behind) your non-background images and text. They can be considered a part of your site’s design or style, and cannot be right-clicked and copied, or opened in a new browser tab.

Add a Section with an Image Option to Your Site

Square-Online-Add-Section-with-Image-Option-EN

To add an image to your site, the first step is to open your Square Online site editor and choose or create a page you want to add images to. Next, select + > Section to open the sections menu.

Most of the sections in the Organise category include a non-background image. Select any section to see how it looks on the page. You can also add any other section and edit the background image. When you find one that you like, select Add to add it to your page.

Add an Image to Your Section

Square-Online-Image-Asset-Manager-in-Editor-EN

To add images to your section:

  • Non-Background: Under the image option in the editing panel, select Add image.

  • Background: Under Customise > Background in the editing panel, choose Image in the drop-down menu and select Add image.

Either of these options will open the asset manager pop-up window so you may select or upload your images.

Navigate the asset manager

Note: Access premium photo options by upgrading your Square Online subscription.

There are a few different options for adding an image from the asset manager popup window:

  • Select My images to see all general images uploaded across the selected website in your Square account. If you have more than one site, use the Site drop-down menu to switch between them.
  • Select My logos to see all logo images uploaded across the selected website in your Square account. If you have more than one site, use the Site drop-down menu to switch between them.
  • Select Premium photos to access over 100 million premium-quality, royalty-free photos (upgrade required).
  • Select Instagram to connect your Instagram account and use the photos from your profile on your site.

Supported image file types

To upload a new image, go to either My images or My logos in the asset manager, and select the link to choose a file from your device. You can upload these image file types:

  • JPG
  • PNG
  • GIF

Image recommendations

For tips related to the images displayed on your Square Online site, take a look at the general guidelines below.

Non-background images:

  • The best approach for non-background images added to any page of your site is to use JPEGs that are no more than 1,000 pixels on their longest side.
  • For high-quality images, we recommend using a photo hosting site made for photographers (e.g. Flickr.com) and embedding the images onto your site from there. We don’t design around larger, uncompressed, high-quality images because we need to host millions of images from millions of sellers and creators. As a result, third-party image hosting can be a better way to make sure your image quality doesn’t go down.

Background images:

  • For images that are a part of your site design (e.g. header, banner and background images), it’s best to use an image that’s at least 2,000 x 1,000 pixels. This makes the image large enough to look good at full width on virtually any screen size.

Edit Section Groups

Some section layouts let you copy parts of the section called Groups so you can add more content and images without adding another section to the page. Under Group in the editing panel, you’ll see a list of the current groups in the section.

To insert a new image and text group with the default text, select Add group. To copy an existing group, select ••• > Duplicate. New or duplicated groups will appear in the list in the editing panel. You can rearrange the order of groups on the page by dragging a group to a new spot in the list.

Edit Non-Background Images

Square-Online-Edit-Non-Background-Image-EN

Edit your non-background images

To edit a non-background image on your Square Online site:

  1. From your Square Online site editor, go to the page with the image you’d like to edit.
  2. Select the section with the image, then select the image itself to see image options appear in the editing panel.
  3. Select Edit to adjust the available options as needed. If you don’t like your changes, select Revert to original.
  4. Save your edits and Publish your site to see the changes live.

Note: Depending on the layout of your section, you may see more or fewer image editing options.

Replace and delete your non-background images

To upload a different image, select Replace in the editing panel. You can also select the rubbish bin icon if you want to remove the image. If you change your mind, use the undo arrow to go back a step.

Add links and alt text to your non-background images

In the editing panel, you can additionally add a link to the image or add alt text to improve SEO and web accessibility. Learn more about how to add a link to your site and optimise your website pages for SEO.

Note: Web accessibility is an important aspect of designing a website that’s accessible to as many people as possible, particularly those with disabilities or impairments. Learn more about web accessibility for Square Online sites for tips on image accessibility.

Add right-click protection to your non-background images

With so many workarounds out there, it can be virtually impossible to fully protect an image on the internet. You do have the option of using password-protected pages on your Square Online site to protect your content.

You can also disable right-clicking on your site in some browsers in order to prevent people from easily copying your pictures. Keep in mind that doing this doesn’t offer full protection, but it does help slow some efforts down. To disable right-clicking on your site:

  1. From your Square Online Overview page, go to Settings > Tracking Tools.
  2. Select Add new code.
  3. In the pop-up window, enter the code’s name and the code itself into the corresponding fields (see code below).
  4. Place the code in the footer by selecting End of body.
  5. Select Save.
  6. Publish your site from the Square Online site editor to see the changes live.

Code: <body oncontextmenu=”return false;”>

Rather than protecting images in this way, many people with online images (e.g. photographers) choose to use graphics programs to add a watermark/stamp onto the online version of their photos. Although this doesn’t prevent the photo from being stolen, it does protect it from malicious use since, in most cases, the watermark renders the photo useless.

Edit Background Images

Square-Online-Edit-Background-Image-EN

Edit your background images

You can improve the readability of a section in Square Online by adjusting the darkness or lightness of the background image. Light images can become lighter where the text will default to a darker colour, and dark images can become darker where the text will default to a lighter colour. To adjust a section’s readability for your Square Online site:

  1. From your Square Online site editor, go to the page with the background image you’d like to adjust.
  2. Select the section with the image, and go to Customise > Background in the editing panel.
  3. Select Edit and adjust the image’s readability by moving the slider.
  4. Save your edits and Publish your site to see the changes live.

You can also zoom and straighten the background image as needed.

Replace and delete your background images

To upload a different image, select ‘…’ > Replace in the editing panel. You can also select the rubbish bin icon if you want to remove the image. If you change your mind, use the undo arrow to go back a step.

Change your background image to a colour

To change your section background image to a colour in Square Online:

  1. From your Square Online site editor, go to the page with the background image you’d like to adjust.
  2. Select the section with the image, and go to Customise > Background in the editing panel.
  3. From the dropdown menu, choose either Your selected colour to change it to your selected site colour or Custom colour to change it to a different colour.

Learn more about choosing colours for your Square Online site.

Edit Background Videos

Note: Use a video as a background by upgrading your Square Online subscription.

On top of high-quality GIFs, you can also upload your own videos as section backgrounds to add animations to your content. Start by selecting the main banner section on your webpage and choosing Video as your background option in the editing panel. From here, you can replace or delete the video file at any time. You can also adjust the video start time, end time or playback speed.

Note: Maximum video file storage is 20 GB.

Additionally, you can add non-background videos with sound and other features to your site using YouTube, other video hosts or your own files. Learn more about including videos on your website for more information.

Mobile Site Image Options

Although the mobile version of your website can’t be edited separately from the desktop version, you do have image options specific to your mobile website meant to keep your images looking great across all screen sizes. Your options include the following:

Adjust the mobile background image focal point

You can adjust the focal point of a section’s background image so the subject of the image remains centred on your Square Online mobile site. To start:

  1. From your Square Online site editor, go to the page with the background image you’d like to configure for mobile.
  2. Select the section with the image and go to Customise > Background in the editing panel.
  3. Select ‘…’ > Set image subject.
  4. Place the indicator dot on the main subject of your background image. This will help make sure the subject of your photo is always centred on your mobile site.
  5. Select Save when finished. You can check the mobile site with this change by switching to the mobile view. Adjust it again in the desktop view as needed.
  6. Publish your site to see the changes live.

Troubleshooting

If you’ve uploaded multiple images to your Square Online site with the same file name, you may see those images display several unwanted behaviours on your live website. For example, images could suddenly appear on the wrong page or swap places, or even not appear at all. Due to this, making sure each image has its own unique file name prior to uploading it to the site editor will help avoid this behaviour in the future.

If you’re experiencing this currently, troubleshoot it with these steps:

  1. From your Square Online site editor, delete all of the images that display incorrectly.

  2. On your computer or device, manage your image files by making sure they all have unique file names.

  3. In the site editor, re-upload the images to your website.

  4. Publish your site to see the changes live.

Can't find what you need?