Set up coursing for checks
About coursing
Coursing helps you and your team manage the flow of checks — for both the front- and back-of-house. Coursing is designed to easily group items, add items, and let the kitchen know when to hold or start firing dishes.
Once you’ve enabled coursing and set up your custom-named courses, you can start adding courses to your checks. When you fire a course, your printer stations will automatically print the order ticket to your kitchen or bar and/or the order will appear on your kitchen displays. A held course won't be sent and printed until it's fired from the ticket.
Before you begin
You can set up coursing, it impacts how your orders are sent to the kitchen via your kitchen display system or your kitchen ticket printers.
If you use a Square KDS, make sure you download the Square KDS app on an Android tablet.
If you use kitchen printers, make sure your printers are connected to Square. Learn how to connect a printer to your point of sale.
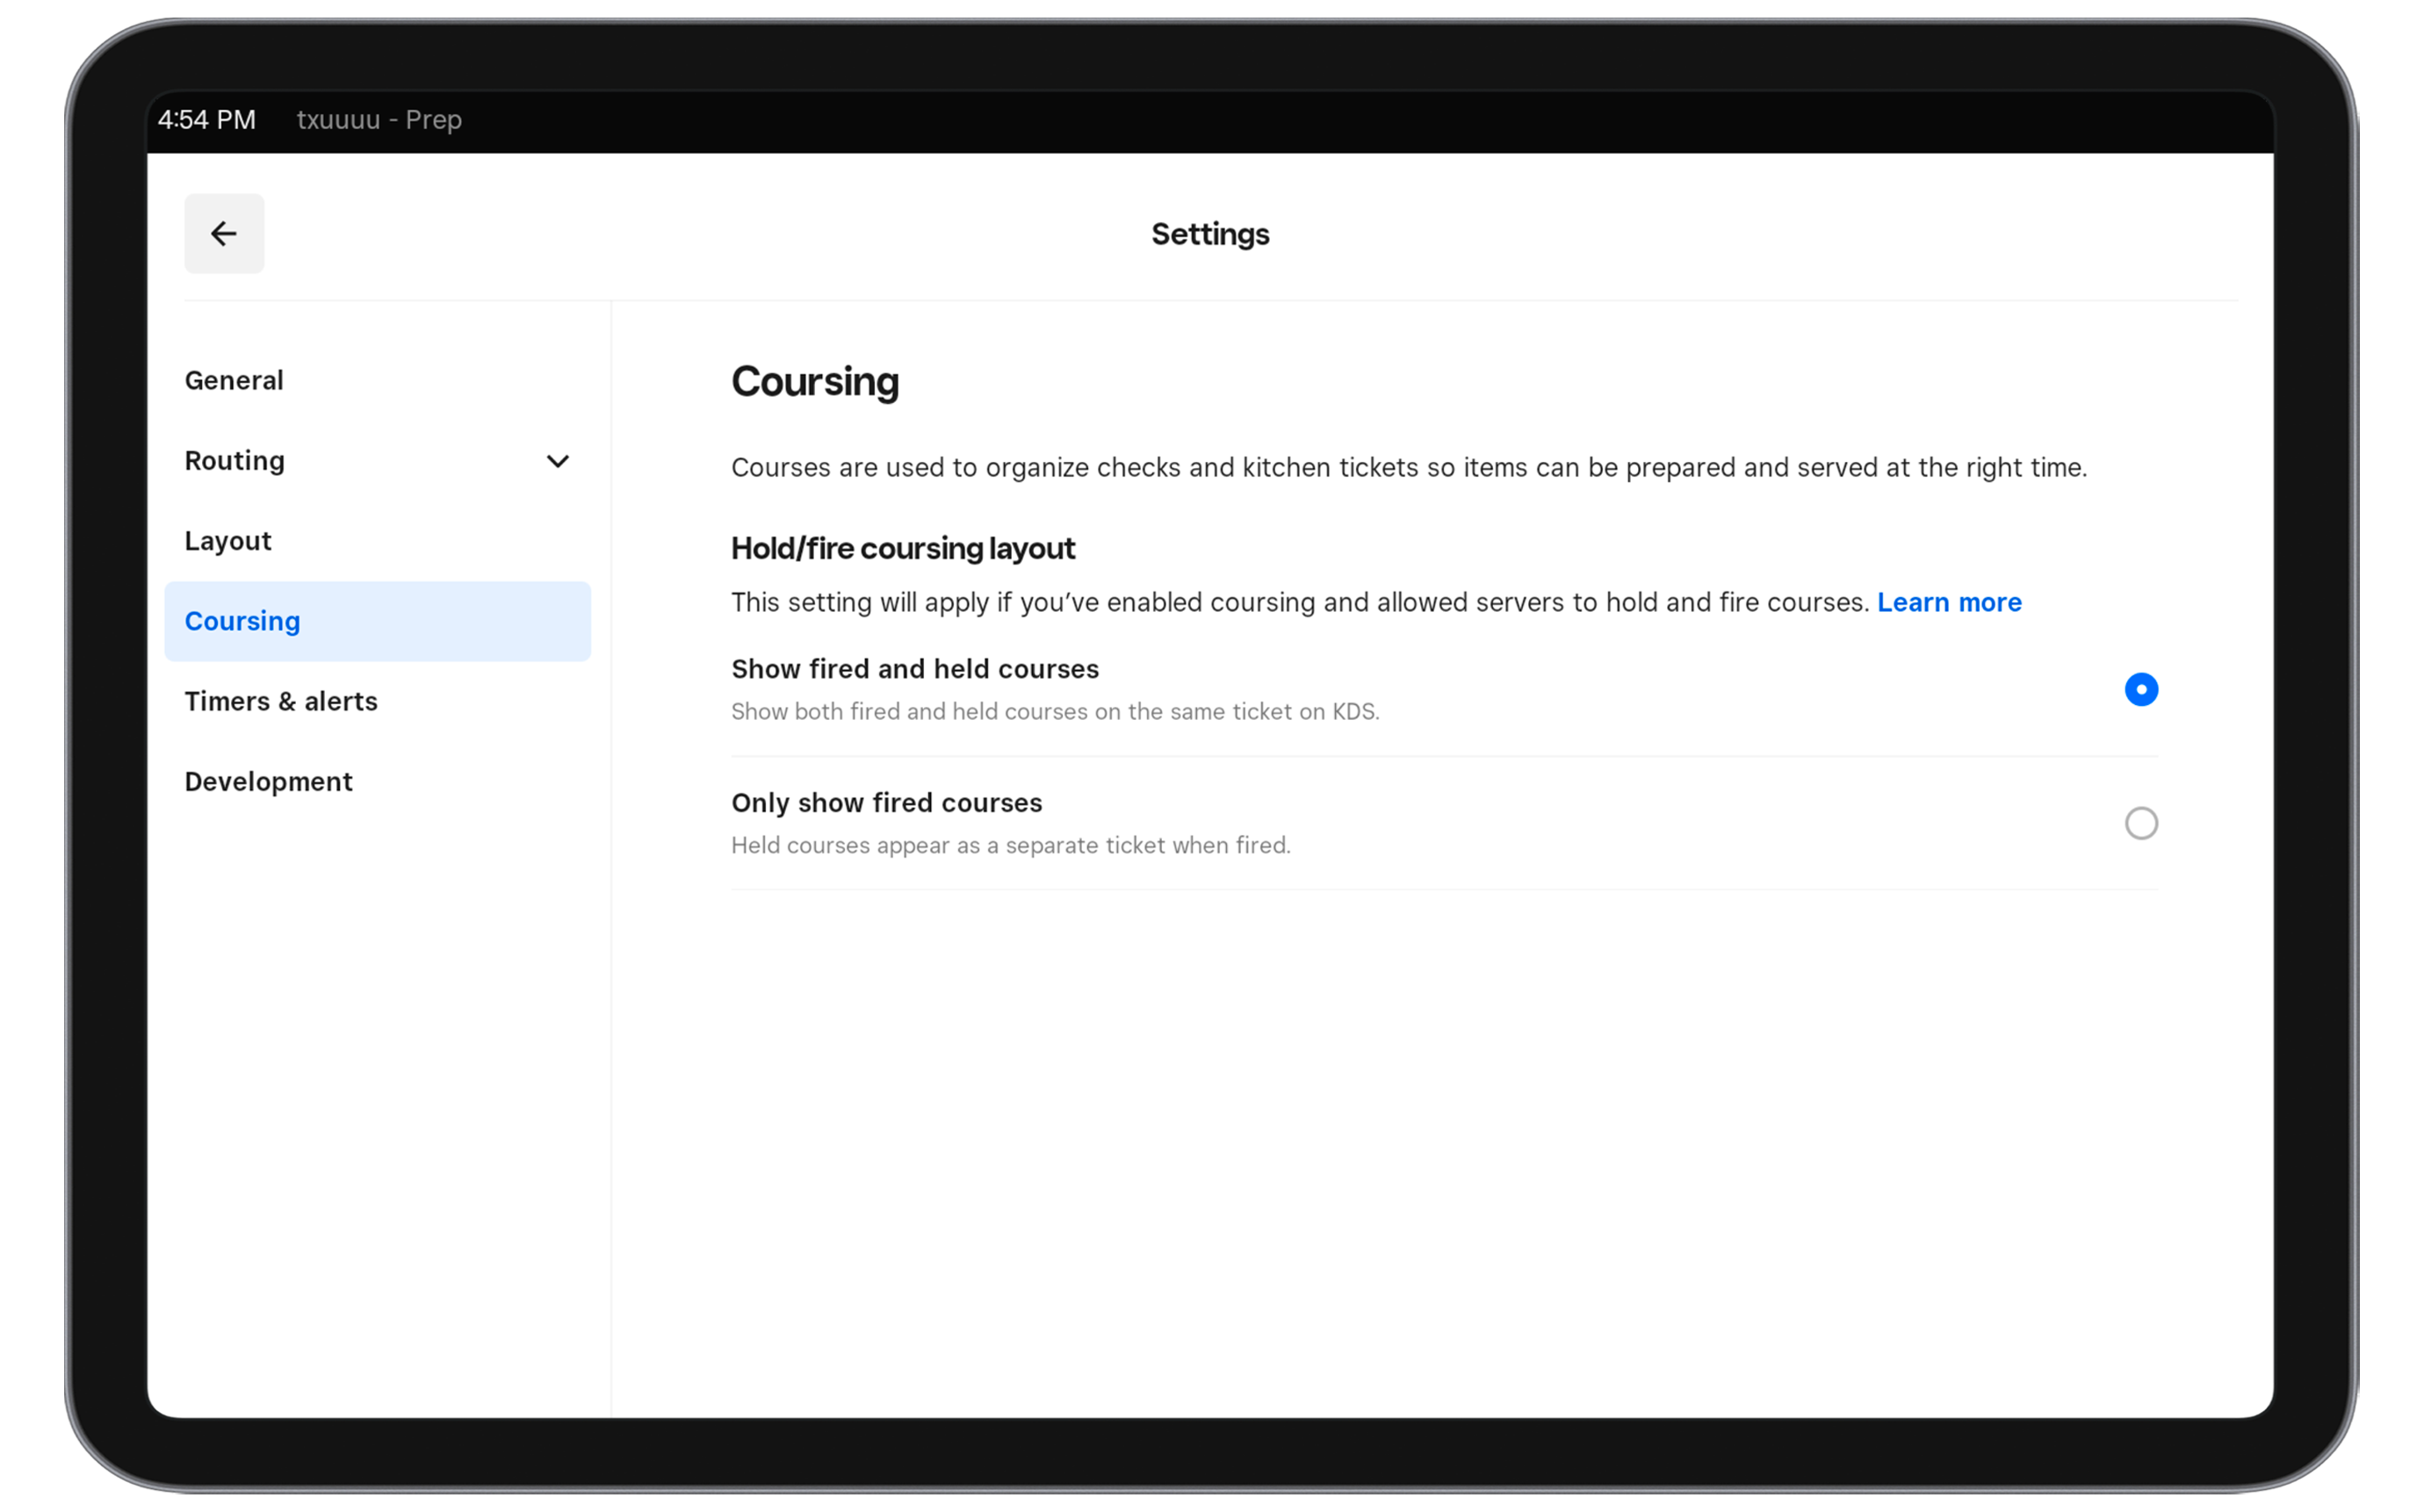
You can turn on coursing from your Square Dashboard. After coursing is enabled, you have two options for adjusting the settings from your Square Dashboard and Square KDS app:
Show fired and held courses: Both held and fired courses will show in the ticket when the ticket is sent from the POS.
Only show fired courses: Only fired courses will appear as tickets. You can still view completed, fired, and upcoming held courses in a full ticket summary view.
You can also view all tickets for a table from your Square KDS app. If a ticket has an item that was sent from the Square Point of Sale but is not showing in that ticket, you can open the full ticket summary view. The full ticket summary will display if:
More than one ticket is sent to the Square KDS (such as two straight fire tickets sent at different times)
More than one course is sent to the Square KDS at different times (such as sending an appetizer and then sending a main course at a different time)
A held course is sent from the Square Point of Sale — even if the held course does not show as a ticket on the Square KDS yet
If you use coursing, you have two options to send orders to your kitchen:
You can have coursed order tickets sent to a kitchen printer. Learn how to connect a printer.
You can have coursed order tickets sent to a kitchen display. Learn how to set up Square KDS.
During service, adding items to a course, and holding and firing courses is done from the Square Restaurants POS app.
Step 1: Create a mode for coursing
Sign in to your Square Dashboard and click Settings > Device Management > Modes.
Click Create.
Select Square for Restaurants Handled or Square for Restaurants Countertop then click Next.
Choose a template settings then click Next.
Type your mode name then click Save.
Scroll down and click Coursing.
Toggle ON Enable Course Management.
Set other Coursing preferences and click Save.
Step 2: Adjust your coursing format
- Sign in to your Square Dashboard and click Settings > Device Management > Devices.
- Select your device then, next to Assigned mode, click Manage.
- Click Coursing.
- Choose between Show fired and held courses or Only show fired courses.

Step 3: Add items to courses
From your Square Point of Sale app in standard, quick service, full service, or bar mode or your Square Restaurants POS app:
Open your app.
Choose the table that you’d like to create a check for from the Floor plan screen, or tap New Bill from the Bills screen and choose your table.
Tap on the course in the cart to select it.
Add all applicable items to the course.
Tap Add Course to add additional courses if needed.
You can alter whether a course should be fired by tapping the fire icon or held by tapping the hold icon on the course.
Tap Send once you are ready to send your check to the kitchen.
If you are holding items in a check, you can fire them anytime. To do so, re-enter the check then tap the fire icon next to the wanted course and tap Send. A fire ticket will be sent to the kitchen.
View full ticket summary
If a table with coursing enabled has more than one ticket sent to the KDS, you may want to view all tickets for that table. To do so, from your Square KDS app, tap View all courses at the bottom of the ticket to view all tickets at the same table.