Create, edit, and assign resources for appointments
About resources
With resource booking (resource management), you can create resources — like rooms, stations, equipment, or chairs — and assign them to your services that require them. When those services are booked, the resources are automatically booked at the same time so that you don’t get doubled booked when a resource is unavailable.
Resources can also help you restrict the number of appointments during the same time slot. For example, you might have three staff members available for a luxury spa experience, but you only want to have one appointment at any given time. In this case, you can name your resource ‘luxury spa’, and assign it to the relevant service so only one luxury spa appointment can be booked online for any given time slot.
Before you begin
You create, edit, assign, delete and change resources on services from your Square Dashboard, the Square Point of Sale app, or the Square Appointments POS app.
When an appointment is scheduled for a service requiring a specific resource, the system will automatically reserve that single resource. This ensures that the same resource cannot be booked for another appointment at the same time, preventing double bookings.
If a certain service is available at different locations of your business, you can assign resources to one, some, or all of your locations.
Create a resource
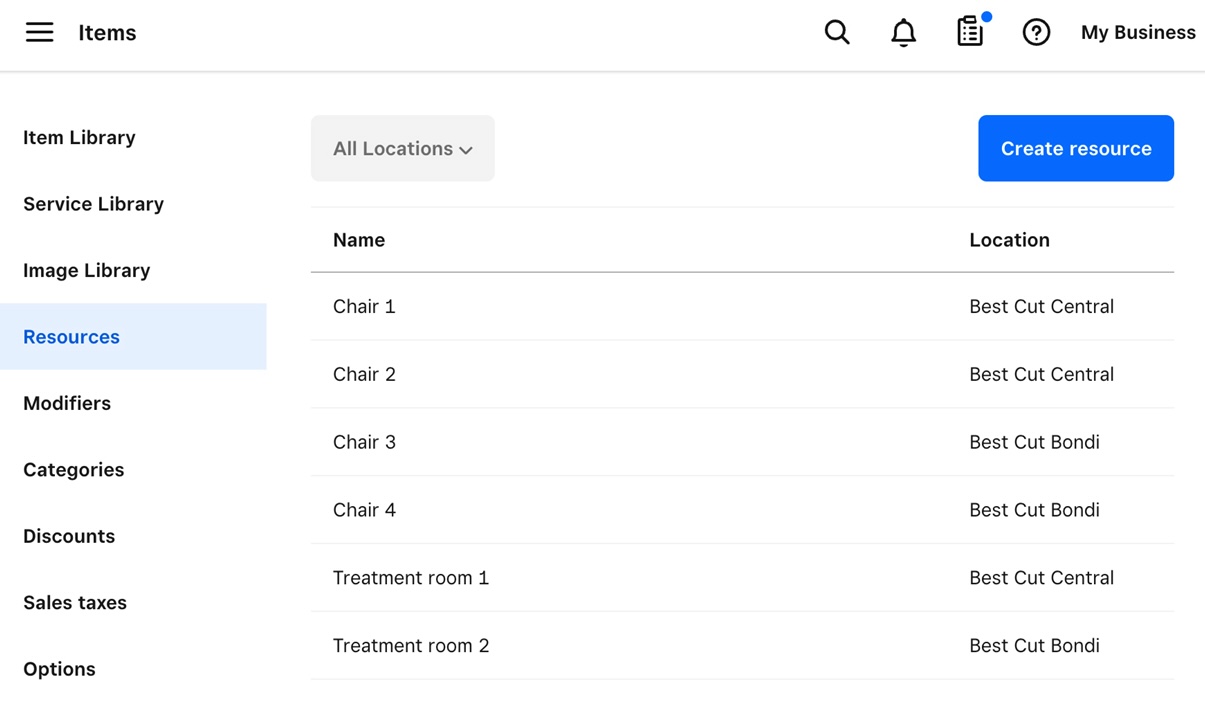
- Sign in to Square Dashboard and go to Items & services (or Items & menus or Items & inventory) > Items > Resources.
- Click Create resource.
- Choose a name (i.e., massage room) and an optional description.
- Select the appropriate business location if you have multiple locations.
- Select Save to create your resource.
A resource can only be assigned to one business location.
Edit a resource
- Sign in to Square Dashboard and go to Items & services (or Items & menus or Items & inventory) > Items > Resources.
- Select the resource you’d like to edit and make your desired changes.
- Tap Save.
Delete a resource
- Sign in to Square Dashboard and go to Items & services (or Items & menus or Items & inventory) > Items > Resources.
- Select the resource you’d like to remove and click ••• > Delete.
- Click Delete Resource.
Assign resources to services
- Sign in to Square Dashboard and go to Items & services (or Items & menus or Items & inventory) > Items > Service library.
- Select the service which requires a resource.
- Toggle on Require a resource.
- Select the resource(s) you’d like to assign to the service. When the service is booked on an appointment, one of these assigned resources will also be booked.
- Tap Save.
If you have different variations on a service, you can assign different resources to your variations as well.
From the Square POS app with bookings mode enabled or the Square Appointments POS app:
- Open your app tap Items & Services > All Services.
- Select the service which requires a resource.
- Turn on Resource required for this service.
- In the Assigned resources section, tap Select resource and select the resource(s) you’d like to assign to the service.
- Tap Save.
Change resources on appointments
You can change the resource booked on an appointment when you create a new appointment, right after a resource is automatically assigned, or when editing an existing appointment.
- Sign in to Square Dashboard and go to Appointments > Calendar.
- Select the desired appointment > click Edit.
- Click your service name under _Services.
- Select the assigned resource, and change the resource, if other resource options are available in the drop down menu.
- Click Save.
From the Square POS app with bookings mode enabled or the Square Appointments POS app:
- Open your app and tap Calendar.
- Select the appointment you want to change the resource from > tap Edit.
- Tap your service name under Services & Items.
- Scroll down to Resources and tap on the resource you want to change > select a new resource.
- Tap Save.