Set up your retail business with Square
About Square for Retail
Square for Retail is a comprehensive, all-in-one POS solution designed specifically for retail businesses. It’s a complete suite of tools made for retailers, making it easy to streamline your business by integrating sales, inventory management, purchase orders, a customer directory and reports in one place.
Before you start
The steps in this guide are the basic setup instructions for Square for Retail. Make sure you have an active Square for Retail subscription. If you don’t have an active Square for Retail subscription, sign up for Square for Retail.
Step 1: Order hardware
Get the right hardware for your business to start accepting payments, printing receipts and scanning barcodes. Visit Square Shop to order your Square hardware and compatible accessories.
Step 2: Verify your identity and link your bank account
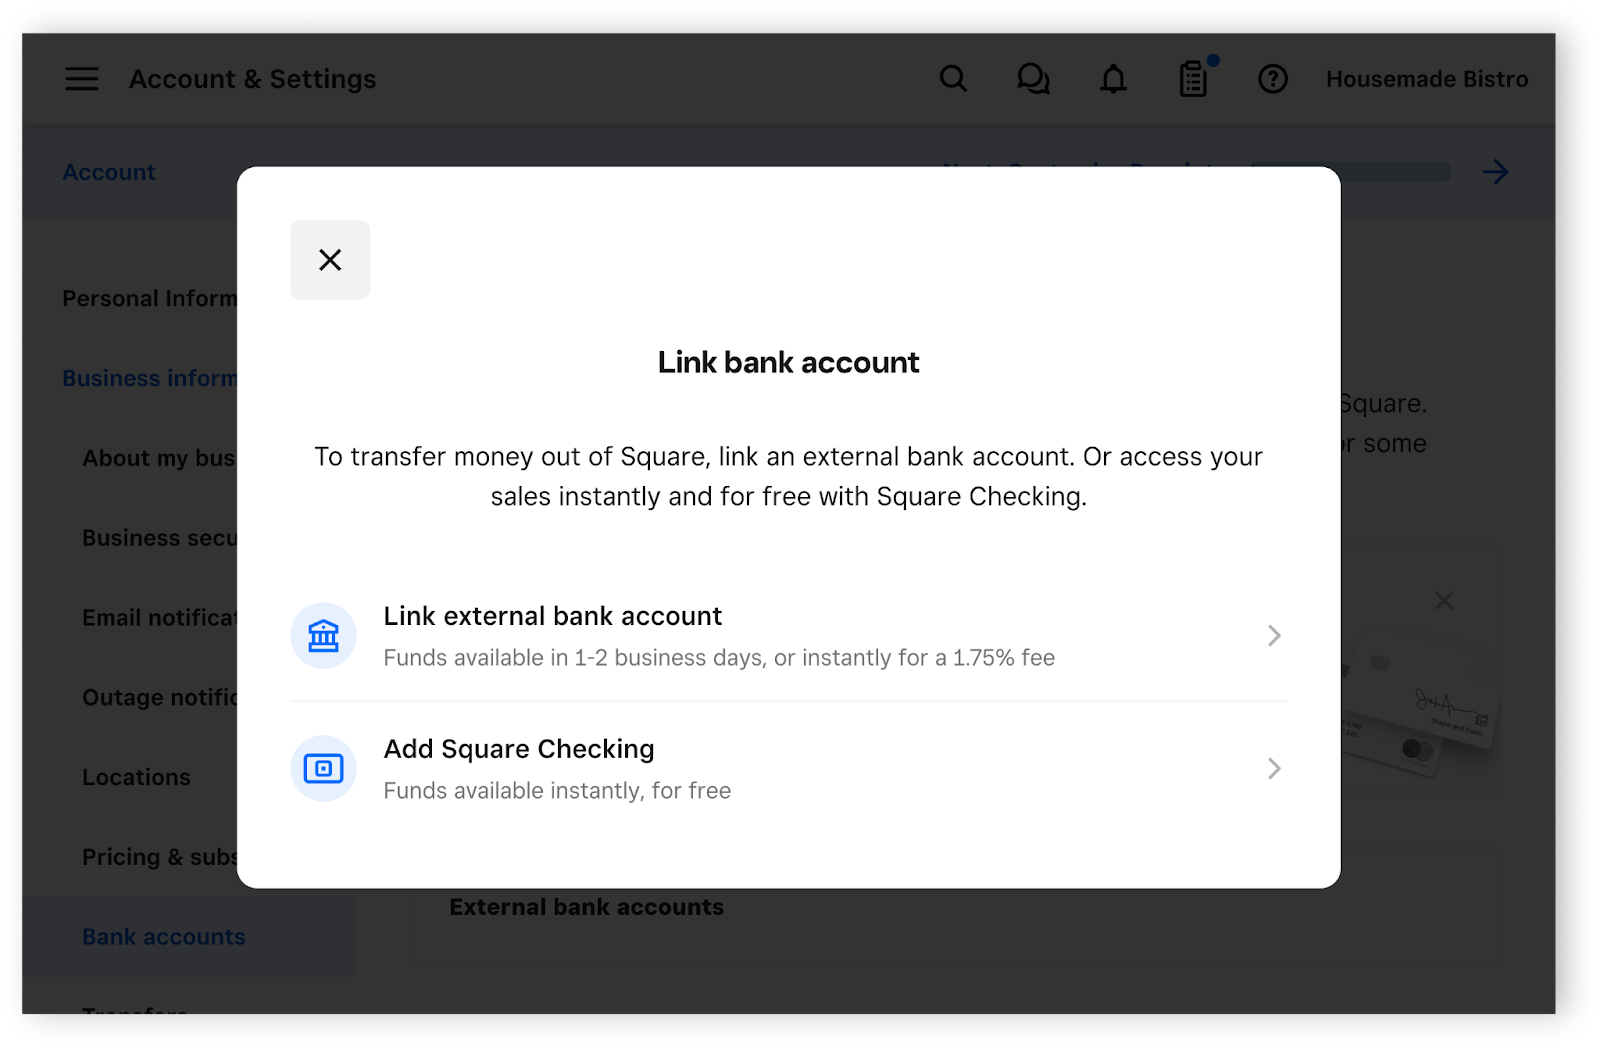
Select a transfer schedule and link your bank account to begin receiving funds from your sales, and complete your identity verification to activate your Square account. You need your bank account number and sort code for this step. Learn how to link and edit your transfer methods.
Step 3: Create items
Items are sellable goods and services that make up your item catalogue. You can create, edit and manage items to check out customers faster, know what’s selling best, and track inventory. Learn how to create and edit items.
Step 4: Download the Square Point of Sale app
Start taking payments from customers on your mobile device by downloading the Square Point of Sale app and utilising retail mode. If you are using a compatible iPhone or iPad, you can download the free Square Point of Sale app from the App Store on your iOS device.