


Please update your browser.
Download the latest version of a supported browser below to get the most out of this website:
Appointments Simplify bookings and stay organized
Say goodbye to scheduling chaos
Use Square booking software to manage appointments, staff availability, and services all from one place — synced in real time.

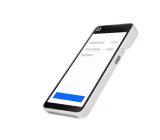
Create a free booking site
Give customers a way to book your services 24/7 with an online booking site.

Add unlimited staff schedules
Let clients book services with any team member at any location from your booking site.

Connect your Google Calendar
Sync your Google Calendar to automatically block off personal events and avoid double-bookings.

Track resource availability
Assign rooms, stations, or chairs to services so they get booked when clients make appointments.

Offer class bookings
Schedule single sessions or recurring classes in just a few clicks.
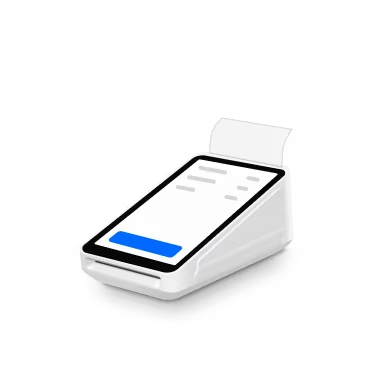
Take payments online and in person
Accept payments in-studio, on the go, and online with all sales connected in one system — no extra apps needed.


Take all major payment types
Let customers pay with cards, digital wallets, QR codes, payment links, Cash App Pay, gift cards, and more.

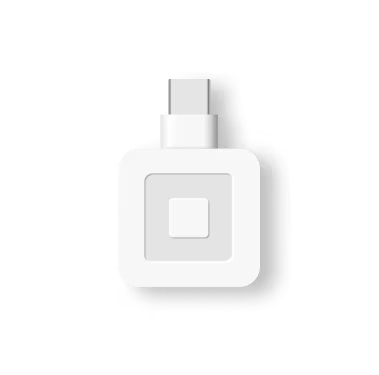
Process payments with just your phone
Accept contactless cards, Apple Pay, and digital wallets with Tap to Pay on iPhone or Tap to Pay on Android.¹

Offer customers the flexibility of Afterpay²
Give your customers the option to pay over time with Afterpay — you’ll get paid up front when they make their initial purchase.

Keep cards on file for no-show protection
Save clients’ cards on file to hold appointments, manage prepayments, or charge cancellation fees.
Send reminders and more, automatically
Send customizable email and SMS messages for appointment confirmations, reminders, and easy rescheduling.


Secure yourself against no-shows
Protect your time and revenue with customizable no-show policies, fees, and prepayments.

Keep schedules full with waitlists
Create demand with a waitlist that automatically fills cancellation openings.

Get AI support
Use Square Assistant to create automated appointment messages for clients on your behalf.

Track customer interactions
Access customers’ transaction history, texts, and emails with Square Messages.

Create customer profiles
Store all your client details — preferences, birthdays, documents, images, and files — with customer profiles.

Collect important client information
Receive forms and contracts from clients during booking and keep them together.
Book more clients in new ways

Join the marketplace
Get discovered and booked by clients with Square Go — our free marketplace app.

Attract clients via social
Reach customers through social media and allow them to book right from your page.

Offer pre-paid packages
Sell packages of your services to secure cash upfront and foster client loyalty.
Sell products to enhance services
Ring up products and services in the same transaction and keep track of inventory.
Manage all sides of your business
Build an online store
Sell online and offer in-store pickup, shipping, and local delivery.


Offer flexible payments
Send digital invoices in seconds via email, SMS, or a shareable link.

Bring in new clients
Let your customers share your business through digital and physical gift cards.

Keep customers engaged
Run email and text message marketing campaigns to drive repeat sales.

Manage and pay your team
Schedule shifts, track your team’s hours, and run payroll.

Explore tools for your unique craft


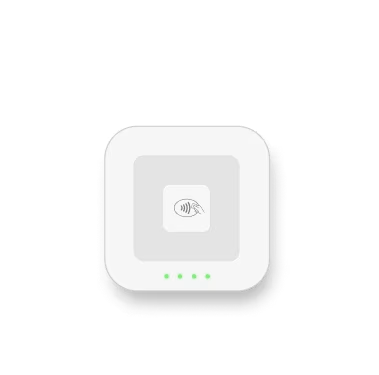
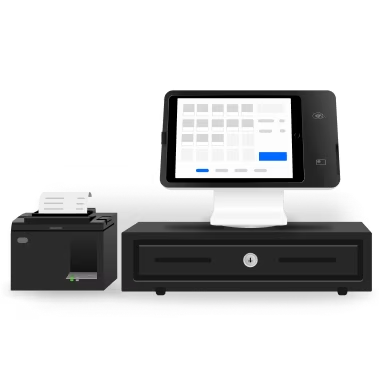
Add hardware that works wherever you do


Choose the value-packed plan that fits you best
For solo professionals taking payments and managing schedules
Processing fees
Top appointments features
Online booking site and integrations
Appointment reminders
Unlimited calendars
Invoicing
Details
Processing fees
Top appointments features
Online booking site and integrations
Appointment reminders
Unlimited calendars
Invoicing
For growing teams needing more advanced tools and features
Processing fees
Top appointments features
Everything in Square Free
Lower processing rates
Cancellation policy and no-show fees
Multi-staff appointment booking
Waitlist
Email and text message marketing
Details
Processing fees
Top appointments features
Everything in Square Free
Lower processing rates
Cancellation policy and no-show fees
Multi-staff appointment booking
Waitlist
Email and text message marketing
Square Pro
Get custom pricing
If you process over $250,000 per year, talk to our team to see if you’re eligible for custom pricing and processing fees. You can also ask about hardware discounts, onboarding and implementation support, technical specialists, and account management.
FAQ
Why use online scheduling software?
Online scheduling software helps businesses manage appointments, reduce no-shows, and deliver a smoother customer experience—all from a single platform.
With Square, you can:
Manage staff availability, services, and appointments in one calendar that updates in real time.
Take payments online, in person, or on the go, all connected in one system.
Automate confirmations, reminders, and rescheduling with customizable email and text messages.
Start today and spend more time with your clients, while Square takes care of the admin.
How does appointment scheduling work with Square?
With Square’s appointment scheduling software, clients can view your availability and book online in seconds. Appointments are confirmed instantly and added to your calendar. Automated reminders, waitlists, and rescheduling tools help reduce no-shows and keep your schedule organized.
Is Square right for my business?
Square will work for any business that needs appointment scheduling capabilities and a point-of-sale system. Learn more about how Square works for retail businesses. If you’re a restaurant business, you can learn more about how Square can also support your restaurant.
How can I switch from my current scheduling software?
Get started by creating your Square account. You can then bulk import your customer list and inventory list to get up and running quickly.
If you would like to migrate additional data from your current provider, such as appointment history or future appointments, please contact sales. You can learn more about our onboarding and data import services and pricing here.
How long will it take to set up my account?
Getting set up to accept bookings and credit cards on Square only takes a few minutes. Read more about getting set up.
Does Square’s booking software integrate with existing CRM and client lists?
Yes. Square’s booking software includes a built-in customer directory that stores client contact details, booking history, notes, and payment information in one place. If you already have a client list, you can import customers using a CSV file to get set up quickly.
For businesses that use third-party CRM tools, Square supports integrations through the Square App Marketplace. These integrations can help connect booking activity and customer information with other tools you rely on, so client data stays aligned across your systems.
How do I manage team schedules and availability with Square’s booking software?
Square’s booking software lets you manage staff schedules and availability from one calendar. You can set each team member’s working hours, assign services they offer, and control when they’re available for booking. Appointments are automatically scheduled based on availability to help prevent double bookings and keep calendars up to date for you and your team.
How customizable is Square’s online booking site?
You can customize Square’s online booking site to match your business by adding your logo, brand colors, and services. Customers can book 24/7, with booking embedded on your website or linked from platforms like Google and Instagram.
Is real-time reporting and analytics included?
Yes. Square’s booking software includes access to Square Dashboard, where you can view real-time insights into your business. You can track sales as they happen, see your most popular services, and monitor payment activity from one place.
Ready to get started? Your next client is waiting.
1Available on iPhone XS or above running the latest version of iOS. Android is a trademark of Google LLC. Tap to Pay on Android is available on compatible Android devices. The Contactless Symbol is a trademark owned by and used with permission of EMVCo, LLC.
2Late fees may apply. Eligibility criteria apply. See afterpay.com for more details.
3Square, the Square logo, Square Financial Services, Square Capital, and others are trademarks of Block, Inc. and/or its subsidiaries. Square Financial Services, Inc. is a wholly owned subsidiary of Square, Inc.
All loans and Savings accounts are issued by Square Financial Services, Inc., a Utah-Chartered Industrial Bank. Member FDIC. Actual fee depends upon payment card processing history, loan amount and other eligibility factors. A minimum payment of 1/18th of the initial loan balance is required every 60 days and full loan repayment is required within 18 months. Loan eligibility is not guaranteed. All loans are subject to credit approval.
Savings accounts are provided by Square Financial Services, Inc. Member FDIC. Accrue annual percentage yield (APY) of 1.00% per folder on folder balances over $10. APY subject to change, current as of 2/18/2025. No minimum deposit is required to open an account. Accounts will not be charged monthly fees. Accounts are FDIC-insured up to $2,500,000. Pending balances are not subject to FDIC insurance.
Square Checking is provided by Sutton Bank, Member FDIC. Square Debit Card is issued by Sutton Bank, Member FDIC, pursuant to a license from Mastercard International Incorporated, and may be used wherever Mastercard is accepted. Accounts are FDIC-insured up to $250,000. Funds generated through Square’s payment processing services are generally available in the Square checking account balance immediately after a payment is processed. Fund availability times may vary due to technical issues.