Receive appointment bookings through Instagram and Facebook
About appointment bookings through Instagram and Facebook
Integrate your Square Appointments online booking site with your Instagram business account or Facebook business page to make it easier for customers to discover and book with you. You can activate booking on your profile or page, allowing customers to instantly book while they browse without leaving the app.
Before you begin
You need to set up your website.
You need a Facebook or Instagram business profile. You can convert your personal account to a business account on Facebook and Instagram. Learn how to create a Facebook business page.
You need your online booking site. Learn how to set up online booking.
You need to review and follow the Facebook commerce policies and guidelines.
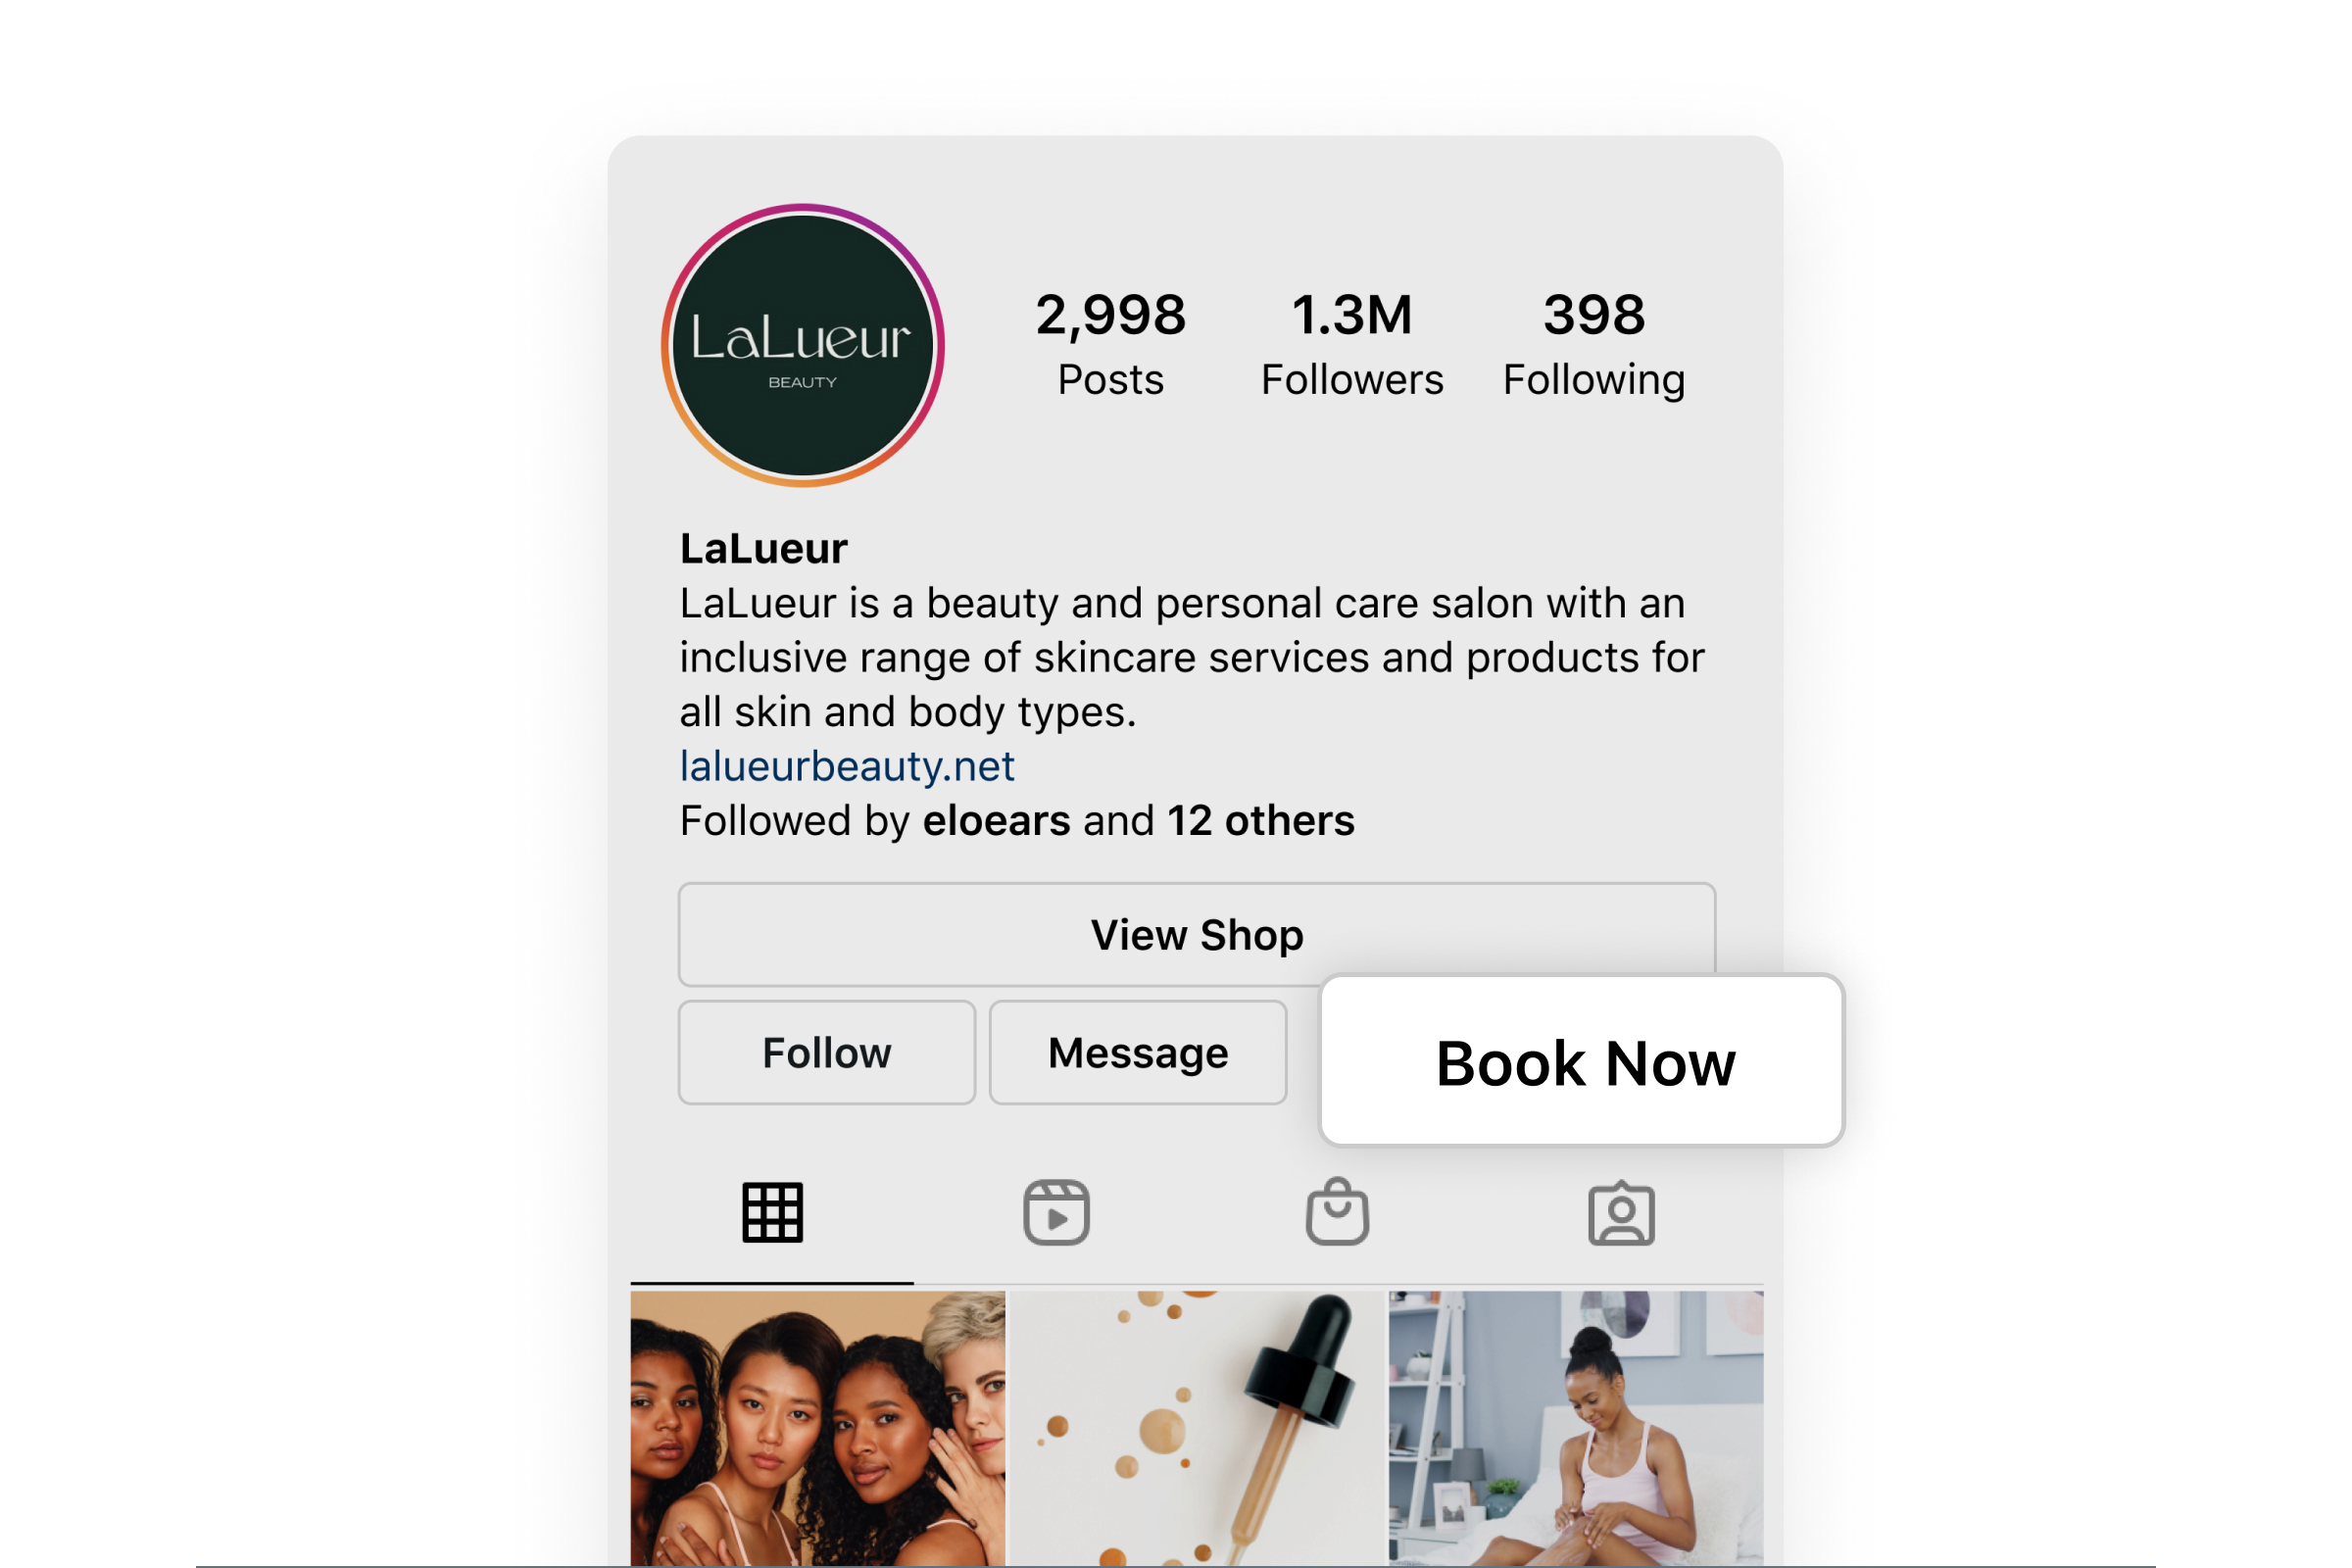
You can add a Book Now button to your profile or page from Instagram and Facebook.
Option 1: Add a Book Now button to Instagram
Go to your business profile on Instagram and tap Edit Profile.
Under Public Business Information, tap Contact Options.
Tap Add an Action Button.
Select Appointments for Square from the list of button options.
Sign in with your Square account email address and password.
Select your preferred business account to associate with your bookings.
Review your button settings and tap Continue.
Refresh your profile page to see your new Book Now button.
Deactivate booking through Instagram
Go to your business profile on Instagram and tap Edit Profile.
Under Public Business Information, tap Buttons.
Select the button you’d like to remove.
Tap Remove Action Button on the bottom.
Option 2: Add a Book Now button to Facebook
Go to your Facebook business page and click Add a Button.
Select Book Now from the list of button options.
Tap Connect Another Tool.
Select Appointments for Square.
Review the permissions and select Continue.
Sign in with your Square account email address and password.
Select your preferred business account to associate with your bookings.
Review your button settings and tap Continue.
Once the button has been created, you can test your button:
Click your button.
Select Test Button.
Deactivate booking through Facebook
Go to your Facebook business page and select Edit Book Now.
Select Delete Button.
Select Delete Button once again to confirm.