Bulk edit and update items
About bulk editing and bulk actions
Bulk editing allows you to make changes to multiple existing items, descriptions, and up to 250 variations at the same time. With bulk actions, you can update several item categories, fulfillment methods, menu groups, and more.
You can access bulk editing from the Item library or from the Stock overview page. The Stock overview entry point lets you edit prices across multiple items directly from your inventory view.
- Item name
- Item customer-facing name
- Item type
- GTIN
- SKU
- Categories
- Reporting category
- Price
- Online sale price
- Sold by
- Weight
- Default vendor
- Vendor code
- Unit cost
- Locations
- Description
- Age restriction
- Chanel listing attributes
- Custom Attributes
- SEO Title
- SEO Description
- SEO Permalink
- Is Alcoholic
- Calorie count (Calories)
- Dietary preferences
- Contains the following (select common food allergens)
- Kitchen name attribute
- Online fulfillment methods
- Nutritional Information
- Modifiers
- Menus
Before you begin
You can bulk edit and bulk update items from Square Dashboard.
Bulk editing is different from bulk importing. Learn how to bulk import items.
Some bulk actions can be scheduled ahead of time for items displayed online. Learn how to schedule item updates.
When performing bulk actions, some actions are restricted based on your location access. You can only remove items from a menu or archive items if you have access to all locations the menu or item is assigned to. Edit location and edit channel actions are limited to locations you have access to.
Bulk price editing from Stock overview requires a Square Plus or Premium subscription.
Bulk edit items
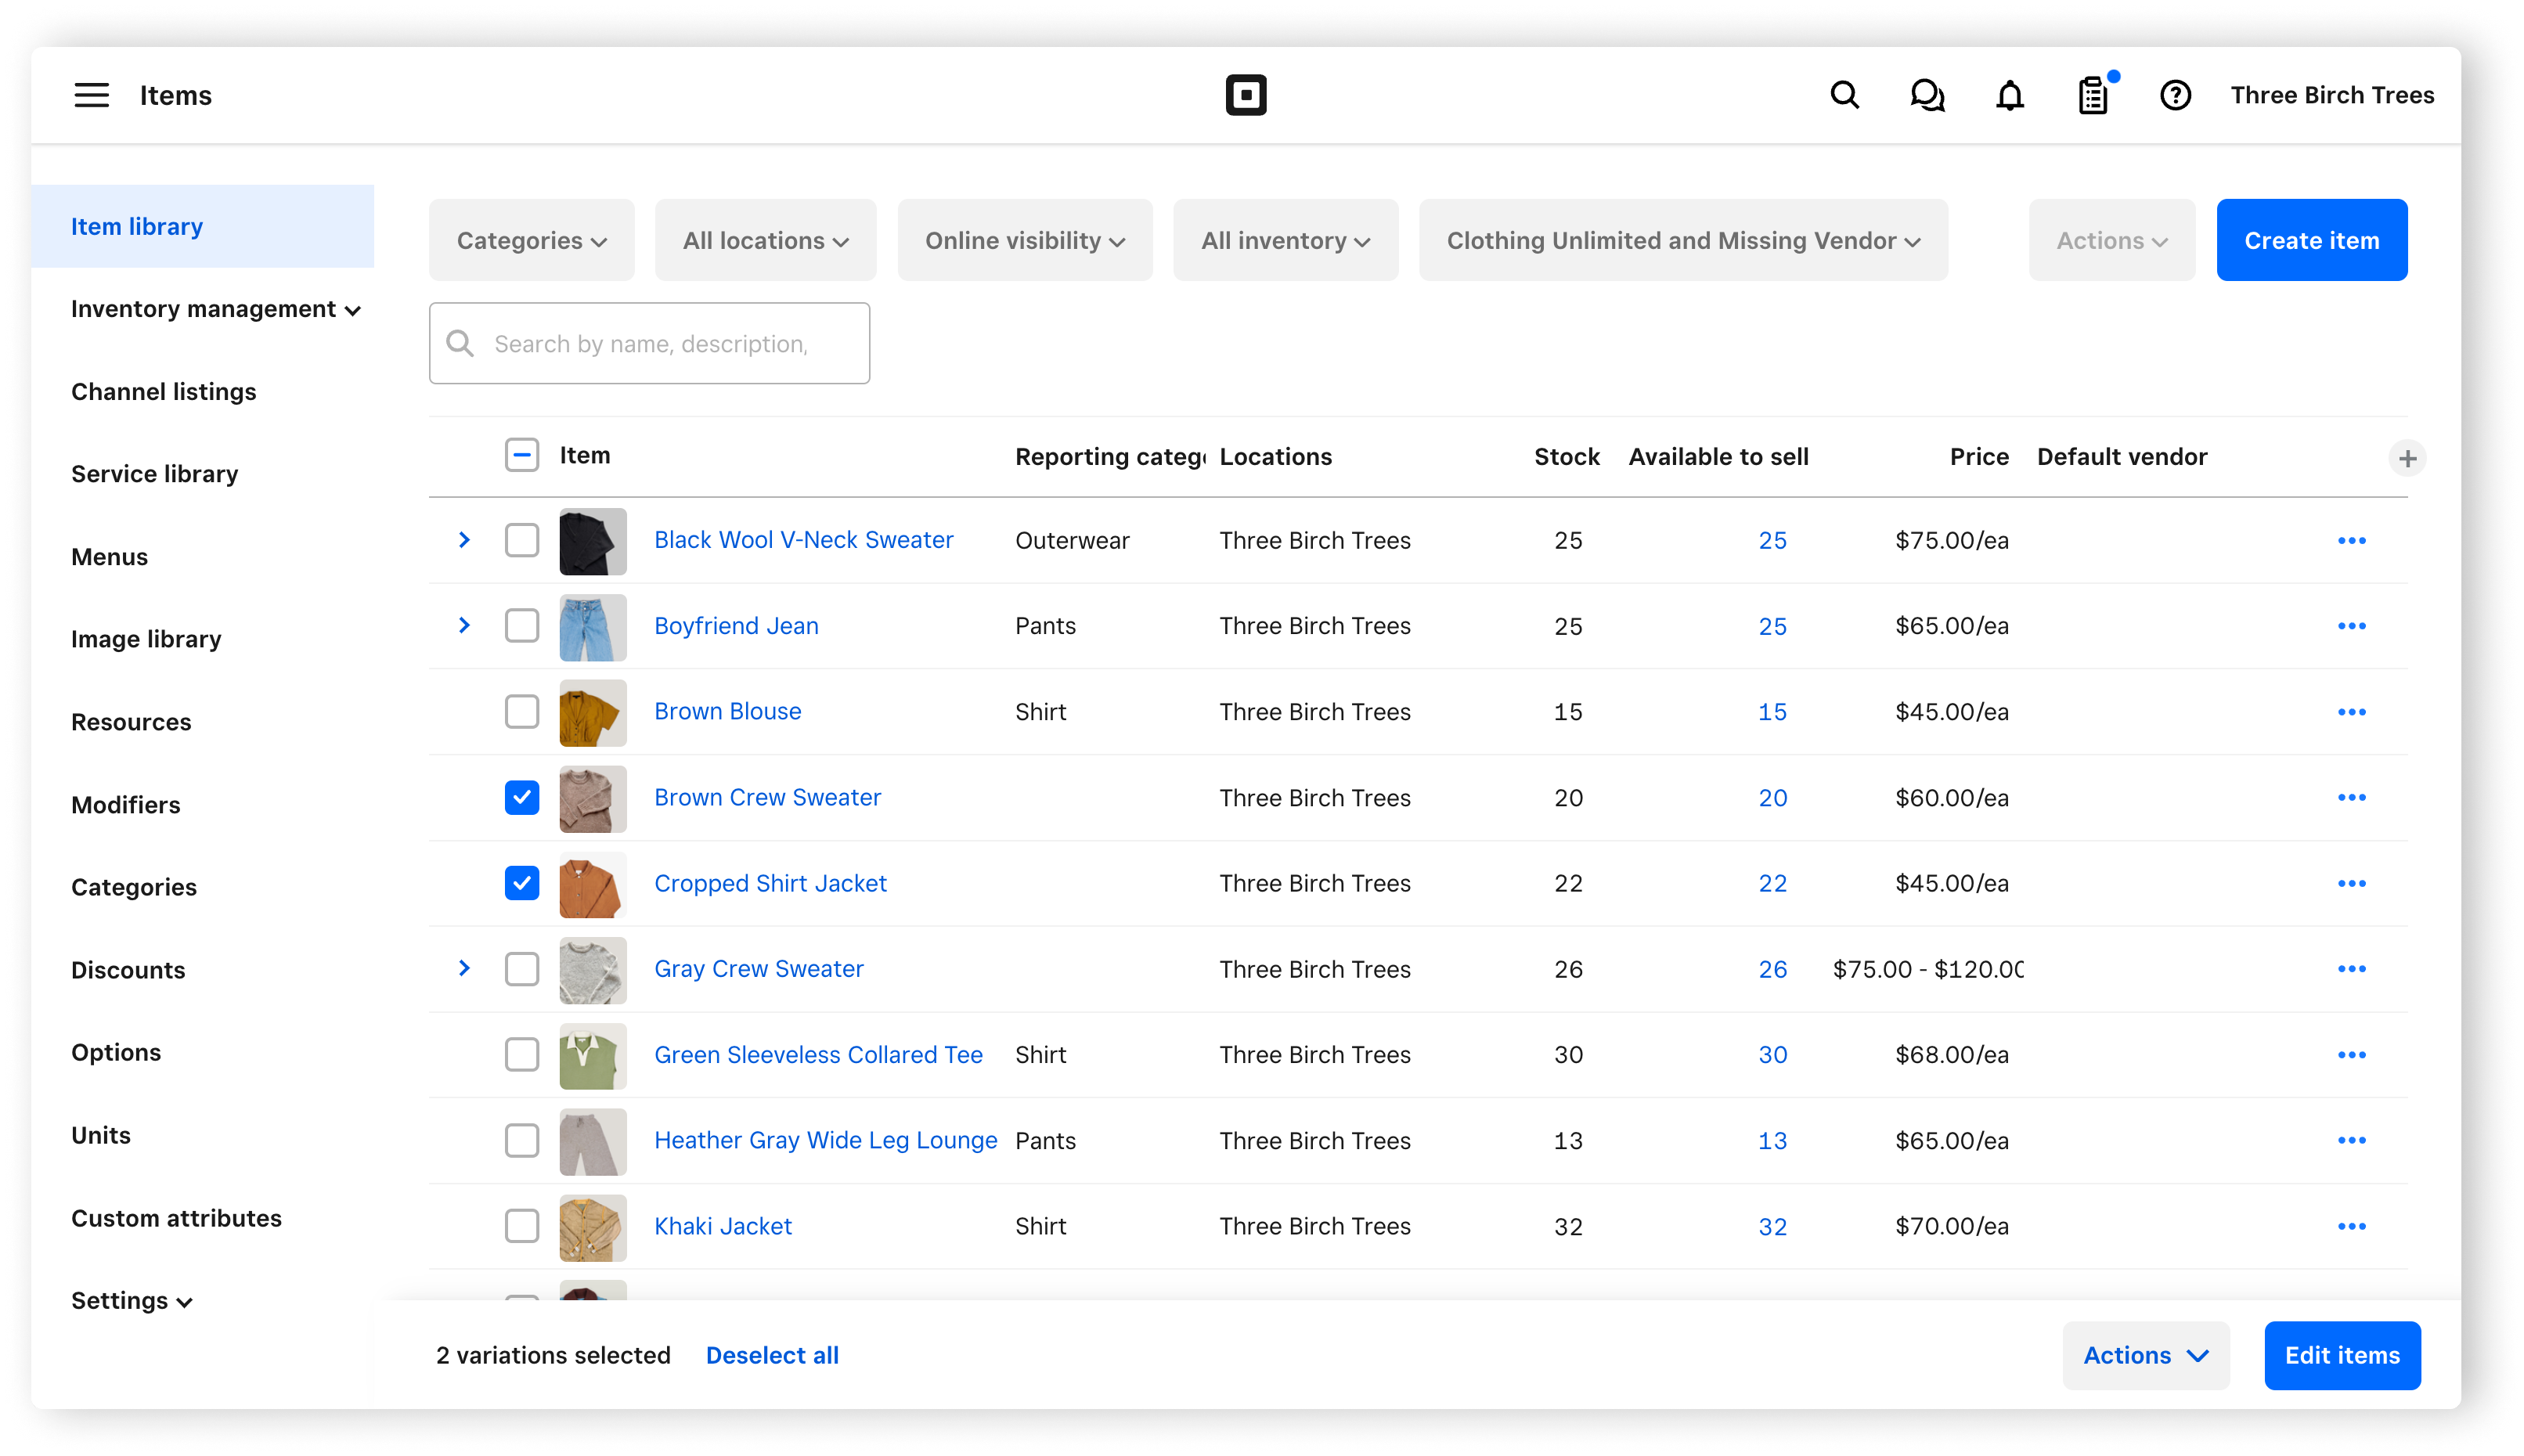
Sign in to Square Dashboard and go to Items & services (or Items & menus or Items & inventory) > Items > Item library.
Check the box next to each item you want to edit. Check the box at the top of the item column to select all items.
Click Edit items at the bottom of the page.
Click the Attributes drop-down menu and select the attributes you want to show in the bulk edit item view.
-
You can edit one cell at a time or across multiple cells:
To select all cells in a column, click the column header.
To select multiple adjacent cells, press and hold Shift on your keyboard then click the first and last cells in a range.
To select specific cells that aren't adjacent, press and hold Ctrl or ⌘Cmd on your keyboard and click each cell.
Make the changes to your items, descriptions, or variations.
Click Update variations.
Bulk edit prices from Stock overview
You can bulk edit prices for multiple items directly from the Stock overview page. This is useful when you need to update prices across your catalog without navigating to the Item library.
Sign in to Square Dashboard and go to Items & services (or Items & menus or Items & inventory) > Inventory management > Stock overview.
Select the items you want to update by checking the box next to each item.
Edit the price for each selected item variation.
Confirm your changes.
Note: Bulk price editing from Stock overview requires a Square Plus or Premium subscription. Learn how to View, receive, and adjust inventory from the Stock overview page.
Update multiple items with bulk actions
- Sign in to Square Dashboard and go to Items & services (or Items & menus or Items & inventory) > Items > Item library.
- Use the item filters to narrow down your item search.
- Check each item you want to update to see the corresponding bulk actions appear under Actions.
- Sign in to Square Dashboard and go to Items & services (or Items & menus or Items & inventory) > Menus.
- Expand your menu.
- Check each item you want to update to see the corresponding bulk actions appear under Actions.