Use the Square Photo Studio app
About the Square Photo Studio app
The Square Photo Studio app makes it easy to take professional-looking product photos in just a few simple steps. With your compatible iOS device, you can snap a picture of your menu or retail item, select a photo style and edit the background color. Once finished, you can choose to sell the item online with a payment link, save photos, or add it to your Square item catalog.
Before you begin
The Square Photo Studio app is free, and doesn’t require any in-app purchases or a website. Download the Photo Studio by Square app before using the feature with Square Point of Sale or Square Retail POS apps.
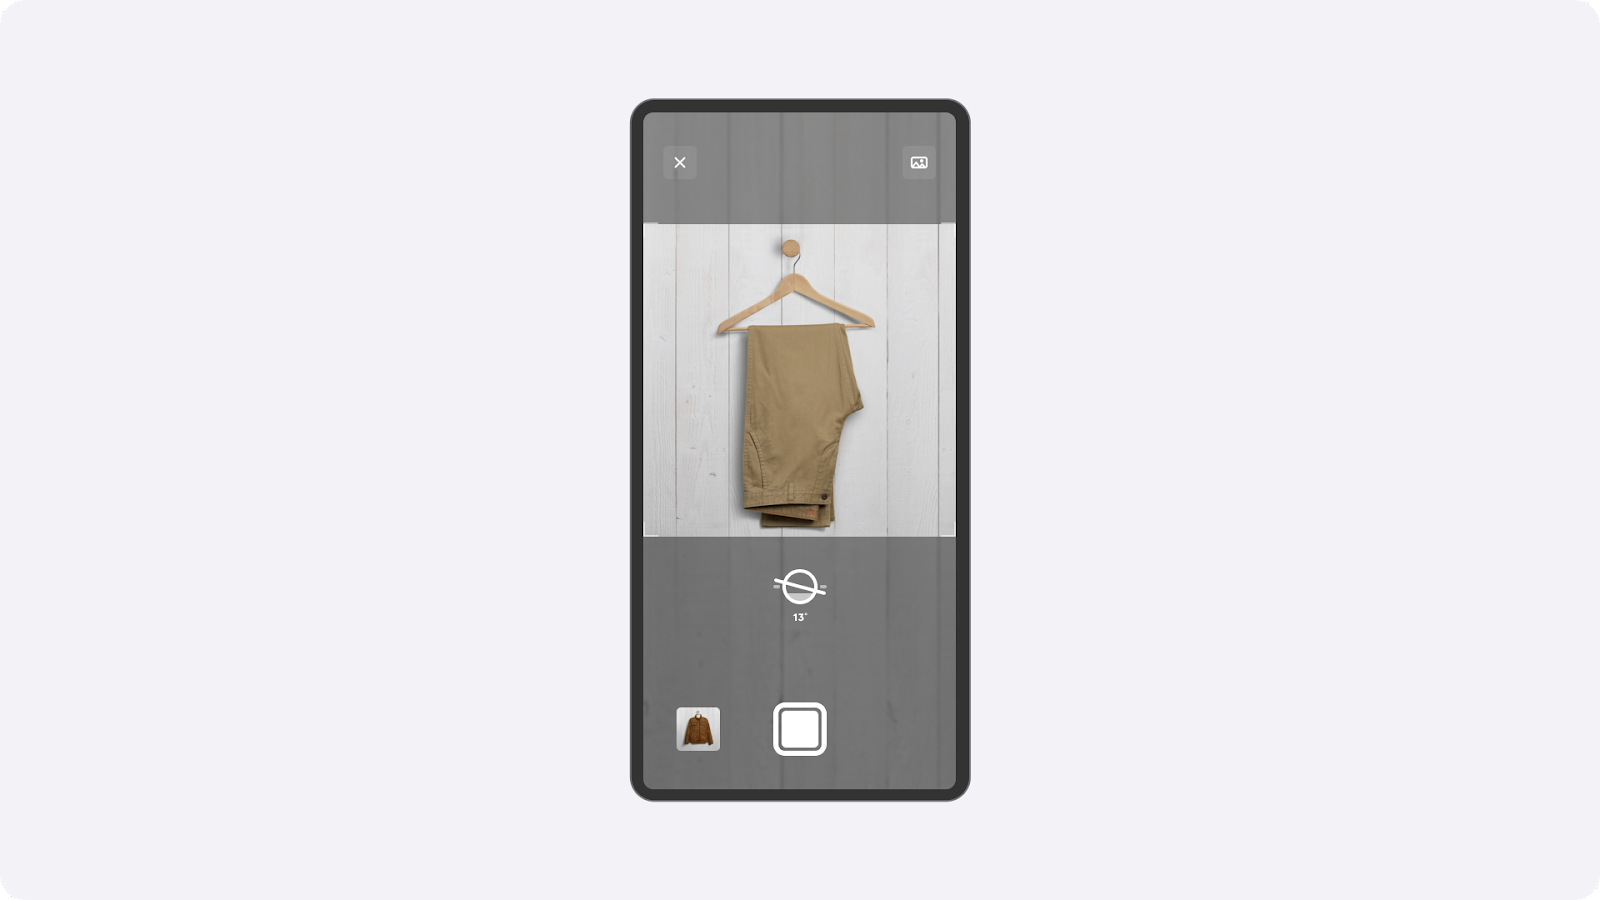
Step 1. Add a photo
When taking photos, you’ll get the best results by placing your item in an evenly lit area against a light background. If you plan on photographing many items, consider investing in a light box.
- Open the Square Photo Studio app, choose Retail, Food, or Service.
- Center your item within the camera frame using the stabilizer icon.
- When the indicator turns yellow, tap the shutter button to capture your image.
- Tap Refine Background, tap the ← icon to try again, or tap Save to progress to Step 2.
You can also style and customize existing photos from the photo library on your iOS device — ensure you Allow Full Access to view images. From your Square Photo Studio app:
- Tap the photos icon located to the left of the shutter / capture button.
- Choose a photo from your device.
- Tap Remove Background, then tap Next.
- Tap on a background tile to preview it with your picture, then tap Edit to change the color or scene.
- When you’ve selected a background, tap Next and move to Step 3.
If you don’t have time to prepare and photograph each item on your menu, you can add and customize photos of commonly sold items from our in-app library. These images are free to use with your Square item catalog. From your Square Photo Studio app:
- Tap the photos icon located to the left of the shutter / capture button.
- Tap Image Library to choose the image that best represents your menu item. You can also tap the magnifying glass to search keywords.
- Tap Edit Style to choose a background style, then tap Next and move to Step 3.
Step 2. Style and customise image backgrounds
The Square Photo Studio app instantly removes the background from your pictures to allow for custom background styles. If there are any issues with removing the background, you can select Refine Background and make adjustments by selecting Add or Remove.
From the Choose Style window, tap on a background tile to preview it with your picture.
-
Tap Edit to change the background color, shadow, layout, and levels.
Background: choose from our color palette or use the eyedropper to pick a custom color. You can also enter your own hex code for a more precise color selection, or choose from our background scene options.
Shadows: pick between a drop and directional shadow, adjust the angle, and change the intensity of the shadow.
Layout: change the size of the item, rotate the item, position it in the frame, or choose a different aspect ratio.
Levels: use our auto-adjustment tool, or change the exposure, contrast, highlights, shadows, and saturation.
Tap Save to confirm your updates > tap Next and move to Step 3.
Step 3. Use your new photo
Once you’ve completed the previous steps, you’ll be prompted to select Add to Square, Sell now, Share, or Save to Photos.
From the Square Photo Studio app you can sync your photo with your Square items catalogue. After creating an item, you can edit it at any time from your Square Dashboard or from the Square Point of Sale or Retail POS apps.
Learn more about how to Create and edit items with Square for information on Square items.
From the Square Photo Studio app you can sell items by creating a Square payment link.
After creating a link, you can edit the item title, price, or image at any time. You can also copy the payment link or embed code to add the payment link to an external website.
Learn how to Create and share Square Payment Links.