Scan QR and barcodes to identify customers
About scanning a QR or barcode
Speed up your checkout process and reduce mistakes by adding a customer to a sale with a QR or barcode. Once the customer is identified by scanning, you can personalise their experience by viewing their customer profile, as well as act on that information by auto-applying group discounts.
Scanning can be performed with a barcode scanner on an Android or iOS device, or your camera-enabled iOS device.
Before you begin
You can use a QR or barcode with your point of sale app.
Before you can scan a QR code or barcode, you must:
Add reference IDs to customer records in Customer Directory either automatically via import or Customer API, or manually via Dashboard or POS.
Generate a QR code or barcode (printed or digital) from the reference ID, and distribute it to your customers.
For Square Terminal and Square Register running the point of sale apps, enable the feature from your POS by going to Settings > Checkout > Customer Management. Toggle on Scan customers using device camera, then toggle on Show Add customer button during checkout and/or Show Add customer button after checkout to enable.
-
For Square for Restaurants and Square for Retail devices, QR and barcode scanning is automatically enabled for your account.
Check that your iOS and Android devices are up to date. Square Register and Square Terminal will update automatically overnight as long as they are powered on and plugged in.
For physical scanners, have a supported barcode scanner that can scan QR codes on screens. We recommend you test your scanner for on-screen scanning first.
Populate reference IDs
Add reference IDs via import
To add a reference ID to new customers, include the field in your imported CSV and map the column to the reference ID field.
Sign in to Square Dashboard and go to Customers > Customer directory.
Select Import / Export, and either Import customers or Export customers.
Continue to the data upload screen, add your CSV, then map the fields in the file. You should map at least the name, phone or email field, along with the reference ID. Learn to add new customers to your Customer Directory.
If you’re trying to add a reference ID to existing customers, it’s best to export your customer list first. Open your exported file and add the reference IDs for each customer. Once you’ve done so, import your customer list back into Customer Directory and follow the same instructions as above.
Add reference IDs manually
If you have an edit to make for a customer or you just want to test the lookup for a small number of customers, you can manually add a reference ID from the customer profile. To add your customer’s reference ID to their profile:
Sign in to Square Dashboard and go to Customers > Customer directory.
Select a customer.
Under Personal Information, select Edit to change the reference ID as needed.
Select Save when finished.
If you don’t see the reference ID field listed, go to Customer directory > Settings > Configure profiles, and toggle the visibility of the reference ID field.
Add reference IDs via Customers API
The following is an advanced technique.
Using the ‘update customer’ endpoint, you can iterate through your customer list and add a reference ID for each customer. Use this method to keep your customer list in sync with Customer Directory. Learn about the update customer endpoint in our Developer Support Centre.
Generate QR codes or barcodes
Display a code on the web or in-app
Generate a QR code or barcode with a generator of your choice and dynamically insert your customer’s reference ID in the data section. Try using the tool below, which can generate a QR code with your reference ID string in the URL:
You can also try using:
Print a code
Generate a QR code with a generator of your choice and dynamically insert your customer’s reference ID in the data section. Copy the image and add it to your document for printing.
Scan through customer search on POS
Scan on iOS
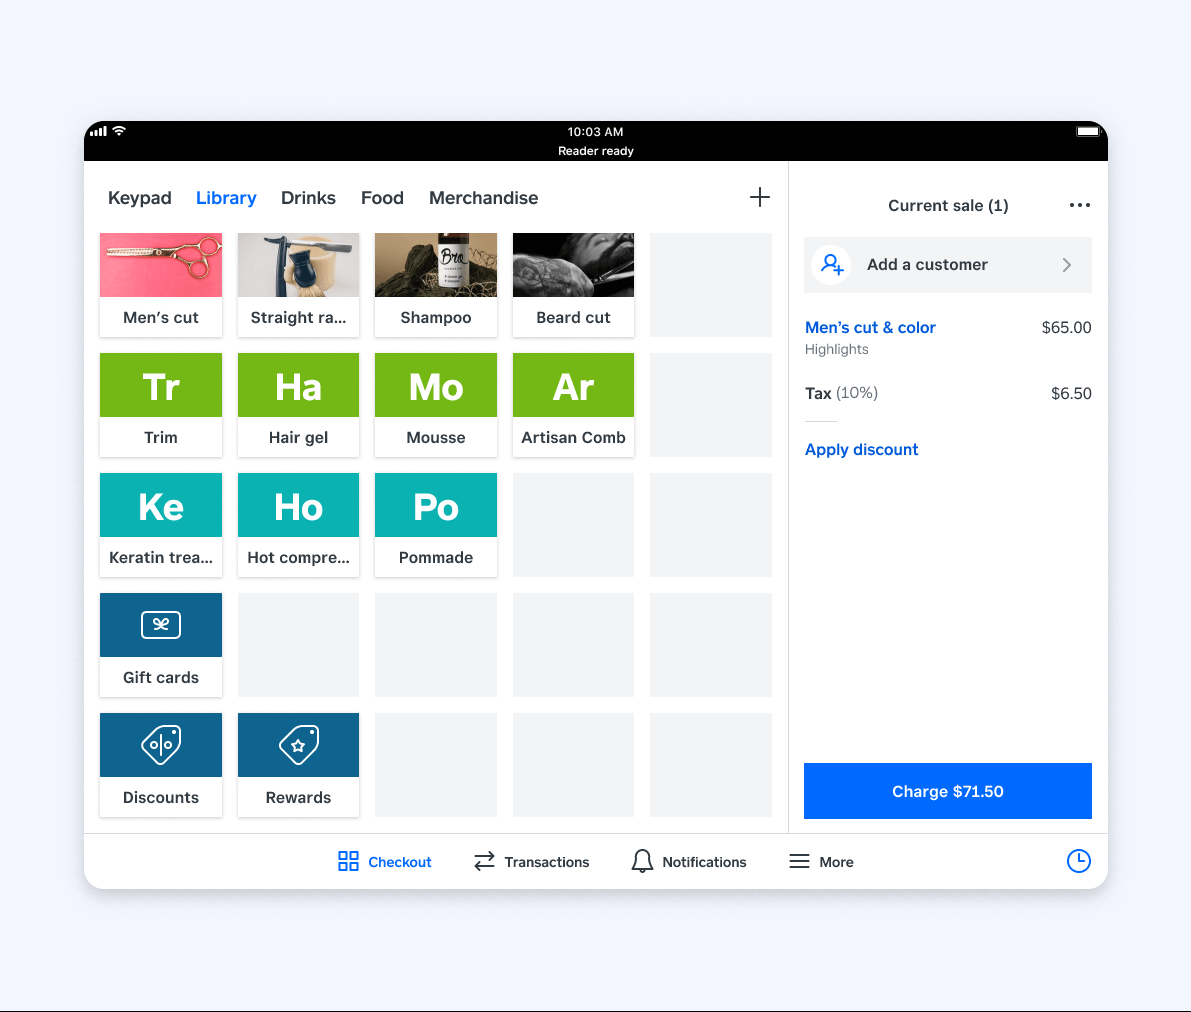
Tap Review sale.
Tap Add a customer.
Tap the scan icon within the search bar.
Scan the ID to add your customer.
Disable scan icon
You can also toggle this functionality if you don’t want to see the scan icon in the search bar. To start:
Sign in to your point of sale app and go to Settings > Checkout > Customer Management.
Toggle off Scan customer using device camera.
Scan on mobile device
Tap Review sale.
Tap Add a customer.
Tap the scan icon within the search bar.
Scan the ID to add your customer.
Apply customer group discounts
Customer group discounts allow you to apply a discount to a group so that the discount is auto-added to a cart whenever a customer from that group is added to the sale.
You can add customers to a group discount manually or through your smart groups. When scanning a QR code or barcode, group discounts can be automatically applied, which removes any manual work to look up or add a customer to the sale. Learn to create customer groups and filters.
Here’s the workflow:
During checkout, your customer presents a QR code or barcode (which holds their embedded reference ID).
You scan the QR code or barcode during the checkout flow.
The customer gets automatically added to the cart.
The customer discount, which is associated with the customer group they belong to, gets automatically added to the cart.
Some example use cases include giving a 10% off discount to all your email subscribers or giving a discount to your member customers. Learn to create and manage discounts.