Add and manage bookable team members
About adding and managing bookable team members
With Square Appointments, you can set up team members to be available for booking, manage their own schedules, and allow them to process payments. After adding a team member to Square Appointments, you can customise their customer-facing information, the services they perform, their display name, and hours of availability. If you make team members bookable online, customers can book that team member through any of your online booking channels.
Before you begin
You can create and manage team members from your Square Dashboard. If you have already created a team member, you’ll see an option to add them to Appointments when you edit their profile. Learn how to add and manage team members.
By default, the following permission sets are available with different levels of access to the Appointments calendar and point of sale:
Service Provider: Allows team members to manage their own calendar.
Front Desk: Allows access to all team member calendars.
Manager: Allows access to all calendars and account information and allows team members to sync their personal Google Calendar to Square Appointments.
Each of these permission groups have the Access Mobile Points of Sale permission enabled with limited access by default. If the Access Dashboard permission is enabled, team members will have access to their calendar, customer list, and an overview of appointment details online. If you create a new permission set, enable these settings to allow your team member to access Square Appointments through the app or Dashboard.
Create a bookable team member
Follow the steps in add and manage team members to create a new team member.

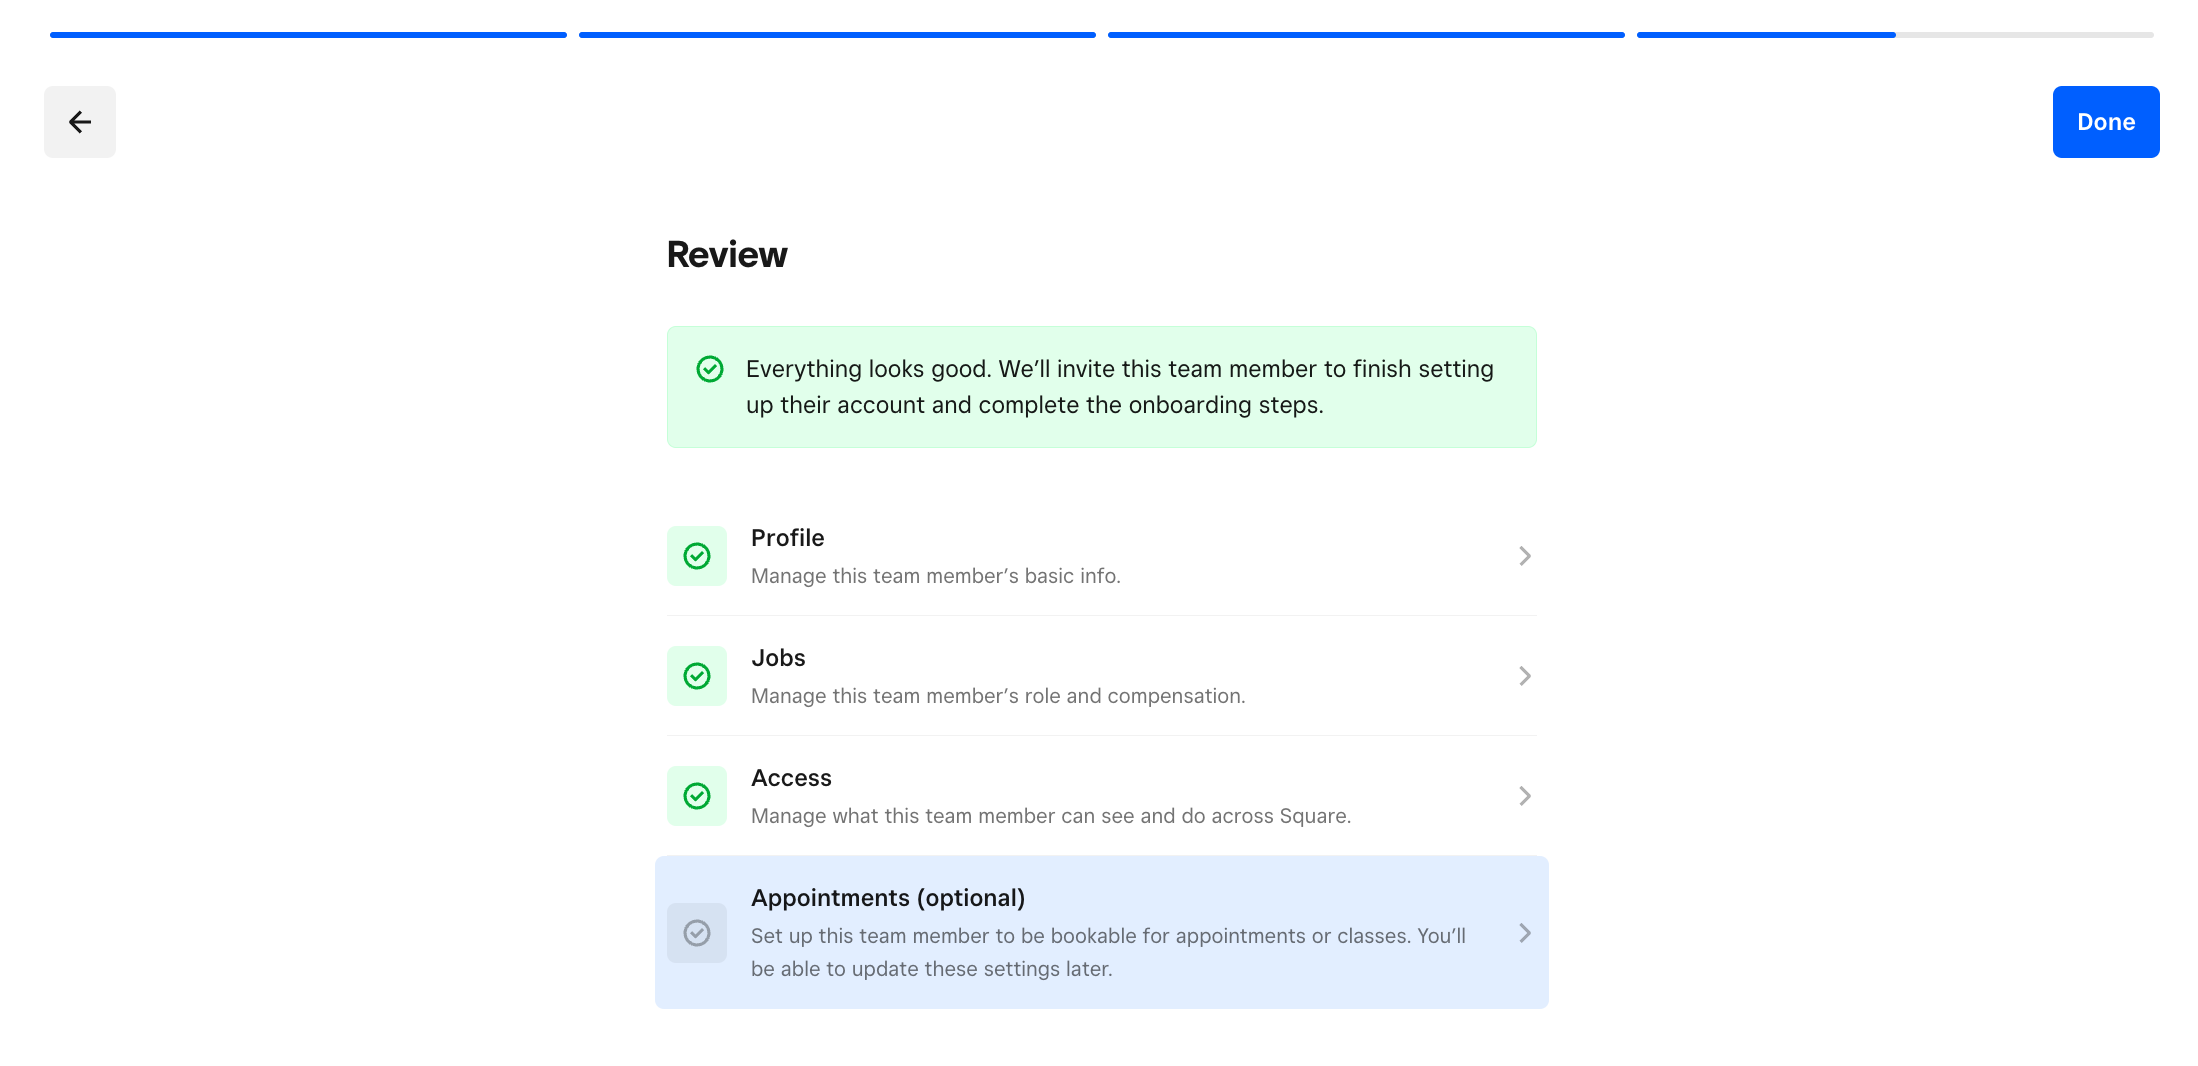
Once you reach the Review page, click Appointments (optional) to select Set up team member to be bookable for appointments or classes.
Complete their booking information by setting their ability to be booked online, bookable services, description, hours of availability, notification preferences, etc.
Once you've configured the relevant settings, click Save.
Navigate to Appointments to book and manage their appointments or classes.
If you’ve previously created a team member and want to add them to Square Appointments:
Sign in to Square Dashboard and go to Staff > Team > Team members.
Select a team member, then click the Appointments tab.
Select Add to appointments.
Complete their booking information by setting their ability to be booked online, bookable services, description, hours of availability, notification preferences, and more.
Navigate to Appointments to book and manage their appointments or classes.
Manage bookable team members
You can edit or remove team members from Square Appointments with your Square Dashboard.
- Sign in to Square Dashboard and go to Staff & payroll > Team > Team members.
- Select a team member.
- Click Appointments, then click Edit next to the section you want to edit:
- Online booking settings
- Online booking profile
- Bookable hours
- Booking notifications
- Click Overview, then click Edit next to the section you want to edit:
- Personal information
- Permissions
- Job and compensation: To edit their tip eligibility, click Edit job > toggle ON/OFF Tip eligible.
- To update their appointments settings or access, select Appointments > Edit next to the section you want to edit.
- Once all changes have been made, click Done.
- Sign in to Square Dashboard and go to Staff & payroll > Team > Team members.
- Select a team member, then select Appointments.
- Select Remove from appointments > Remove.