Home

Track your inventory with Square for Retail

Quickly set up and manage your inventory and item variations with inventory tracking for Square for Retail

Set Up Inventory Tracking

You can enable inventory tracking by default for any item variations created by you or your team through your online Square Dashboard, Square Online or Square for Retail app (Free and Plus plans). To do so:

  1. Go to Items & orders > Items from your online Square Dashboard.

  2. Click Settings > Inventory.

  3. Toggle on Enable inventory tracking for new items.
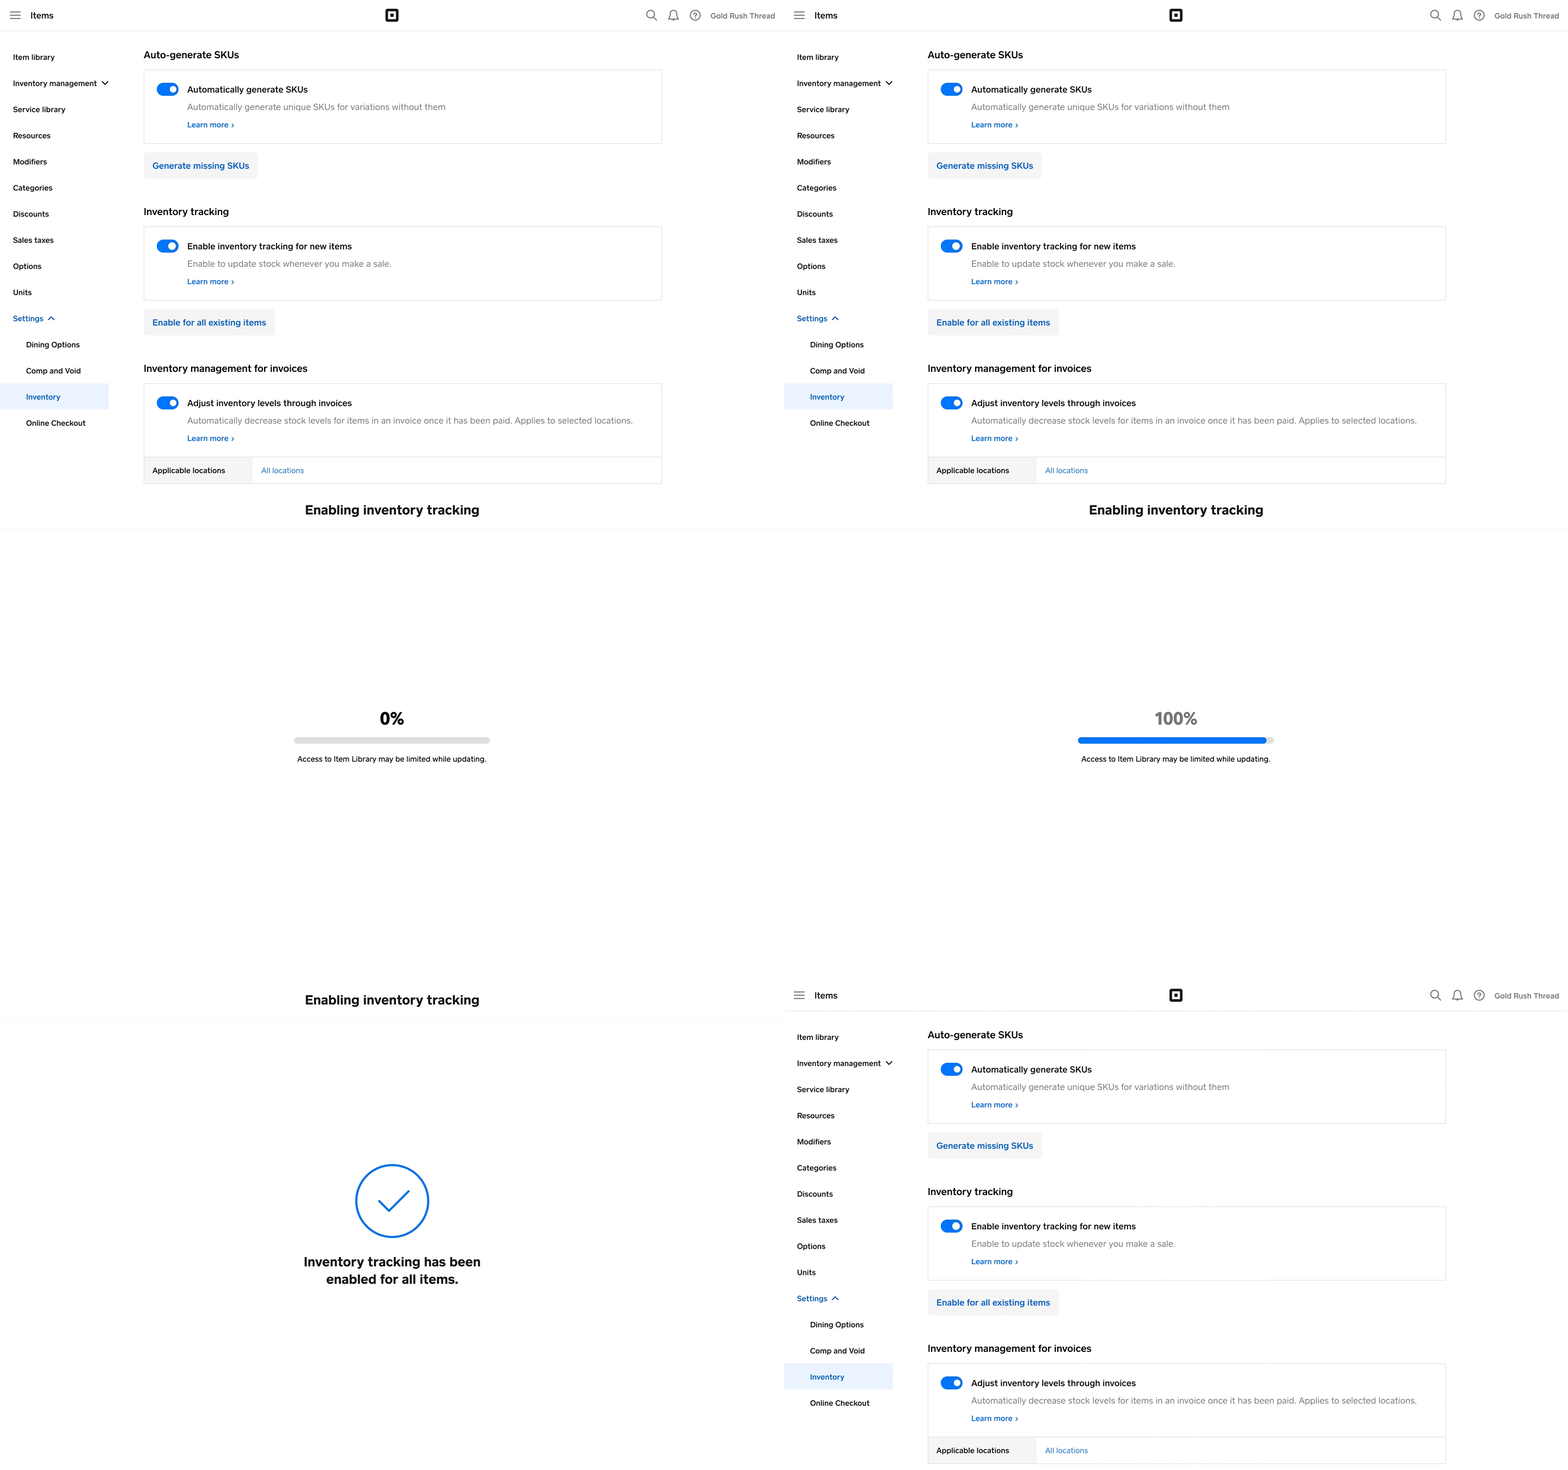
Enable inventory tracking settings on Retail Dashboard

If you have already created items and want to make sure tracking is turned on for all items in your library:

  1. Go to Items > Settings > Inventory from your online Square Dashboard.

  2. Ensure the toggle for Enable inventory tracking for new items is on.

  3. Click Enable for all existing items. This will turn on inventory tracking for all items and set the stock count to zero for items that have had no stock added previously.

  4. Click Enable tracking to confirm.

  5. Adjust your stock to avoid all items being marked as out of stock. You can adjust stock by receiving inventory for each variation.

Bulk enable inventory on Dashboard with Retail

Note: The setting Enable for all existing items is automatically disabled until you toggle on Enable inventory tracking for new items.

Receive Stock in Dashboard

Adjust Inventory per variation on Dashboard

For items without item variations

  1. Go to Items in your online Square Dashboard.
  2. Select an item to open the “Edit Item” view.
  3. Scroll down to “Variations,” then select the Stock field which has a 0 next to it. 
  4. Click on the 0 to open the “Edit variation” view.
  5. Scroll down to the correct location and click Select reason and choose Stock Received from the list. 
  6. In the “Add Stock” field, enter the quantity of stock you want to add.
  7. Click Done then click Save to return to your item library.

For items with item variations

  1. Go to Items in your online Square Dashboard.
  2. Select an item to open the “Edit Item” view.
  3. Scroll down and click Manage stock
  4. Select reason and choose Stock Received from the list. 
  5. In the “Adjustment” column, enter the quantity of stock you want to add.
  6. Click Done then click Save to return to your item library.

Receive Stock In-App

With Square Retail Point of Sale Plus tools, you can receive and manage inventory right from the free Square for Retail app on compatible iOS devices and Square Register.

Learn how to Manage Inventory – such as receiving stock by individual items/in bulk or adjust stock – with the Retail POS app.

Component Inventory

Overview

If you’re subscribed to Square for Retail Plus, you can mark any item variations – such as components or ingredients of a bundle – as non-sellable.

This feature is helpful when the item isn’t sold directly to customers so you don’t want it to appear online or at checkout on your Point of Sale. For example, you can track inventory of packing materials such as cardboard boxes for delivery, but cardboard boxes aren’t sold separately to your customers.

Set up non-sellable variations

To set up non-sellable variations:

  1. go to Items in your online Square Dashboard.
  2. Select an item to open the ‘Edit Item’ view.
  3. Scroll down to ‘Variations’, then click Edit variation.
  4. Add the variation name, unit cost or vendor.
  5. Under ‘Sales information’, disable the This can be purchased toggle.
  6. Click Done.
  7. The variation will appear as ‘This variation is non-sellable’ in grey font. Click Save to return to your Item Library.

Inventory Actions

Turn off stock tracking for all items

The import tool allows you to download a report of your current inventory and update your inventory quantities in bulk. This is especially helpful for adding new inventory and verifying current stock.

To download an inventory report or make updates to your inventory in bulk:

  1. Go to your Item Library from your online Square Dashboard.

  2. Click Actions > Export Library.

  3. In this report, update your Current Quantity [Location] and New Quantity [Location] values and save the Excel (XLSX) or CSV file to your computer. Note: At this time, Excel and CSV file templates are the only supported file types for bulk import. Custom templates aren’t supported.

  4. Drag and drop your saved file to the Import Inventory window, then click Upload > Confirm > Done.

Print inventory

To print this information for your records, go to Item Library > Actions > Export Library and follow the on-screen prompts.

Note: To edit or create your item library in bulk, click Actions > Import Library.

Disable Inventory Tracking

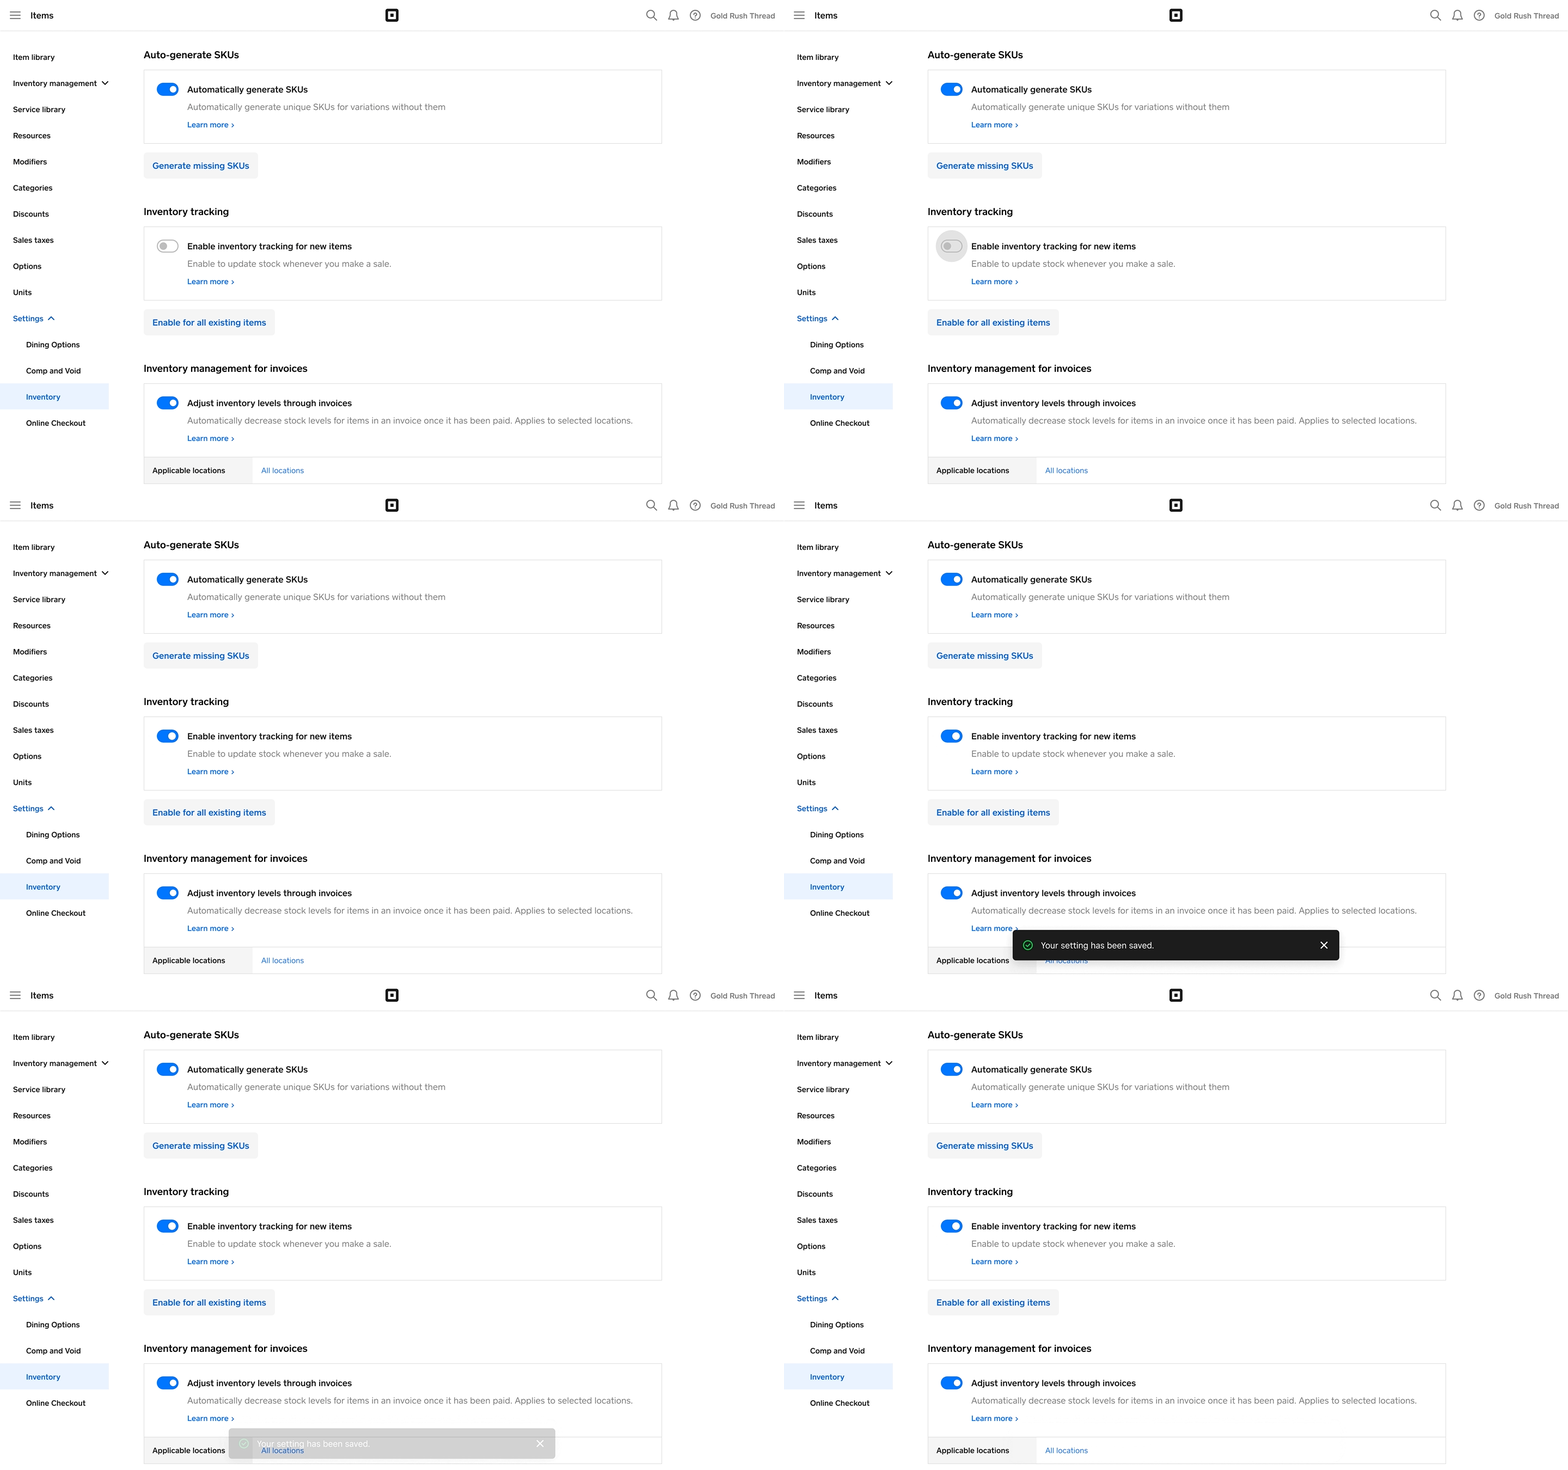
  1. Go to Items > Settings > Inventory from your online Square Dashboard.

  2. Click the Enable inventory tracking for new items toggle to disable inventory tracking.

Note: The toggle must be to the left and greyed out to disable inventory tracking.

To disable inventory tracking in bulk, you must export and reimport your item library. To do so:

  1. Export your item library.

  2. Paste “N” in the New Quantity [Your Location Name] column for all variations.

  3. Import the newly altered file back into Square.

Can’t find what you need?