Create a Read More Link
Using the “Read More” element is a simple way to keep longer posts from cluttering up your blog page, giving you more control over how much content is displayed to visitors.
While working in the Blog Post Editor, you’ll notice that the Build tab contains some different elements. These are only available to use in a blog post or in the sidebar, so you won’t be able to use the Read More element on a standard page in your site (though you can easily create a link to a hidden page to get a similar effect on non-blog pages).

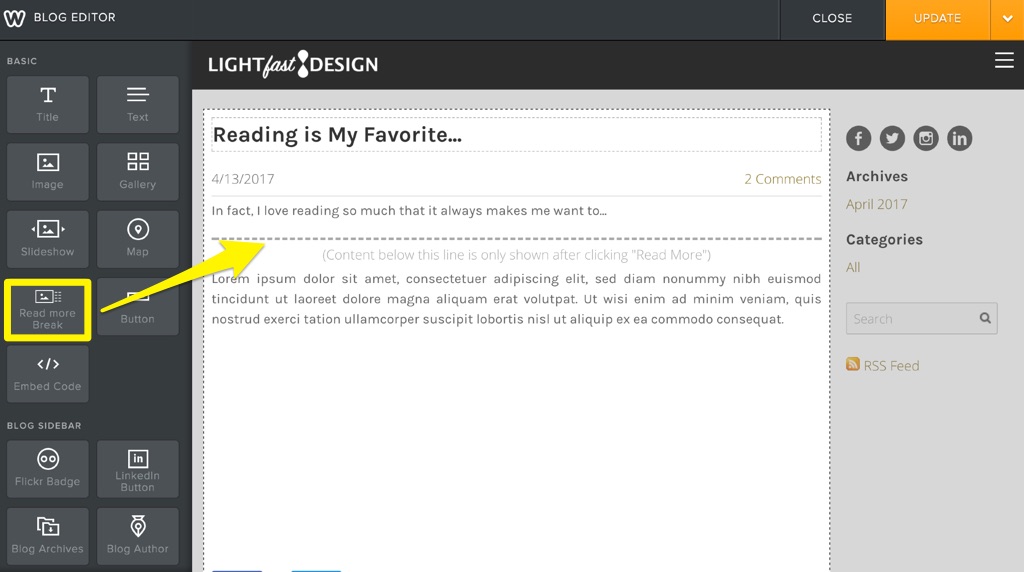
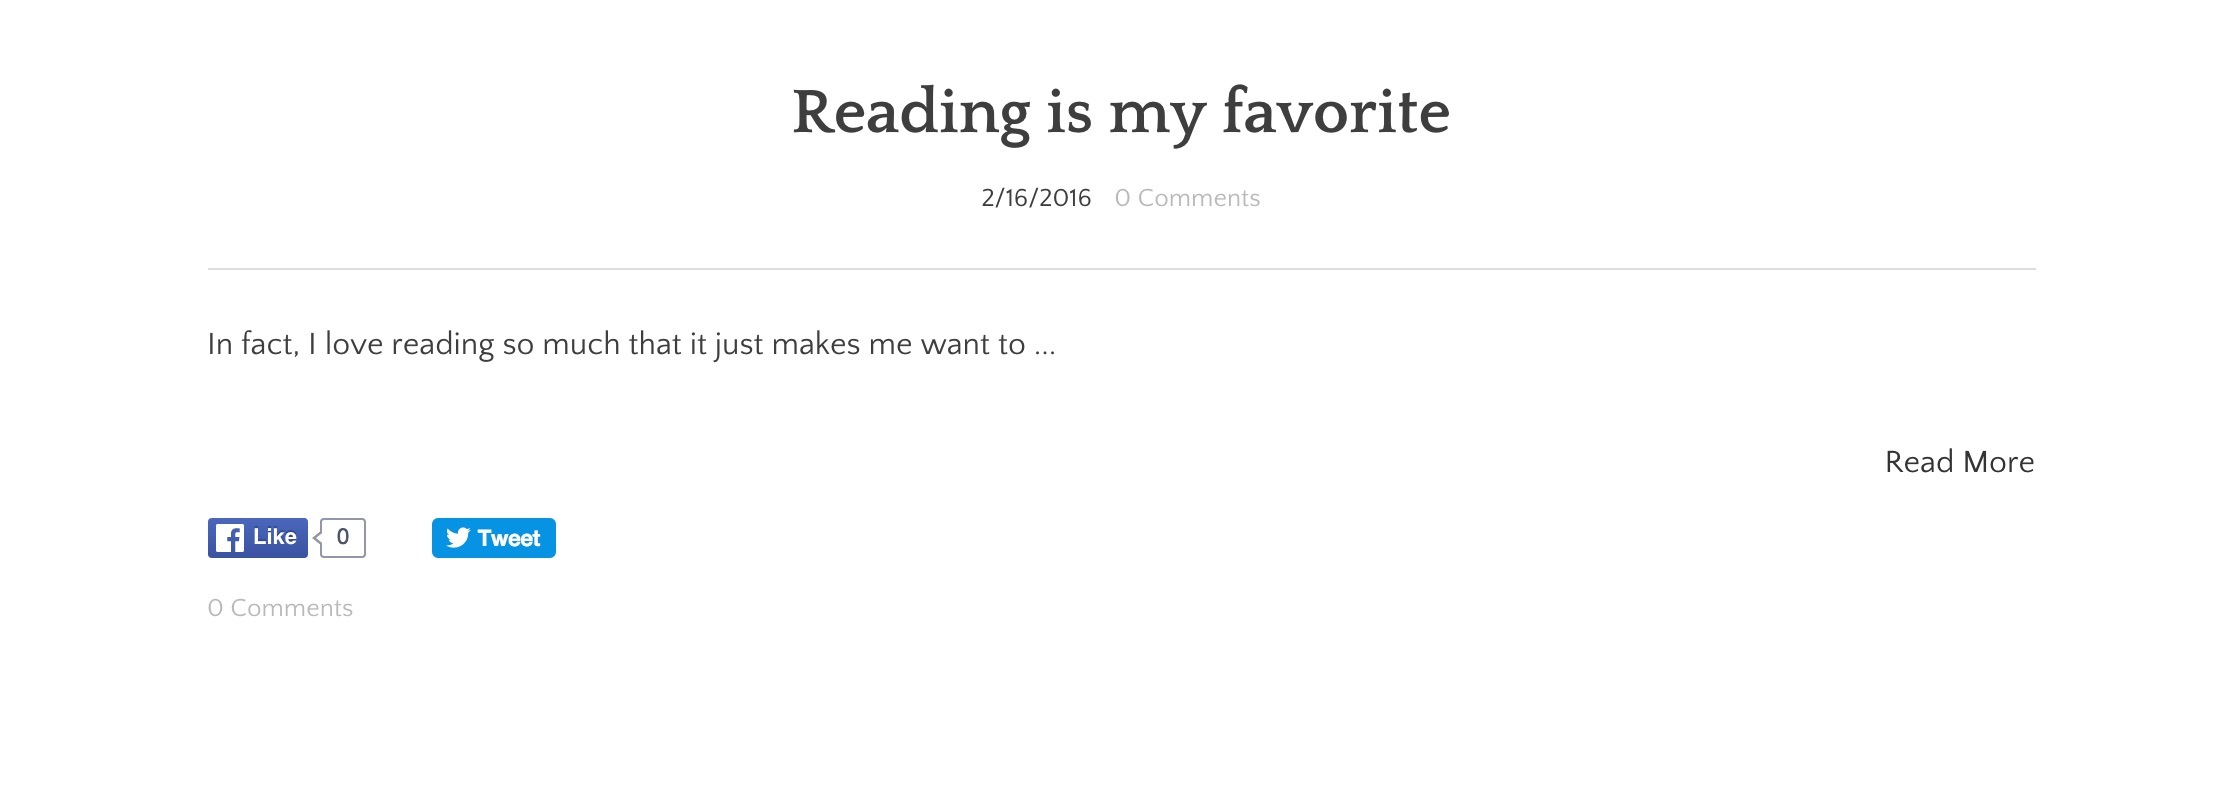
Locate the Read More element and drag it over to your post. You can position this anywhere you like - everything underneath the Read More element will be displayed on the permalink page for the post. Here’s how the example post above will look on the blog page once it’s published:

That’s it! There are a couple of other things worth noting, though:
If you’re using the Slick theme (shown in the first screenshot), you won’t really need the Read More element - by design, every post on the blog page with that theme will display just the title and a “Read Now” link.
How the read more link works with the Slick theme
Note: It’s currently not possible to change the text from the default “Read More”.