Set up your Square Kiosk hardware
Square Kiosk combines hardware, software, and payments — an all-in-one self-service ordering solution. Set up Square Kiosk to participate in the beta program.
Before you begin
The following iPads are compatible with the Square Kiosk app and the Square Kiosk hardware:
-
Square Kiosk has a USB-C iPad connector and is compatible with these iPad models:
iPad (10th generation)
iPad Pro 11 inch (1st, 2nd, 3rd, and 4th generation)
iPad Air (4th, and 5th generation)
iPad Air 11 inch (M2)
Note: Visit our compatibilité d’appareil page for a full list of supported iPad models.
Set up hardware
Review the guide below for instructions on attaching your iPad to a wall, rested on a countertop, or fixed to a VESA-compatible pedestal anywhere in your restaurant.
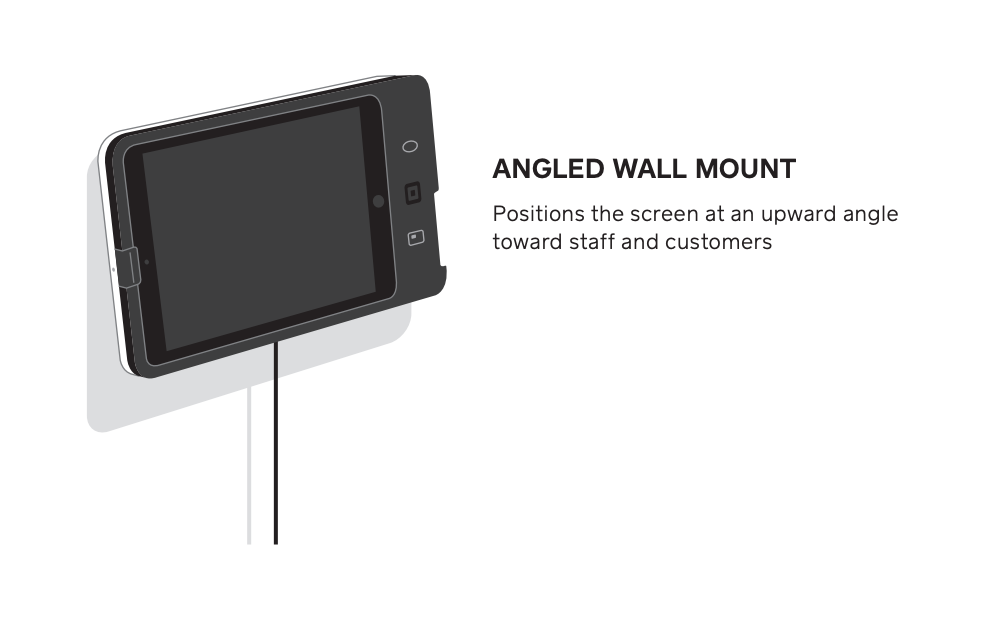 The angled wall mount positions the screen at an upward angle toward staff and customers. Download the visual guide here.
- Pick a spot on your wall: Hold up Square Kiosk against the wall to find your preferred height. Avoid placing over studs.
- Position the angled bracket: Level the bracket on the wall, then mark the position of the screw holes with a pencil.
- Drill the holes where you just marked: For drywall installation, use the included drywall drill bit.
- Screw the angled bracket into the wall: Insert the wall anchors into the drill holes. Position the angled bracket, then insert the wall screws into the front and screw in, making sure the bracket is level as you fully tighten.
- Plug the hub into Square Kiosk: Starting from the bottom of the bracket, thread the hub’s USB-C cable through the pass-through hole and into the connector on the back of Square Kiosk.
- Place Square Kiosk into the bracket: Tighten the center mounting screw until you cannot see any of the red sidewall on the screw. Make sure it is secure and does not wiggle.
- Plug in Square Kiosk: Plug the power adapter’s USB-C cable into the hub, then plug one end of the power adapter cable into the power adapter and the other into an outlet.
- Slide your iPad in and secure it: Dock your iPad to the connector and make sure the security latch clicks. Optional: To further secure your iPad, use a small Phillips screwdriver to attach the security screw to the side of Square Kiosk.
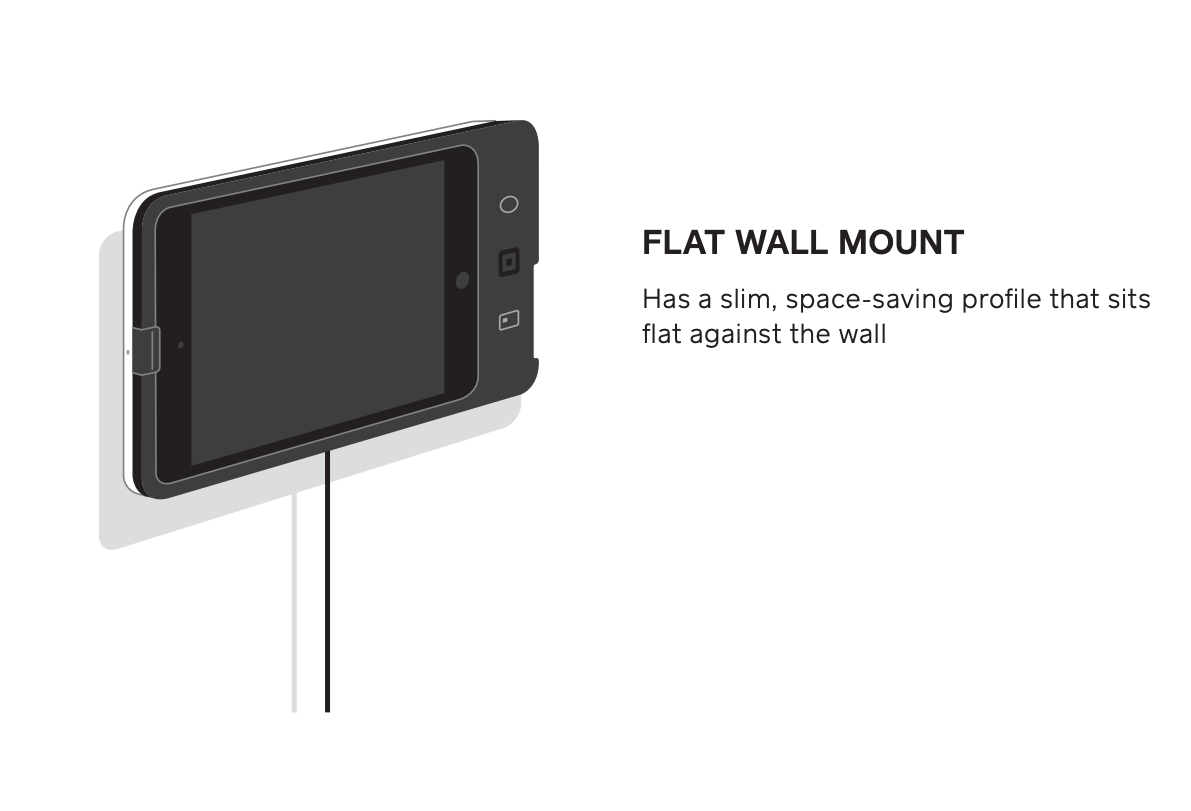 The flat wall mount has a slim, space-saving profile that sits flat against the wall. Download the visual guide here.
- Pick a spot on your wall: Hold up Square Kiosk against the wall to find your preferred height. Avoid placing over studs.
- Position the flat bracket: Level the bracket on the wall, then mark the position of the screw holes with a pencil.
- Drill the holes where you just marked: For drywall installation, use the included drywall drill bit.
- Screw the flat bracket into the wall: Insert the wall anchors into the drill holes. Position the flat bracket, then insert the wall screws into the front and screw in, making sure the bracket is level as you fully tighten.
- Plug the hub into Square Kiosk: Press the hub’s USB-C cable into the cable channel on the back of Square Kiosk. Check that there is no interference between the cable and the mount screw.
- Place Square Kiosk into the bracket: Tighten the center mounting screw until you cannot see any of the red sidewall on the screw. Make sure it is secure and does not wiggle.
- Plug in Square Kiosk: Plug the power adapter’s USB-C cable into the hub, then plug one end of the power adapter cable into the power adapter and the other into an outlet.
- Slide your iPad in and secure it: Dock your iPad to the connector and make sure the security latch clicks. Optional: To further secure your iPad, use a small Phillips screwdriver to attach the security screw to the side of Square Kiosk.
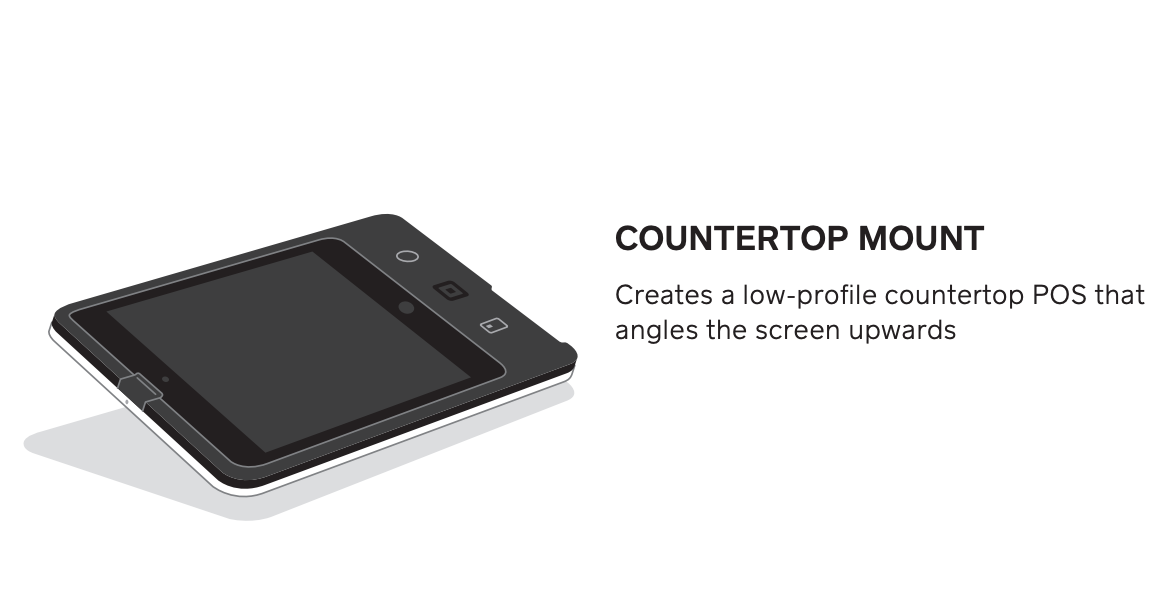 The countertop mount creates a low-profile countertop POS that angles the screen upwards. Download the visual guide here.
- Pick a spot on your counter: With the angled bracket facing you, pass the power adapter cable through the hole.
- Plug the hub into Square Kiosk: Make sure the hub’s USB-C cable is firmly pushed in.
- Place Square Kiosk into the bracket: Tighten the center mounting screw until you cannot see any of the red sidewall on the screw. Make sure it is secure and does not wiggle.
- Plug in Square Kiosk: Plug the power adapter’s USB-C cable into the hub, then plug one end of the power adapter cable into the power adapter and the other into an outlet.
- Slide your iPad in: Dock your iPad to the connector and make sure the security latch clicks.
- Optional: Secure your iPad: Using a small Phillips screwdriver, attach the security screw to the side of Square Kiosk to further secure your iPad.
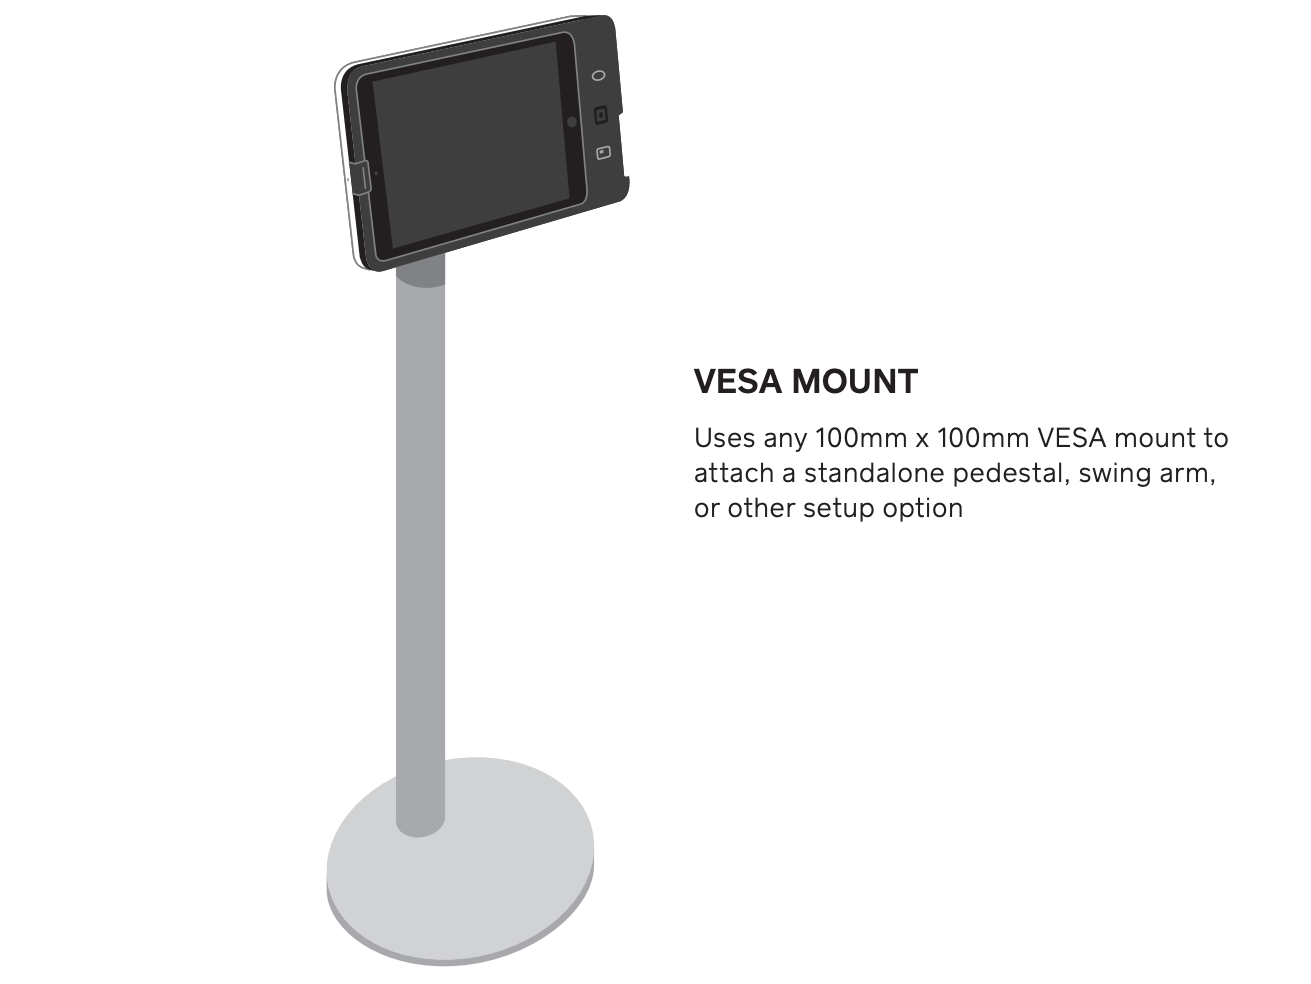 The VESA mount uses any 100mm x 100mm VESA mount to attach a standalone pedestal, swing arm, or other setup option. Download the visual guide here.
- Plug the hub into Square Kiosk: Decide which side you want the hub’s USB-C cable to exit, then slot it into the cable channel, or if VESA mount allows, run the cable through the VESA mount.
- Screw Square Kiosk onto the VESA plate: Align the 100mm x 100mm VESA plate screw holes with the threads on the back of Square Kiosk and screw on.
- Plug in Square Kiosk: Plug the power adapter’s USB-C cable into the hub, then plug one end of the power adapter cable into the power adapter and the other into an outlet.
- Slide your iPad in and secure it: Dock your iPad to the connector and make sure the security latch clicks.
- Optional: Secure your iPad Using a small Phillips screwdriver, attach the security screw to the side of Square Kiosk to further secure your iPad.
Set Up Guided Access
Guided Access allows you to “lock” the Kiosk app on your iPad and prevent customers from closing the app while the Kiosk is operating. Review how to use Guided Access on iPad. Once your iPad has the Square Kiosk activated and ready to accept orders, we recommend that you turn on Guided Access so that diners cannot exit out of your ordering experience and leave the app.
Contact us
Let us know if you have any questions while going through setup – we’re here to help. Reach us at square-kiosk-beta@squareup.com. Share your experience with Square Kiosk by filling out our feedback survey.
Set up printers
Complete your Square Kiosk set up by connecting to receipt printers.
Learn more about printer troubleshooting.
Square Kiosks cannot be directly connected to printers by USB, Ethernet, or Bluetooth, but they can print through an existing Point of Sale connected to a printer.
To ensure that Kiosk orders print, toggle on “Online Order Tickets” in the printer settings in app or on its assigned Printer Profile.
If you’re printing by category, ensure that the categories enabled for Square Kiosk are selected in the Printer profile as well.
Read next
Review the Support Center article: Accept orders with Square Kiosk.
Return to the Square Kiosk learning library.