Add Products and Categories
In addition to creating items and categories from your dashboard, you can also quickly add and edit them while working in the website editor. To get started, go to Website > Edit Site on your dashboard.
Add a New Item
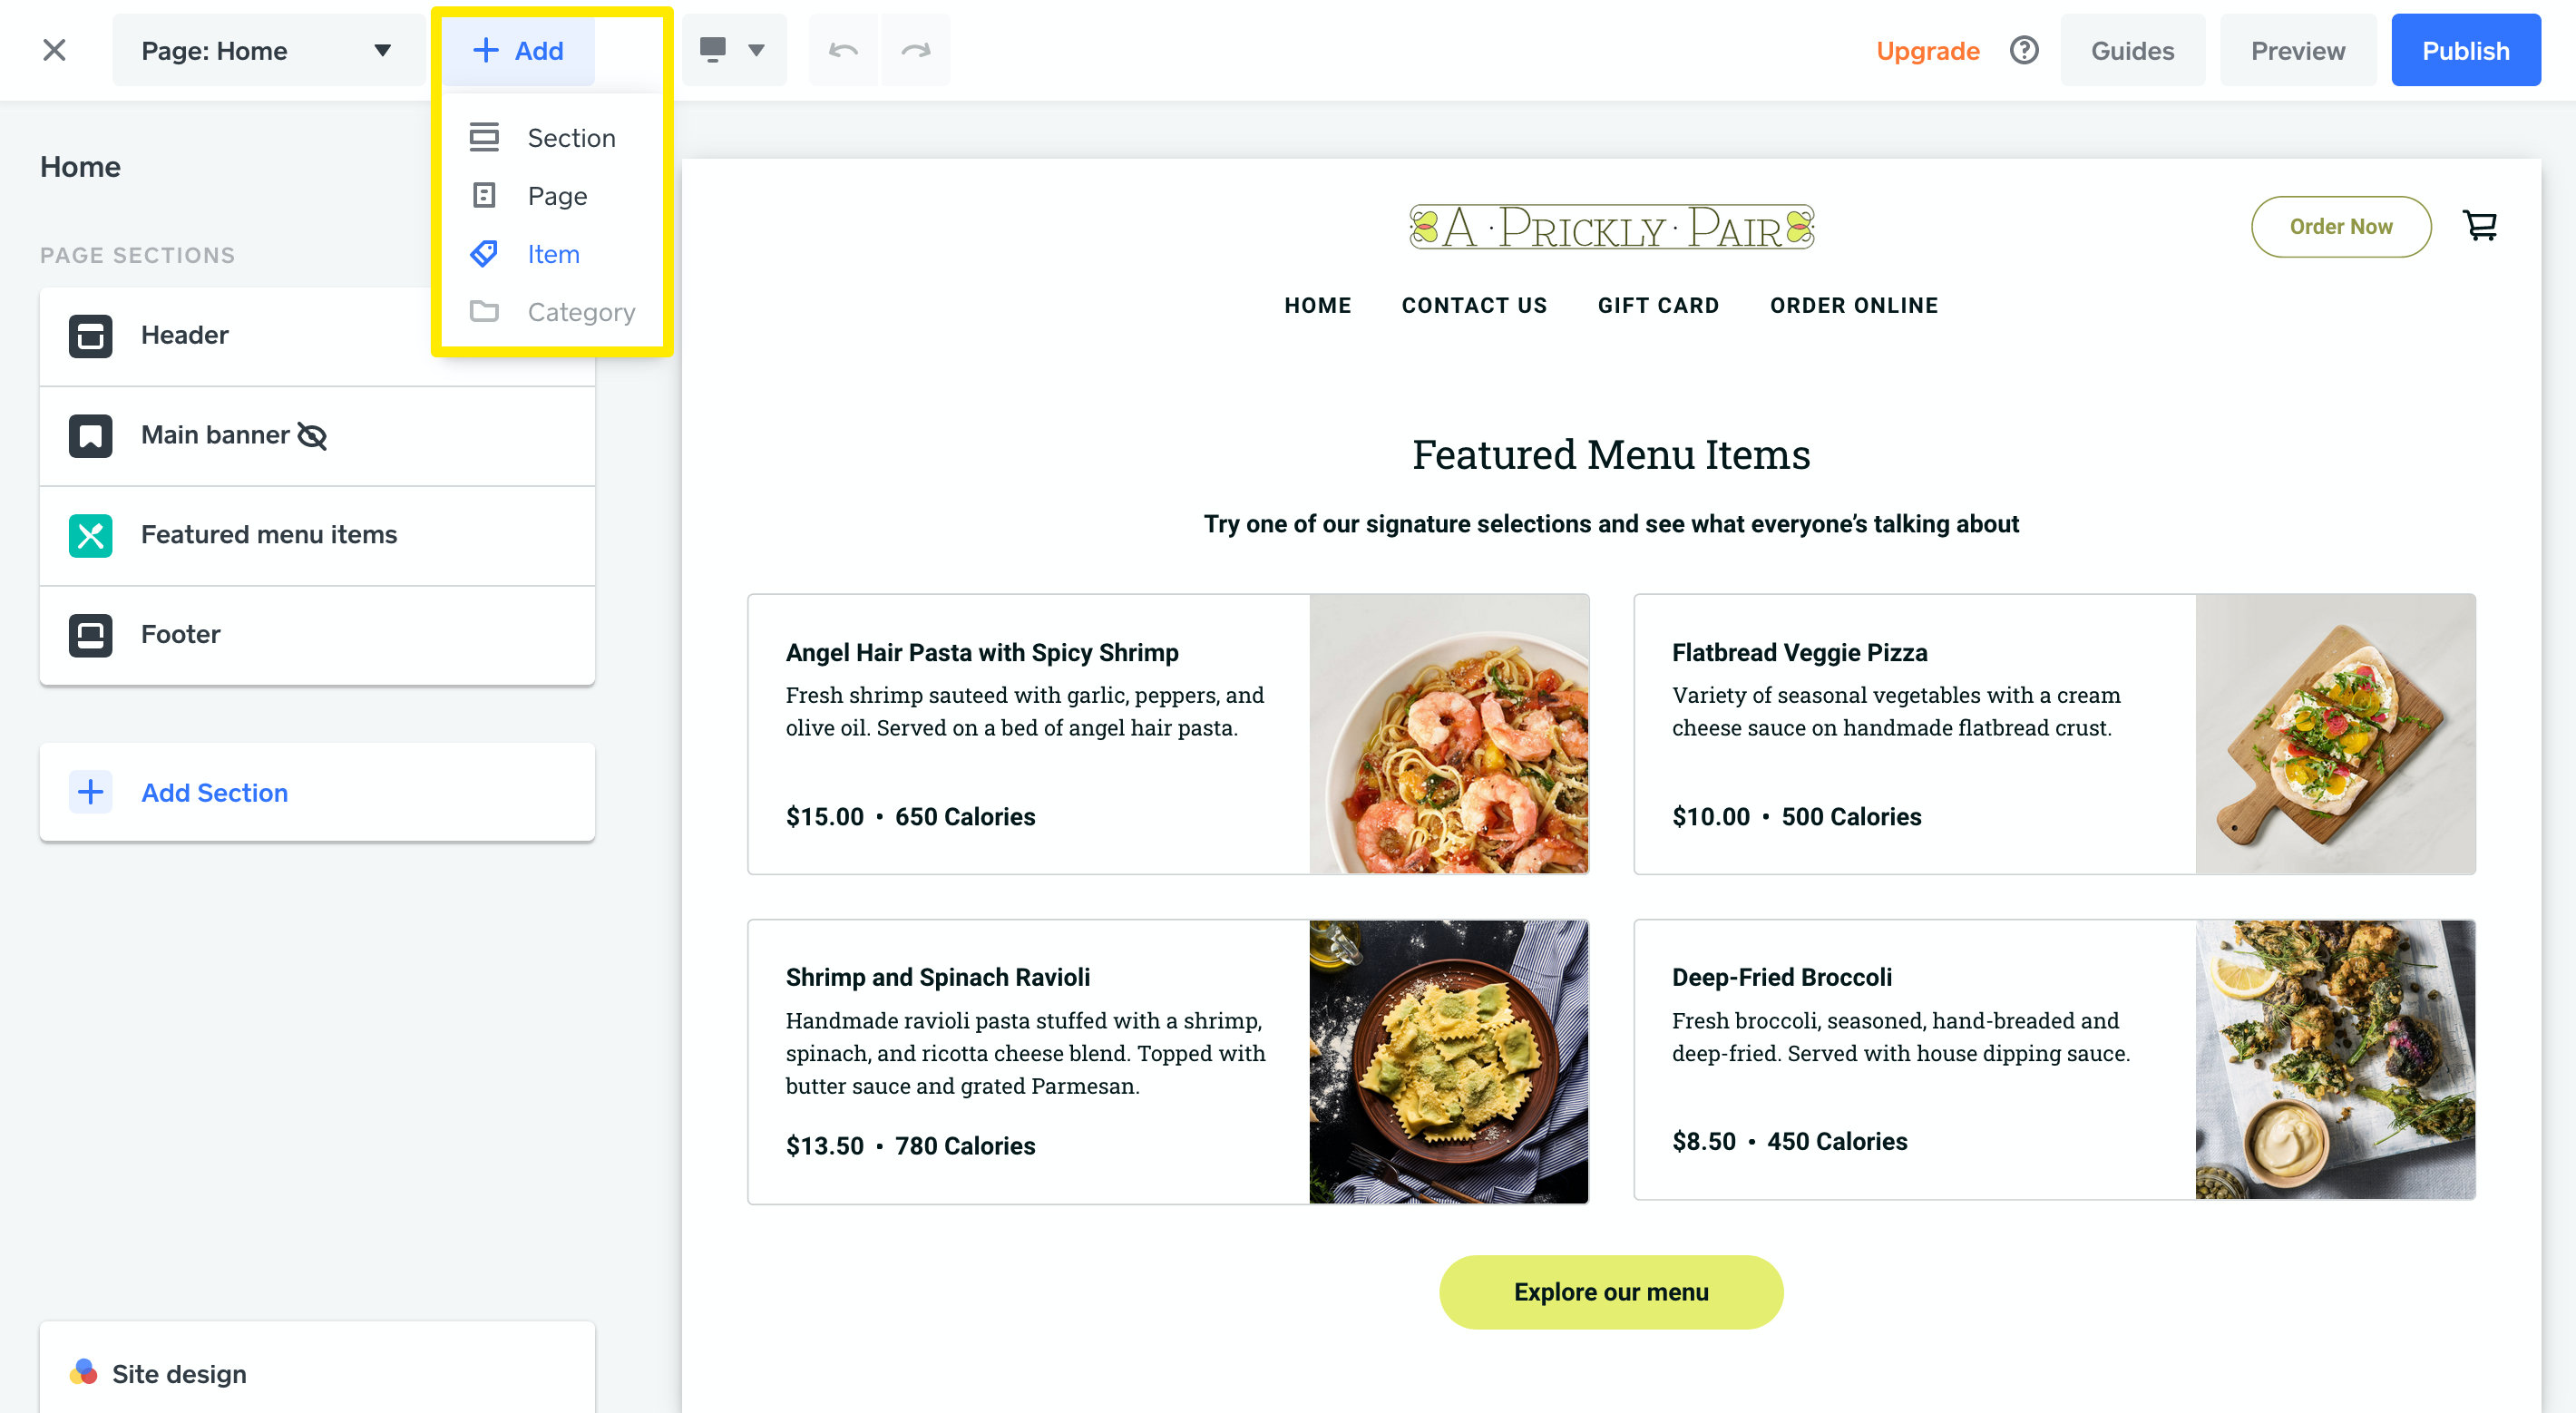
There are three ways to add items from within the website editor:
Click the +Add button and select Item from the drop-down menu, as shown above.
Click the Page list, scroll down to the Items section and click +Add item.
Click the Add section button and choose one of the item sections under “Sell More”, then click add to place it on the page. These sections usually have a button to choose items – click that and look for the Add item button. Learn more about adding sections to your pages.
Whichever method you choose, a pop-up will open where you can quickly add a new item.
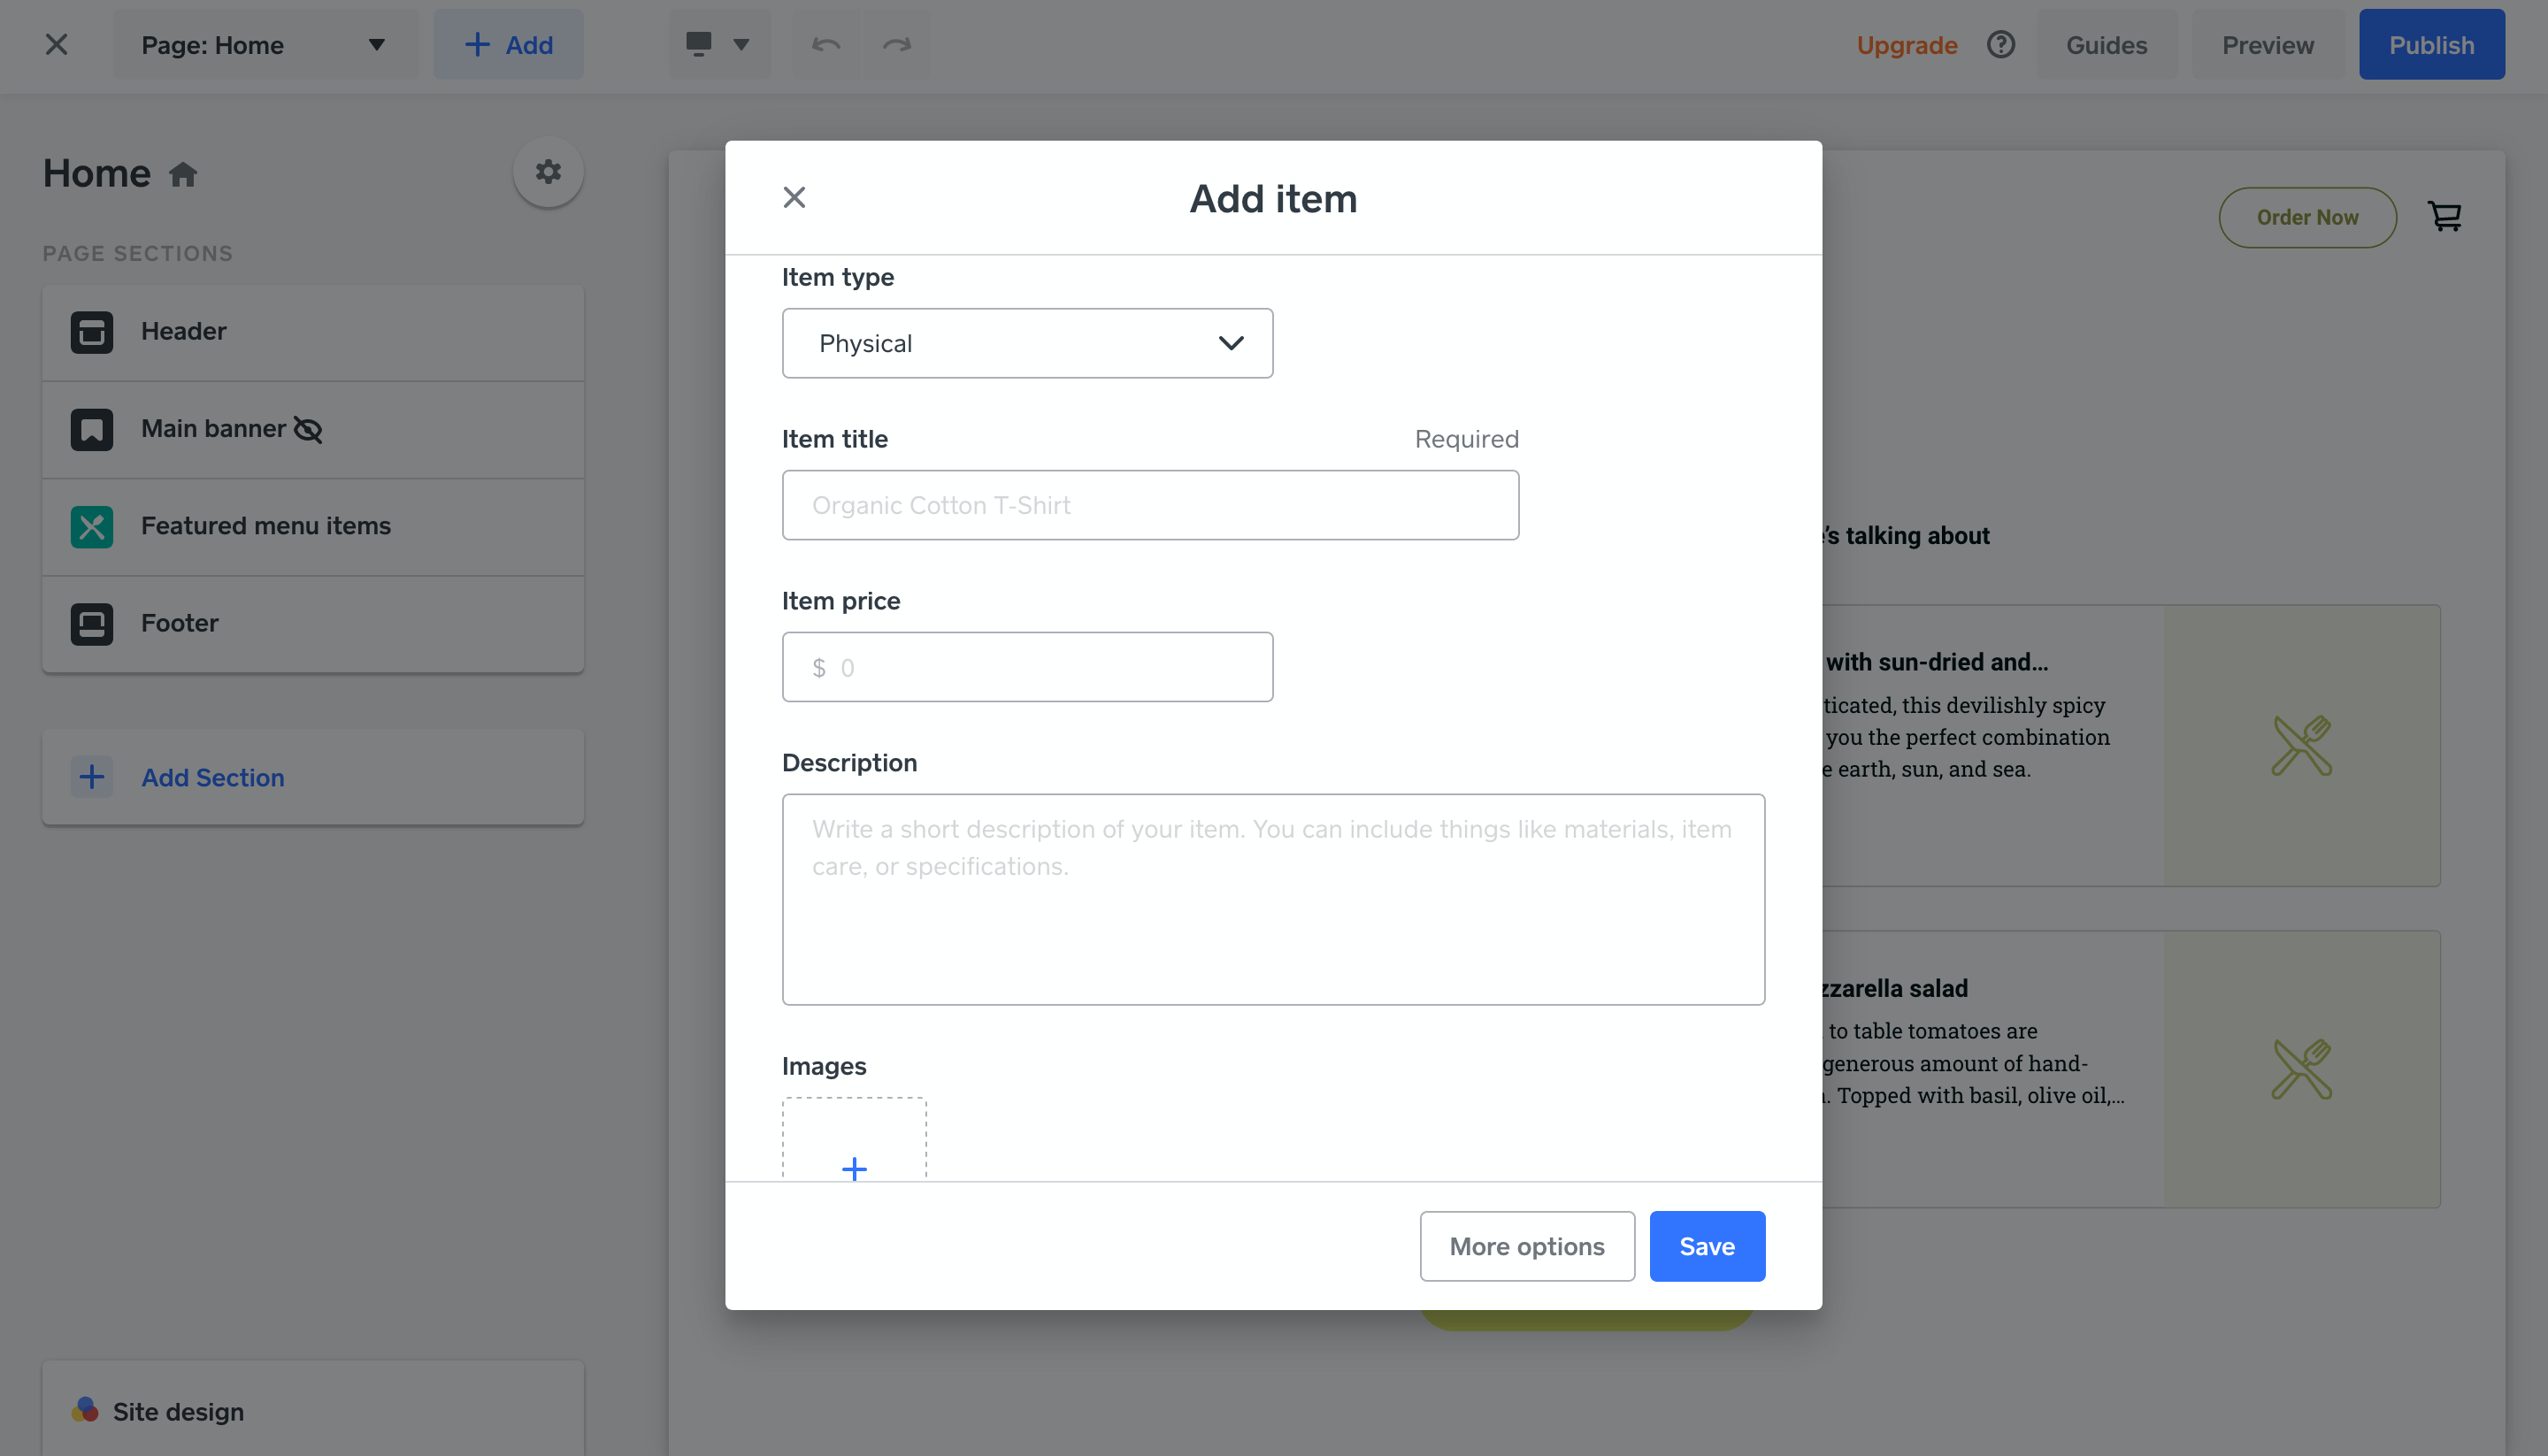
First, you’ll set up the basics: the item type, title, price and a description that will appear on the item page. Next, add one or more images and select a fulfilment method. You can save if you want, or click More Options to access all item settings.
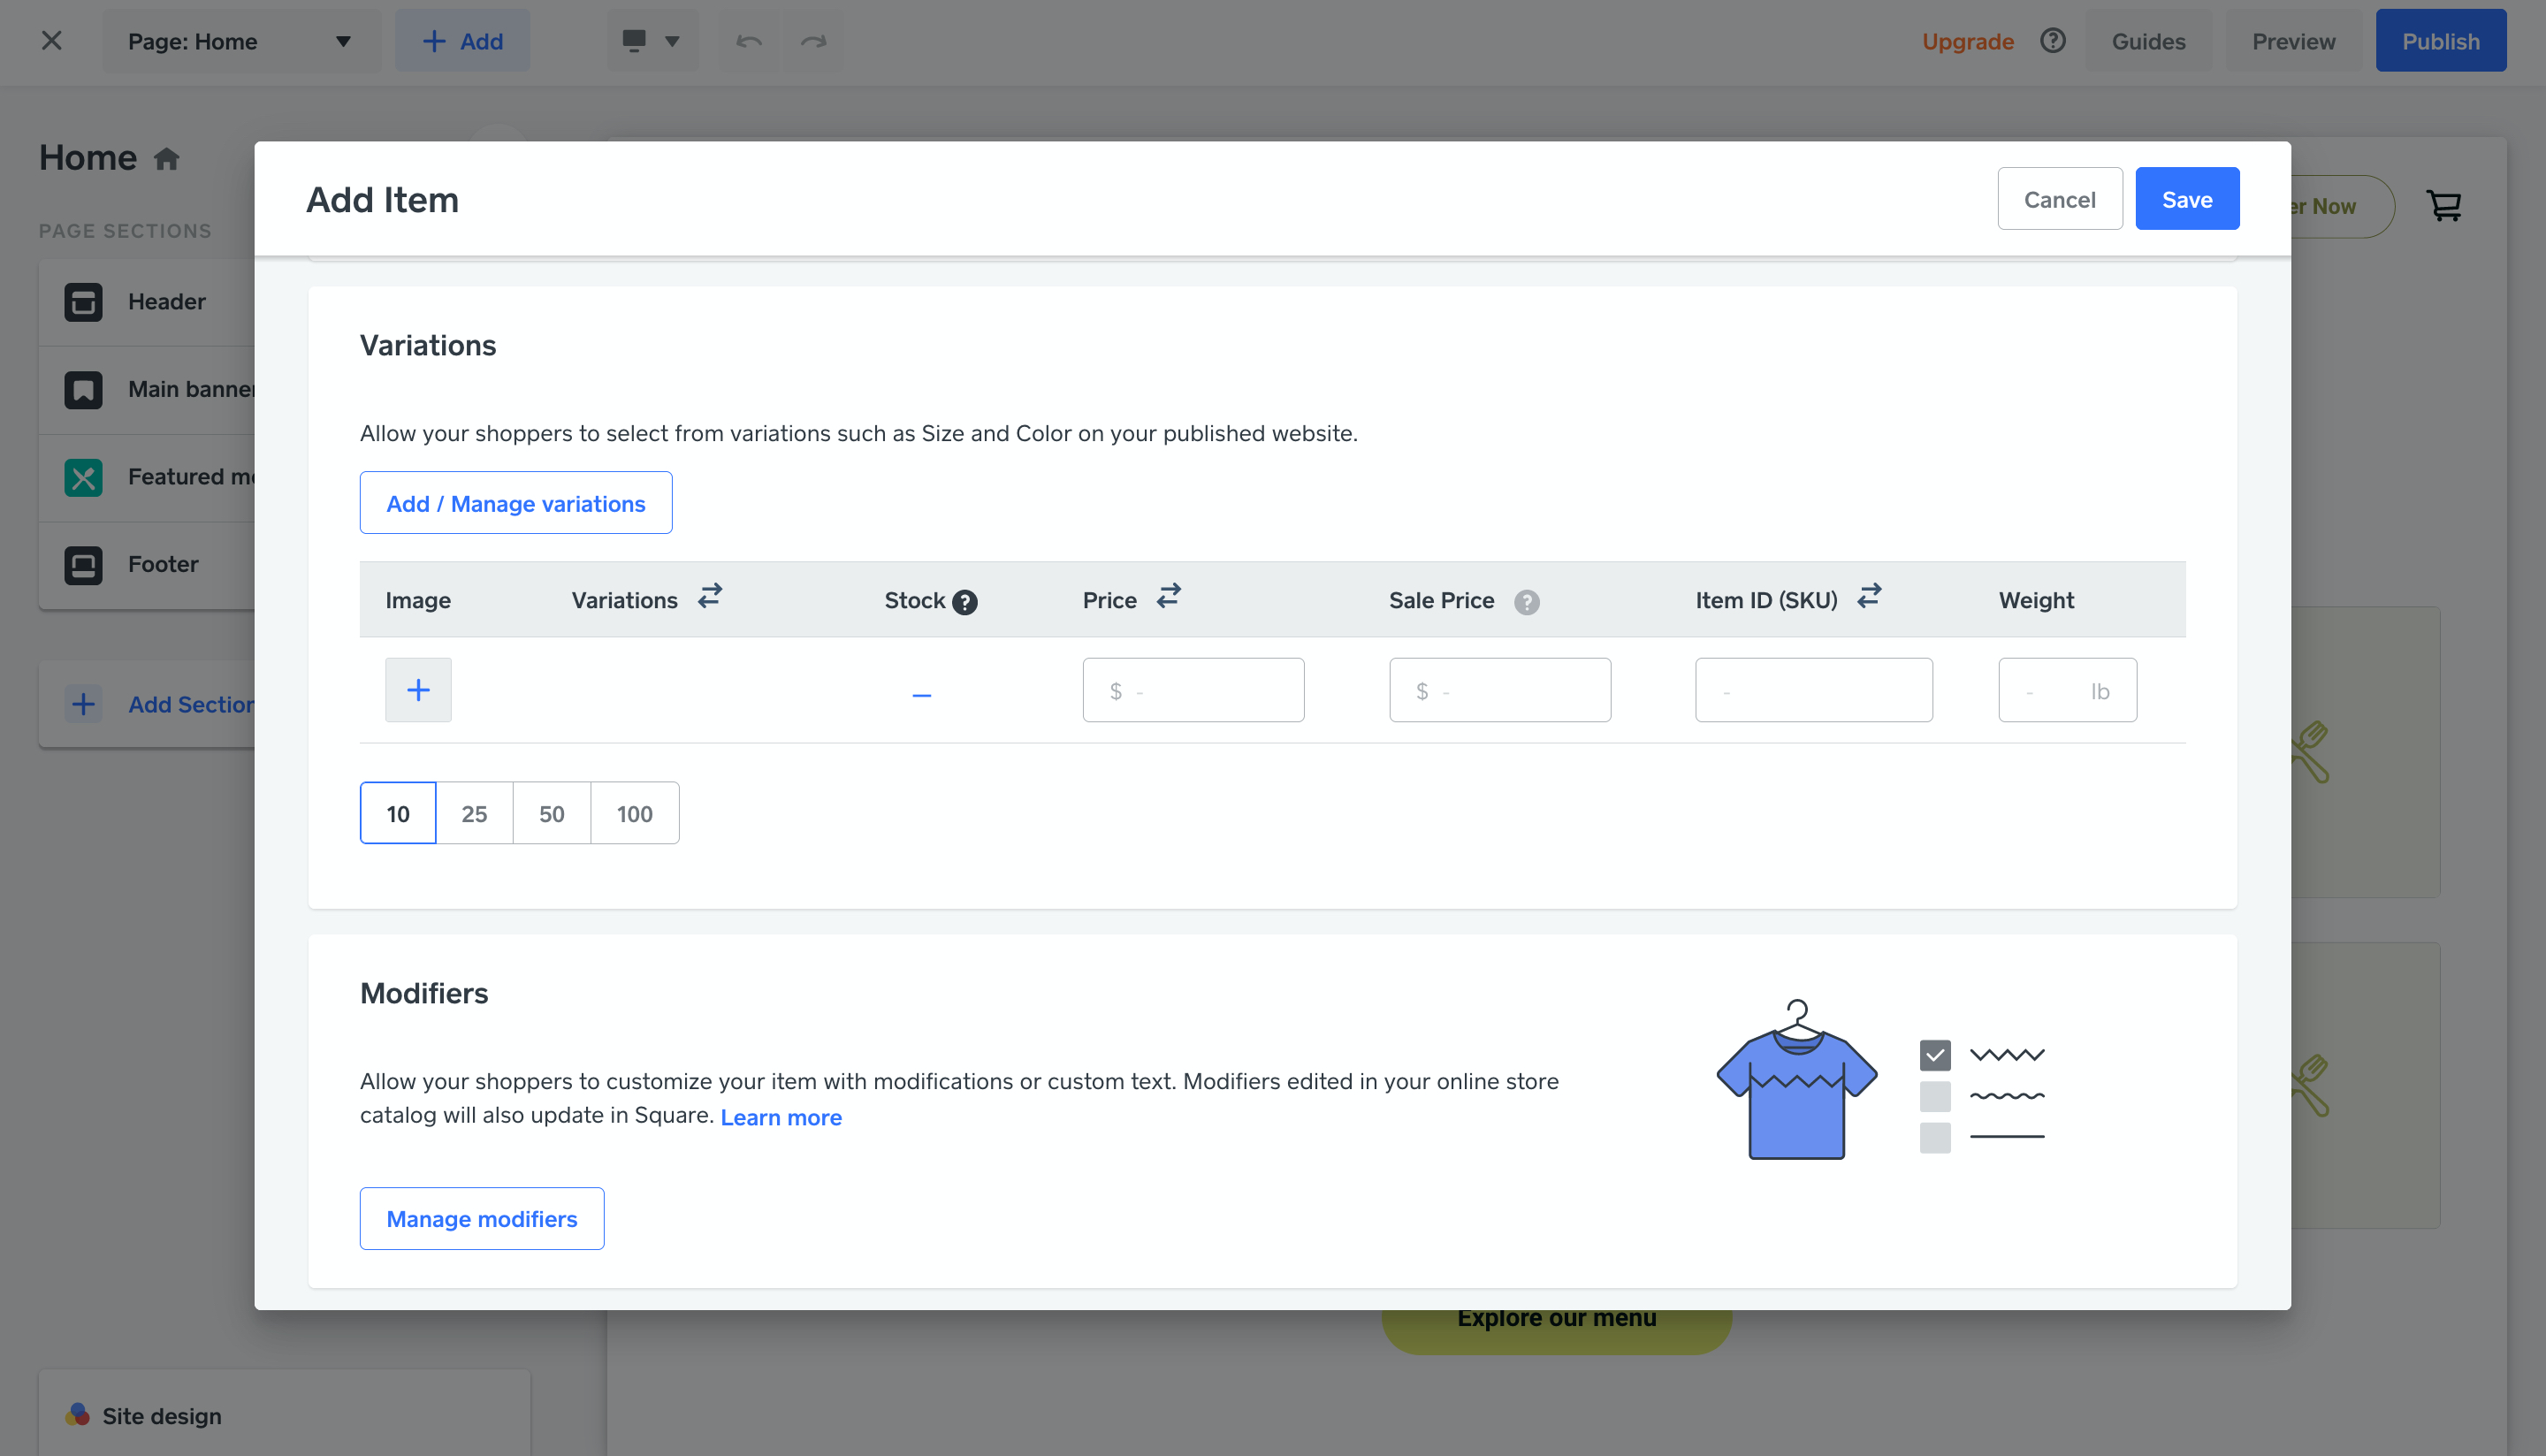
Here you can add variations or modifiers and edit SEO data.
View or Edit Existing Items
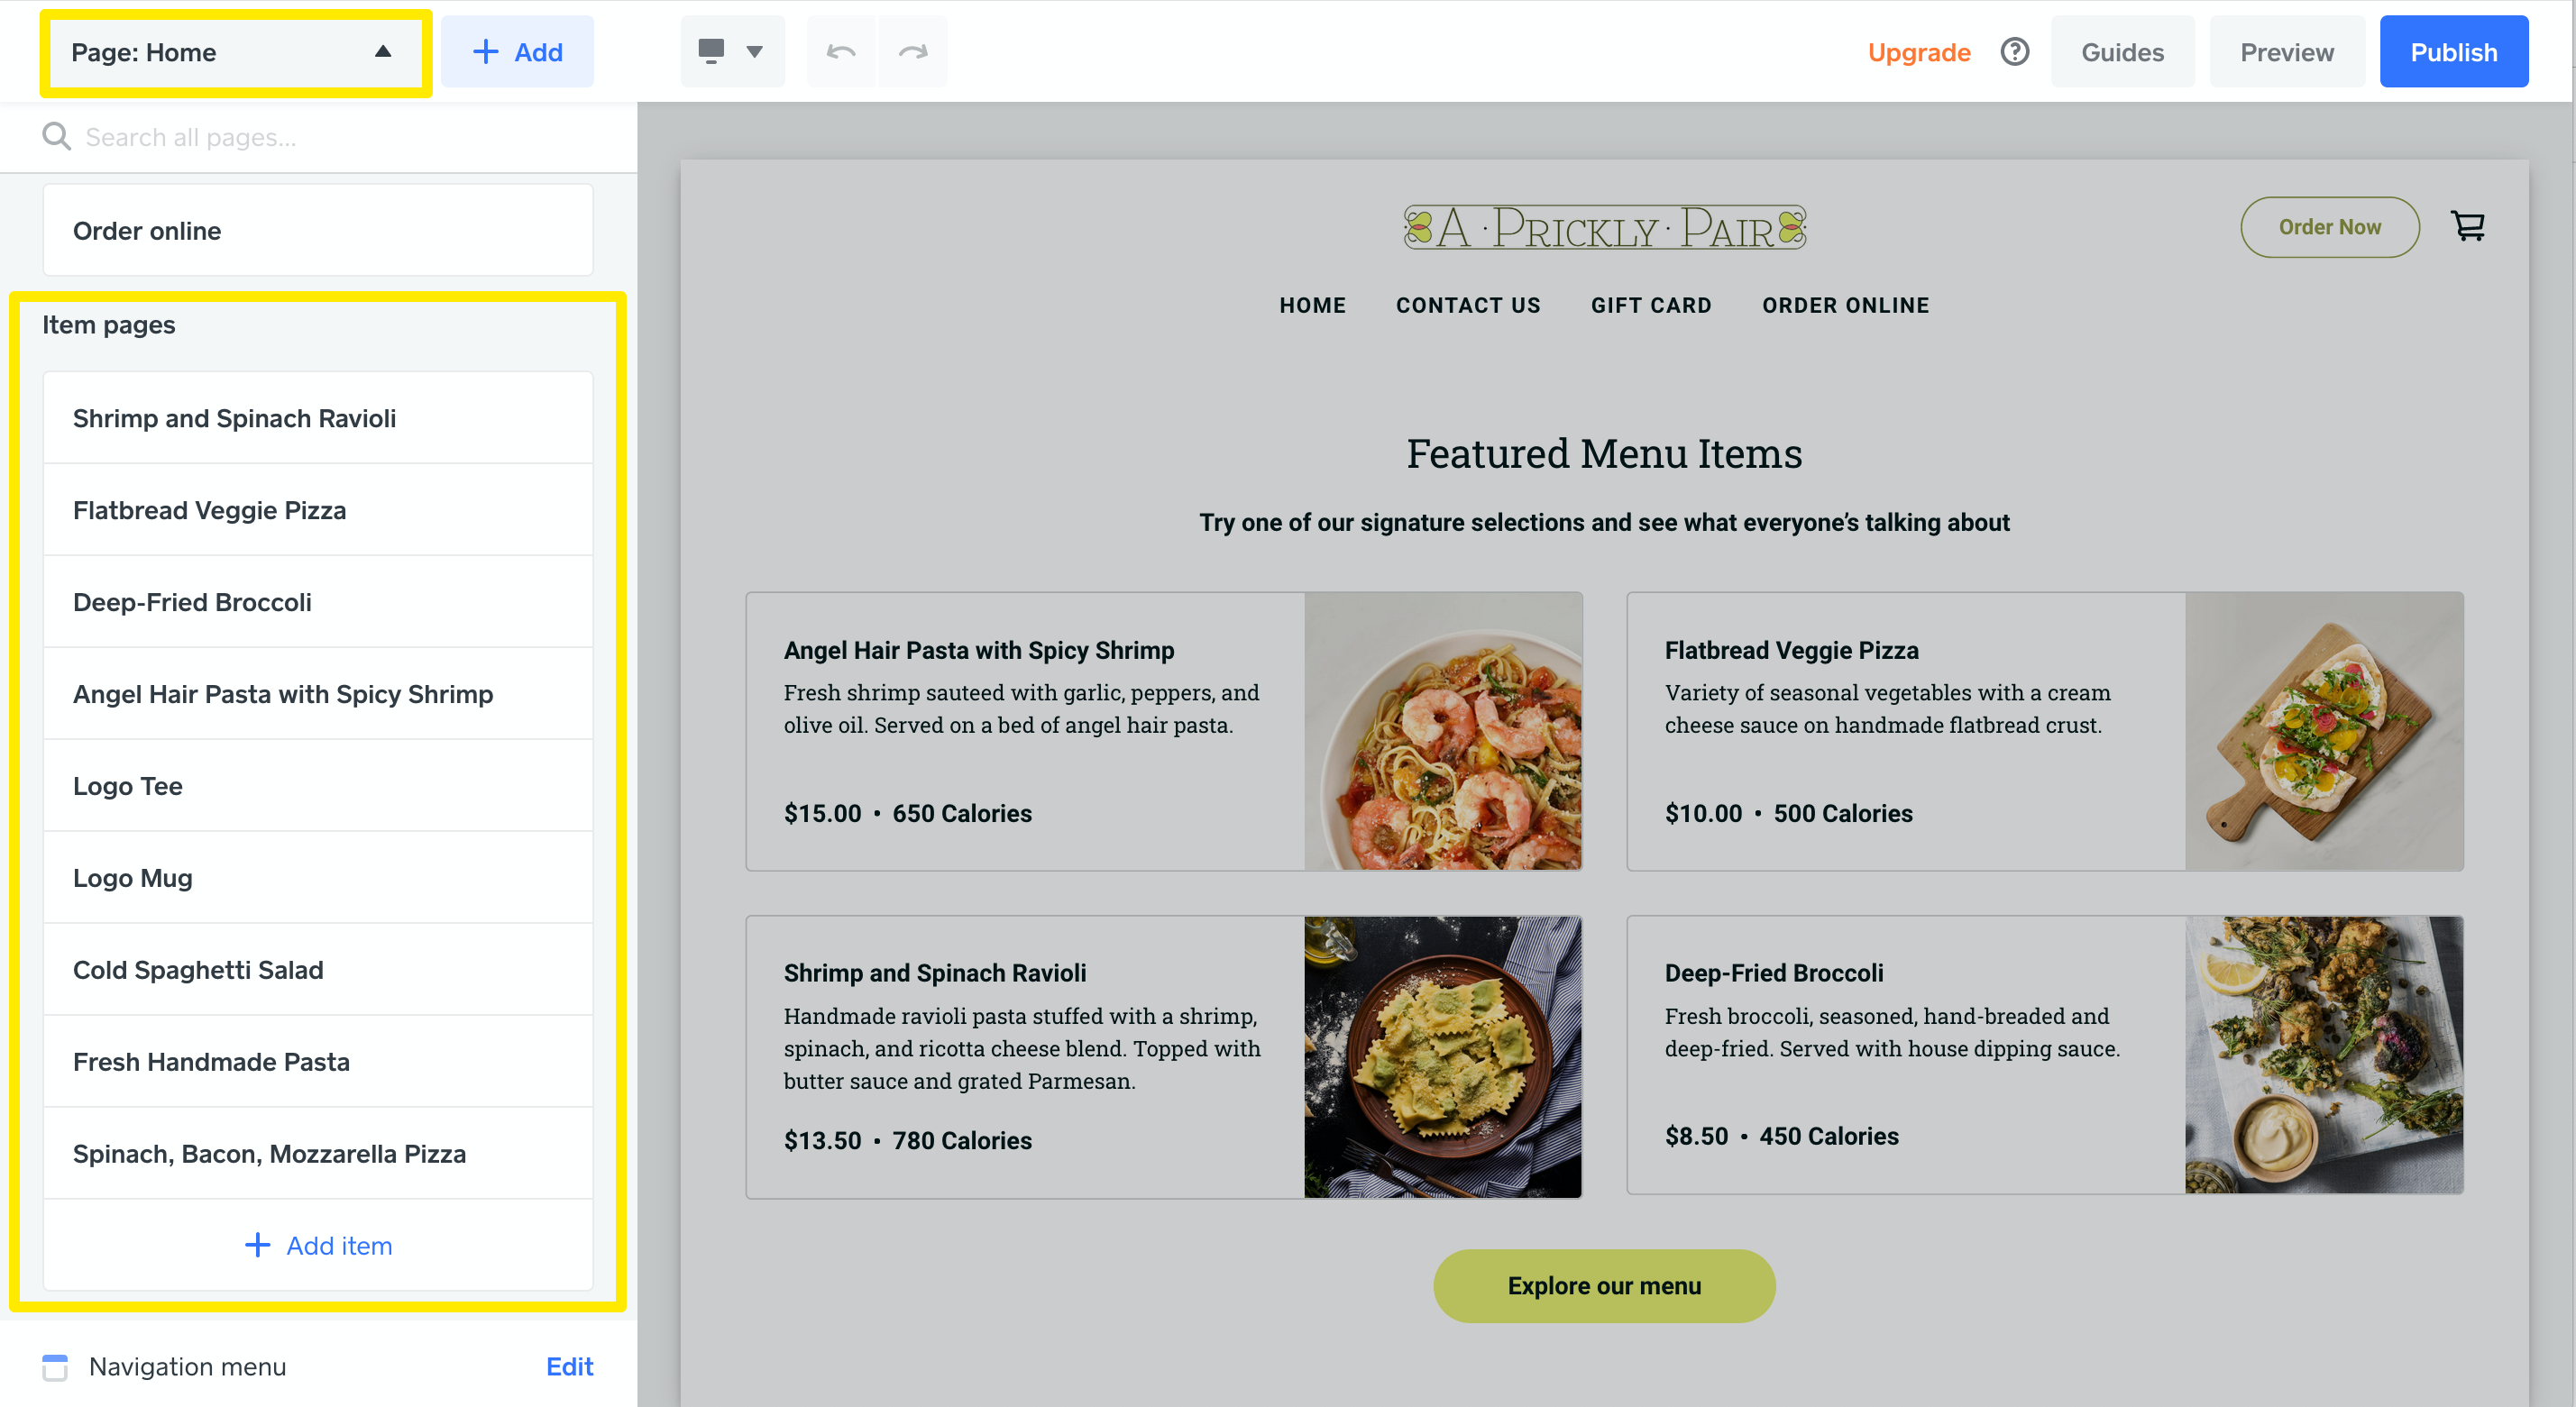
To view or edit existing items, open the Pages menu and scroll down to Item Pages. Whenever you add a new item, a page is automatically created and added here. Click on any item in the list of item pages to see how your item will look on your website.
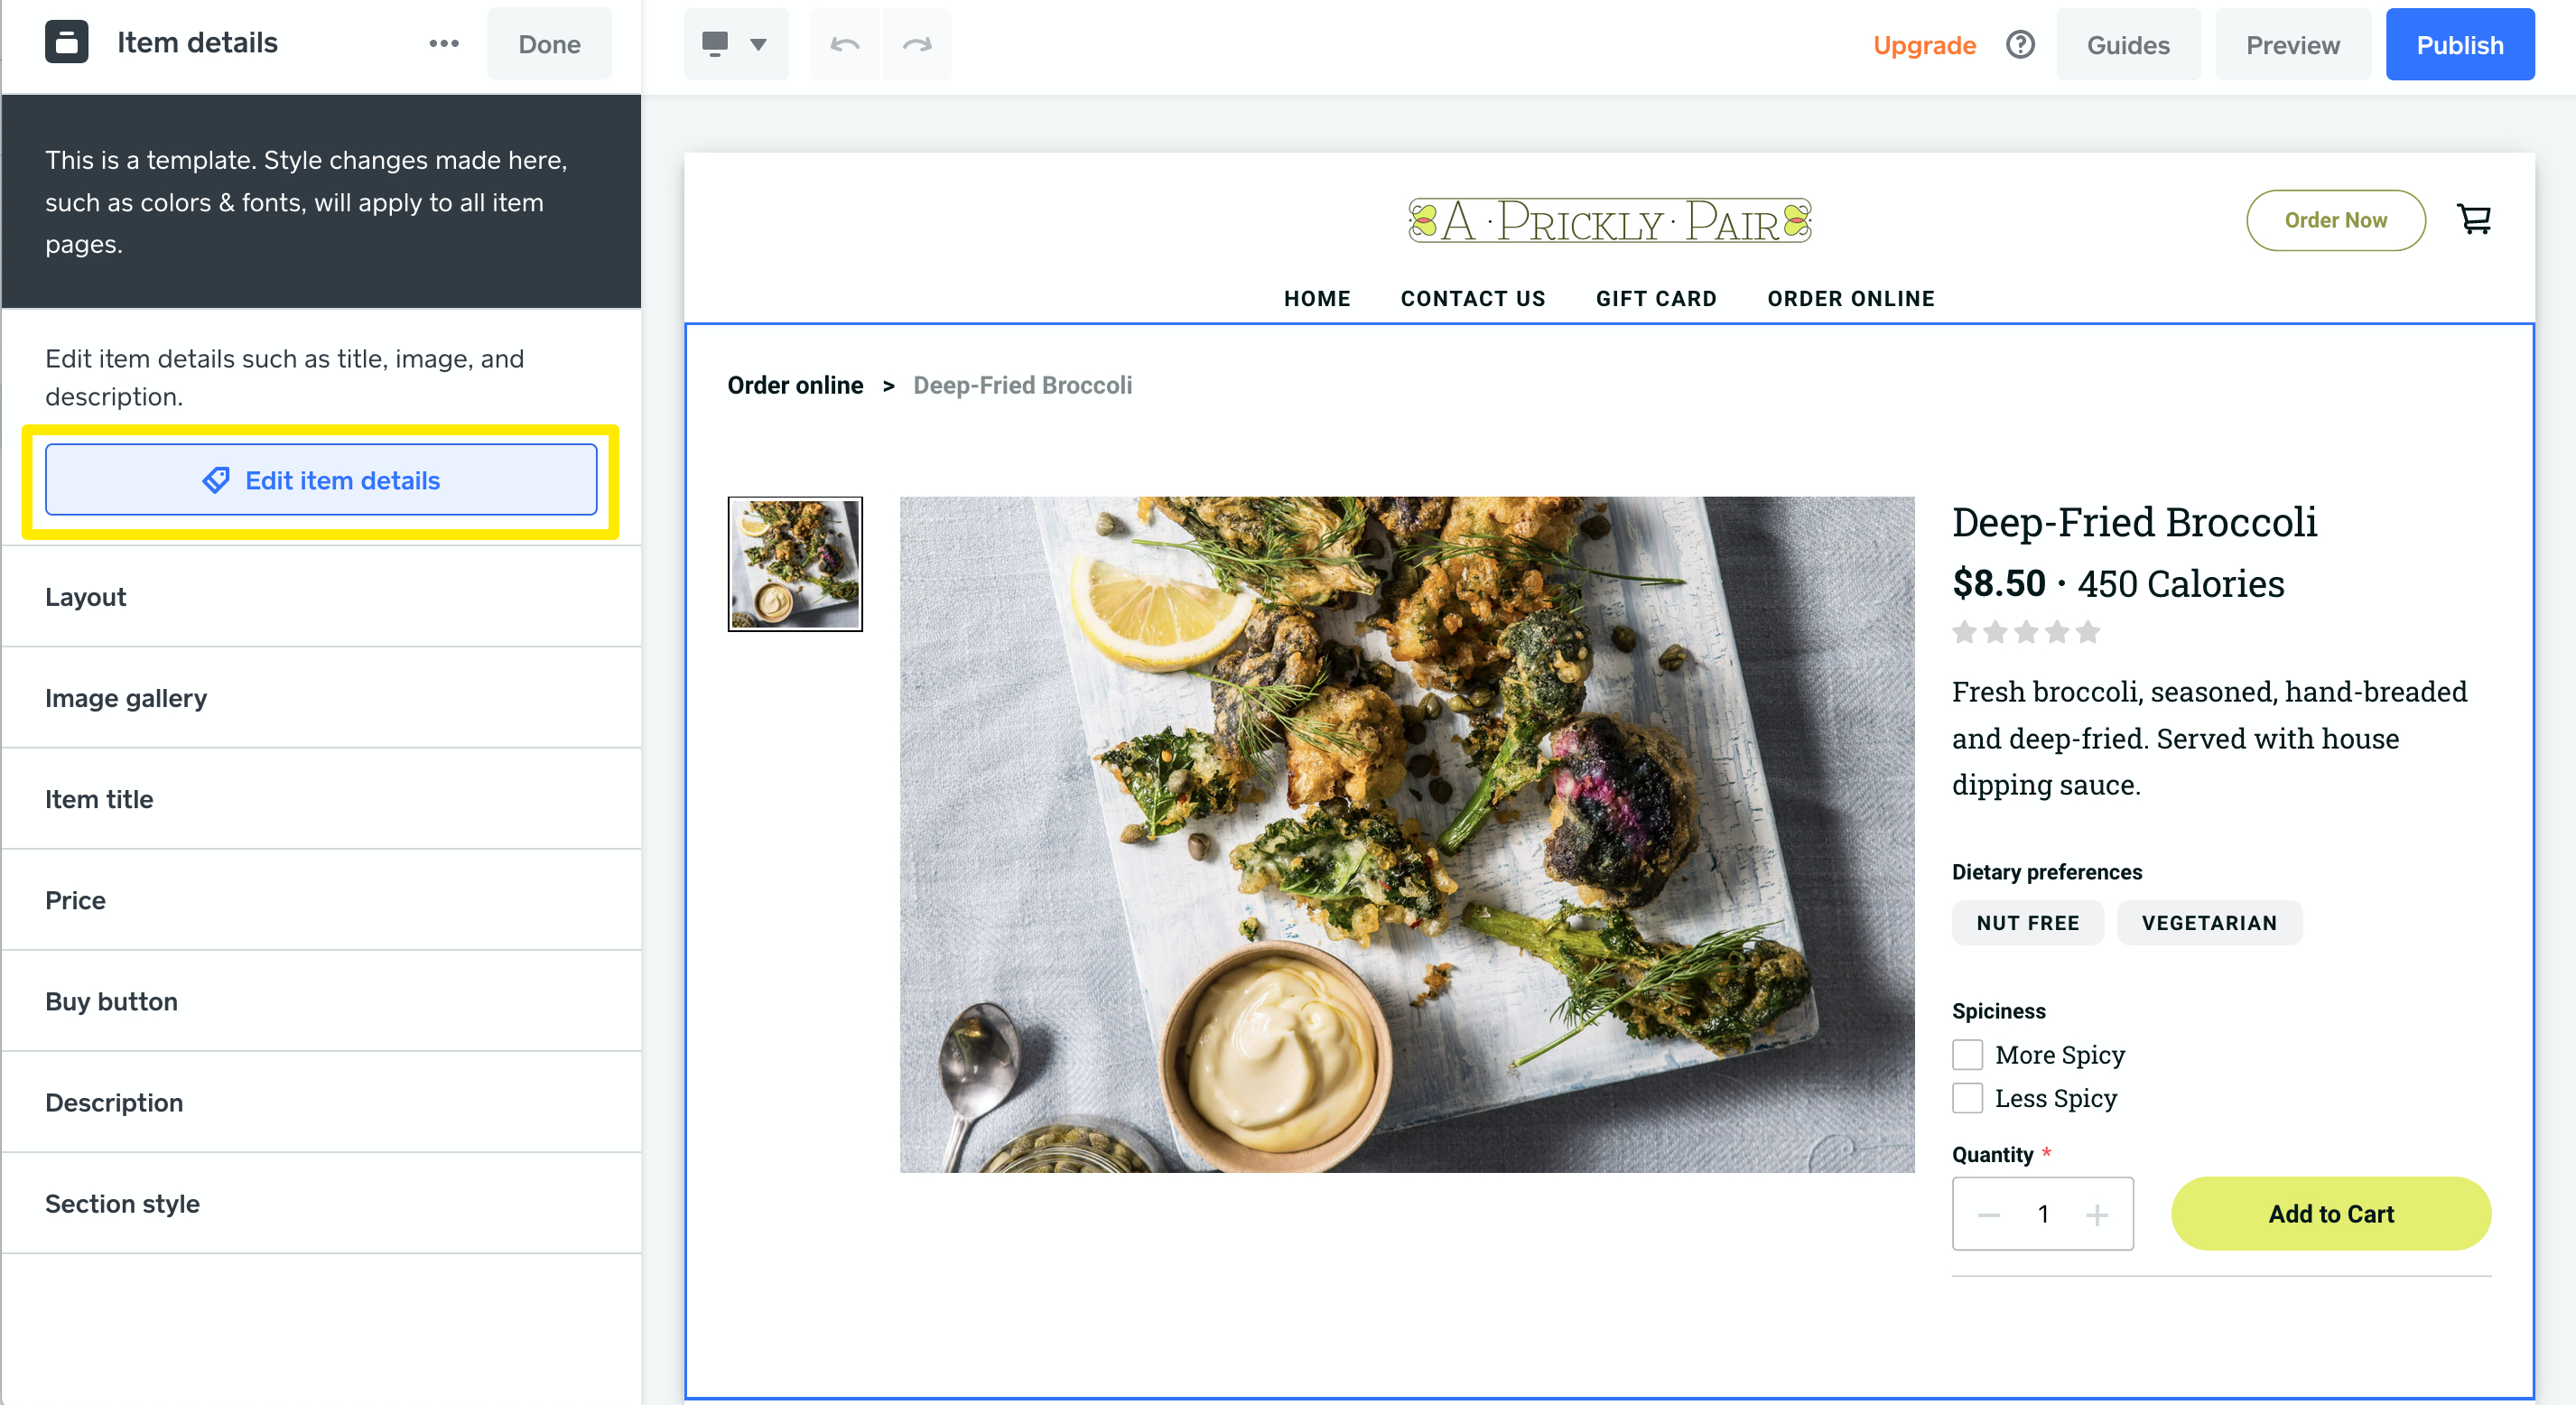
You can edit the information for an item by clicking on the item page and then clicking on Edit item details. This will open the item edit screen and allow you to make changes and save them without leaving the editor. Below the Edit item details button, there are several options that allow you to customise the look of item pages.
Add a New Category

You can add categories from within the editor in a few ways:
Click the +Add button and select Category from the drop-down menu.
Open the Page list, scroll down to Category pages and select Add category.
Click the Add section button and choose Featured Categories section under “Sell More”, then click add to place it on the page. Click the Choose categories button, then use the Create category button on the next screen. Learn more about adding sections to your pages.
Note: You won’t be able to edit or add more categories from within the editor if you’re using the Order Online template. The Order Online template provides a single-page, menu-style view of all your items. You can create categories from Items > Categories on the dashboard, and they’ll automatically appear on the Order Online page.
On the add category screen, give your new category a title, add an image and choose which items to add to the category. Save when you’re finished to see the items you selected displayed on the category page. If you want to create more, simply follow the steps outlined above.
Tip: Items can be placed in multiple categories, so be creative with them! For example, you might want to create a “New Arrivals!” category to showcase what’s new in your online store.
View or Edit Existing Categories
To edit an existing category, open the Pages menu, scroll down to Category Pages and then click on the category you want to edit.
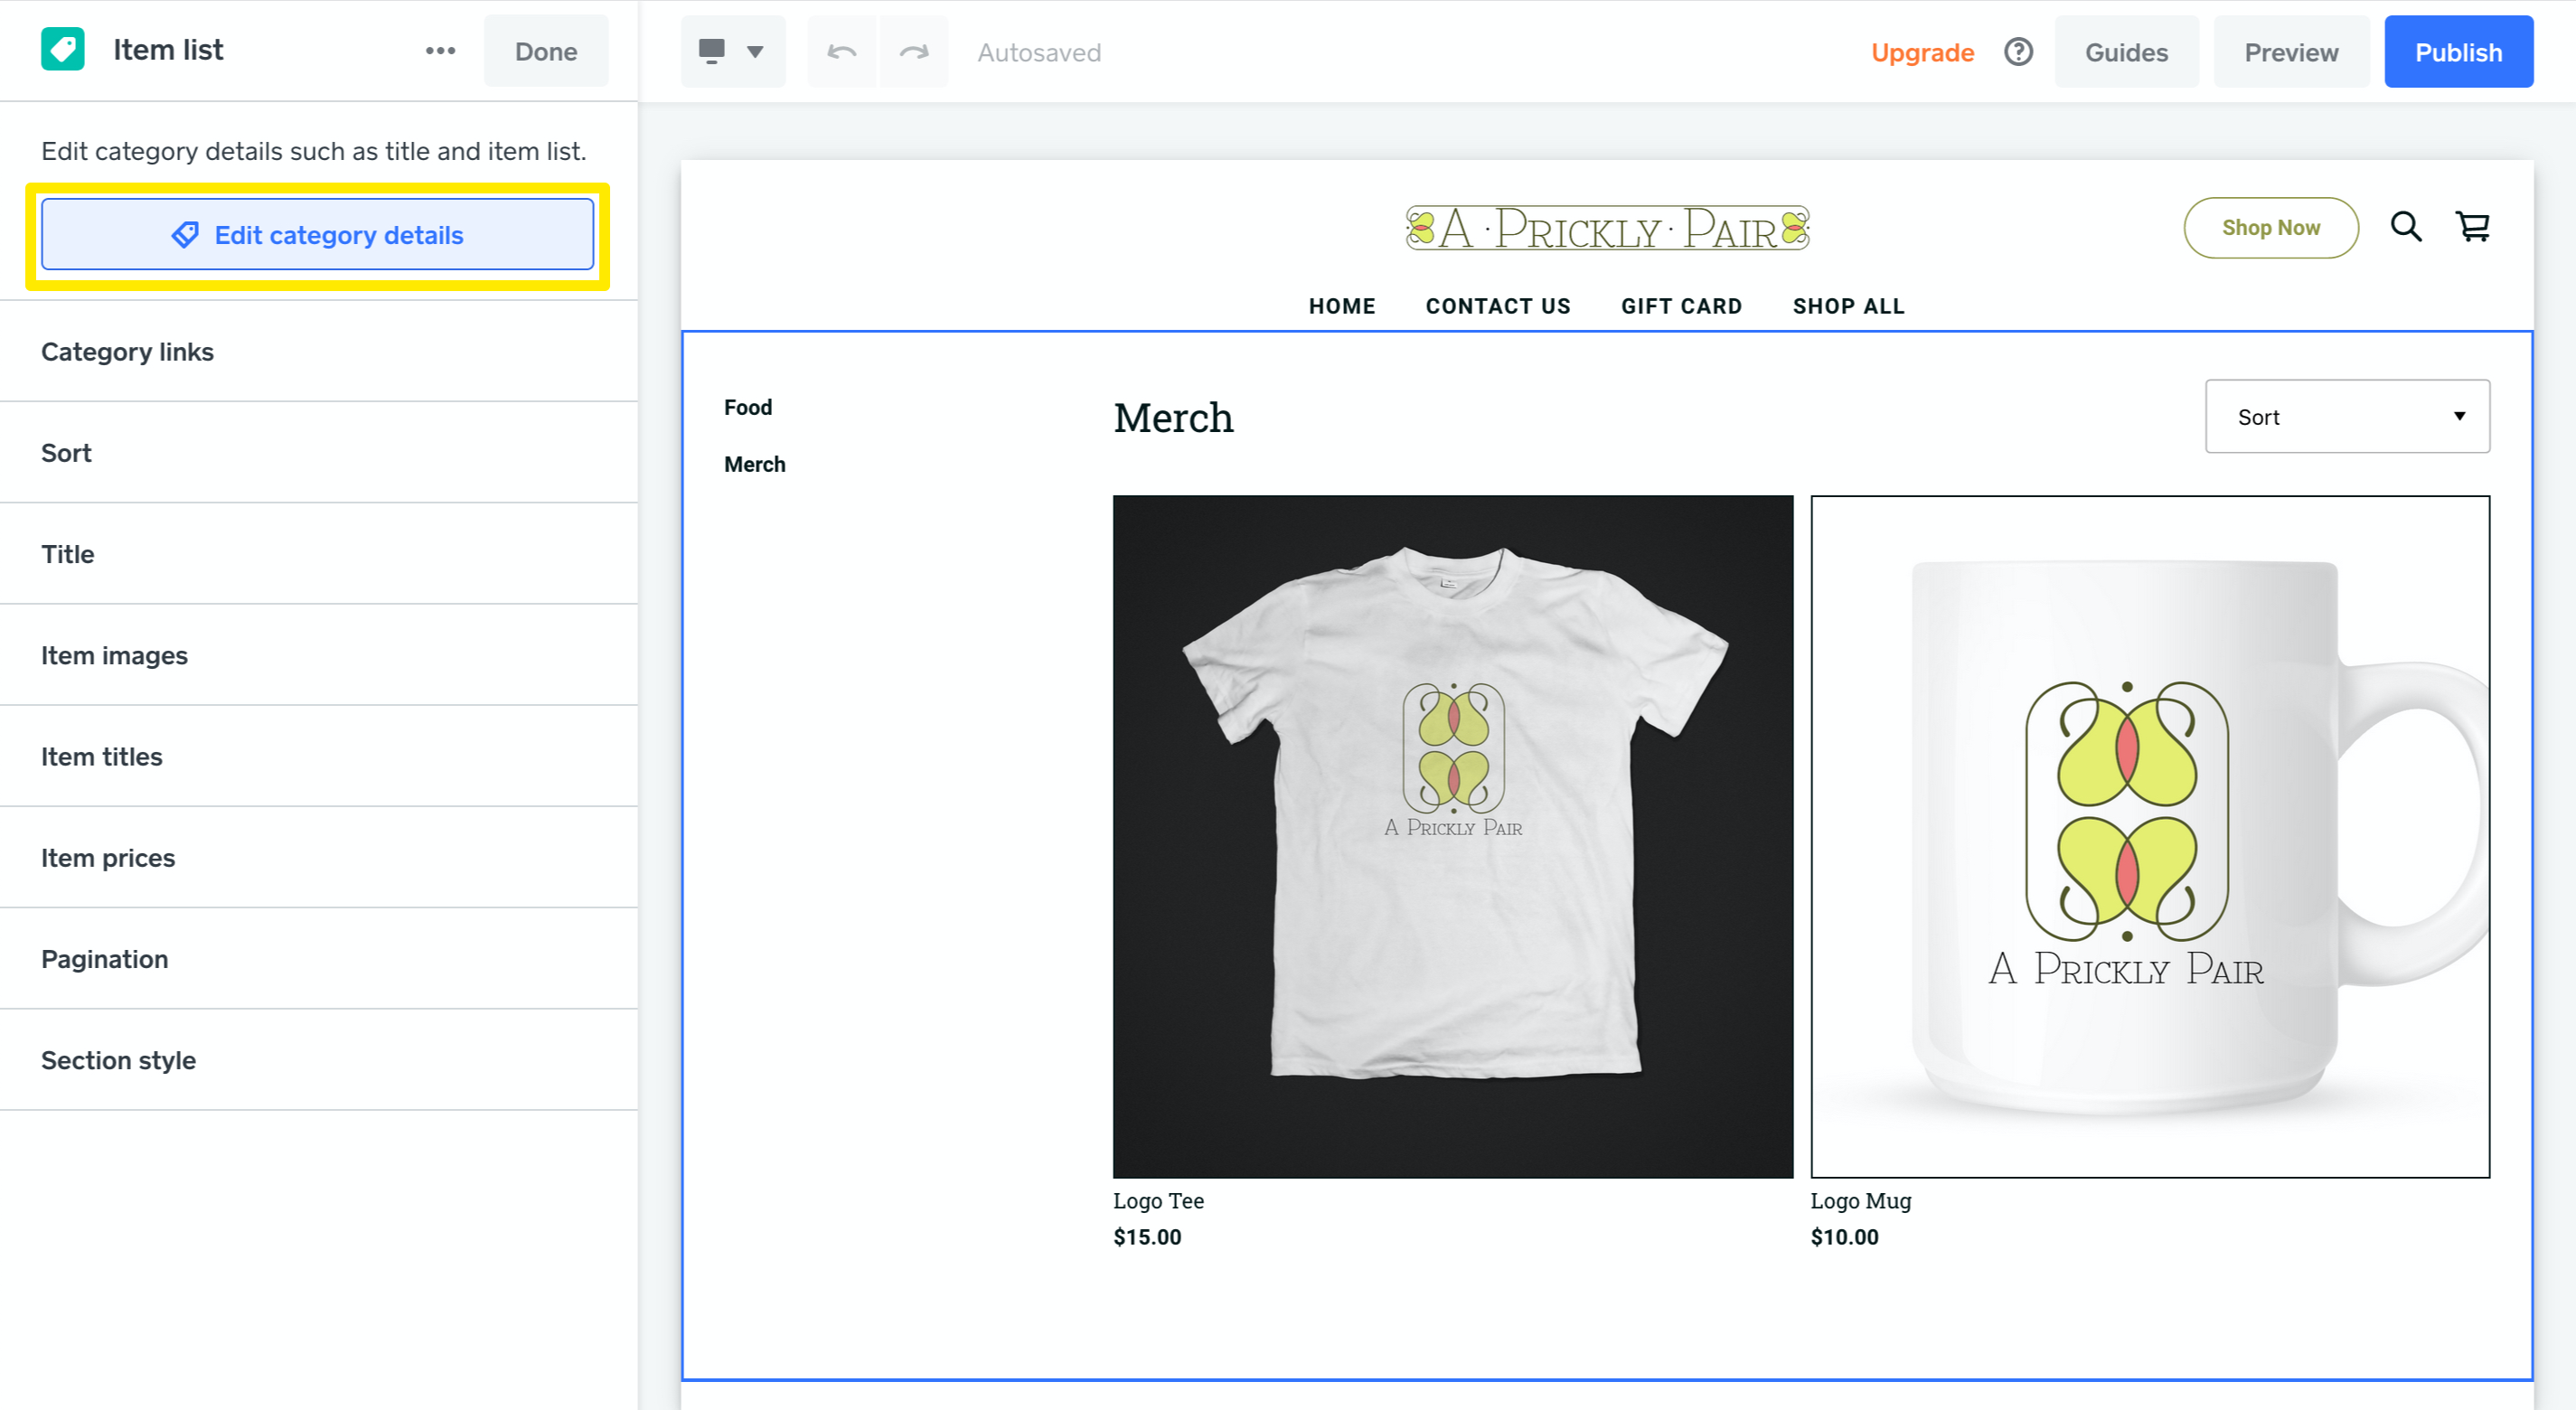
Click on the category page to open the options. You can edit the category details and change the look of category pages, just as you can with item pages.
If you’re using the Order Online template for your website, you can edit categories from Items > Categories on the dashboard.
Add Items and Categories to the Navigation Menu
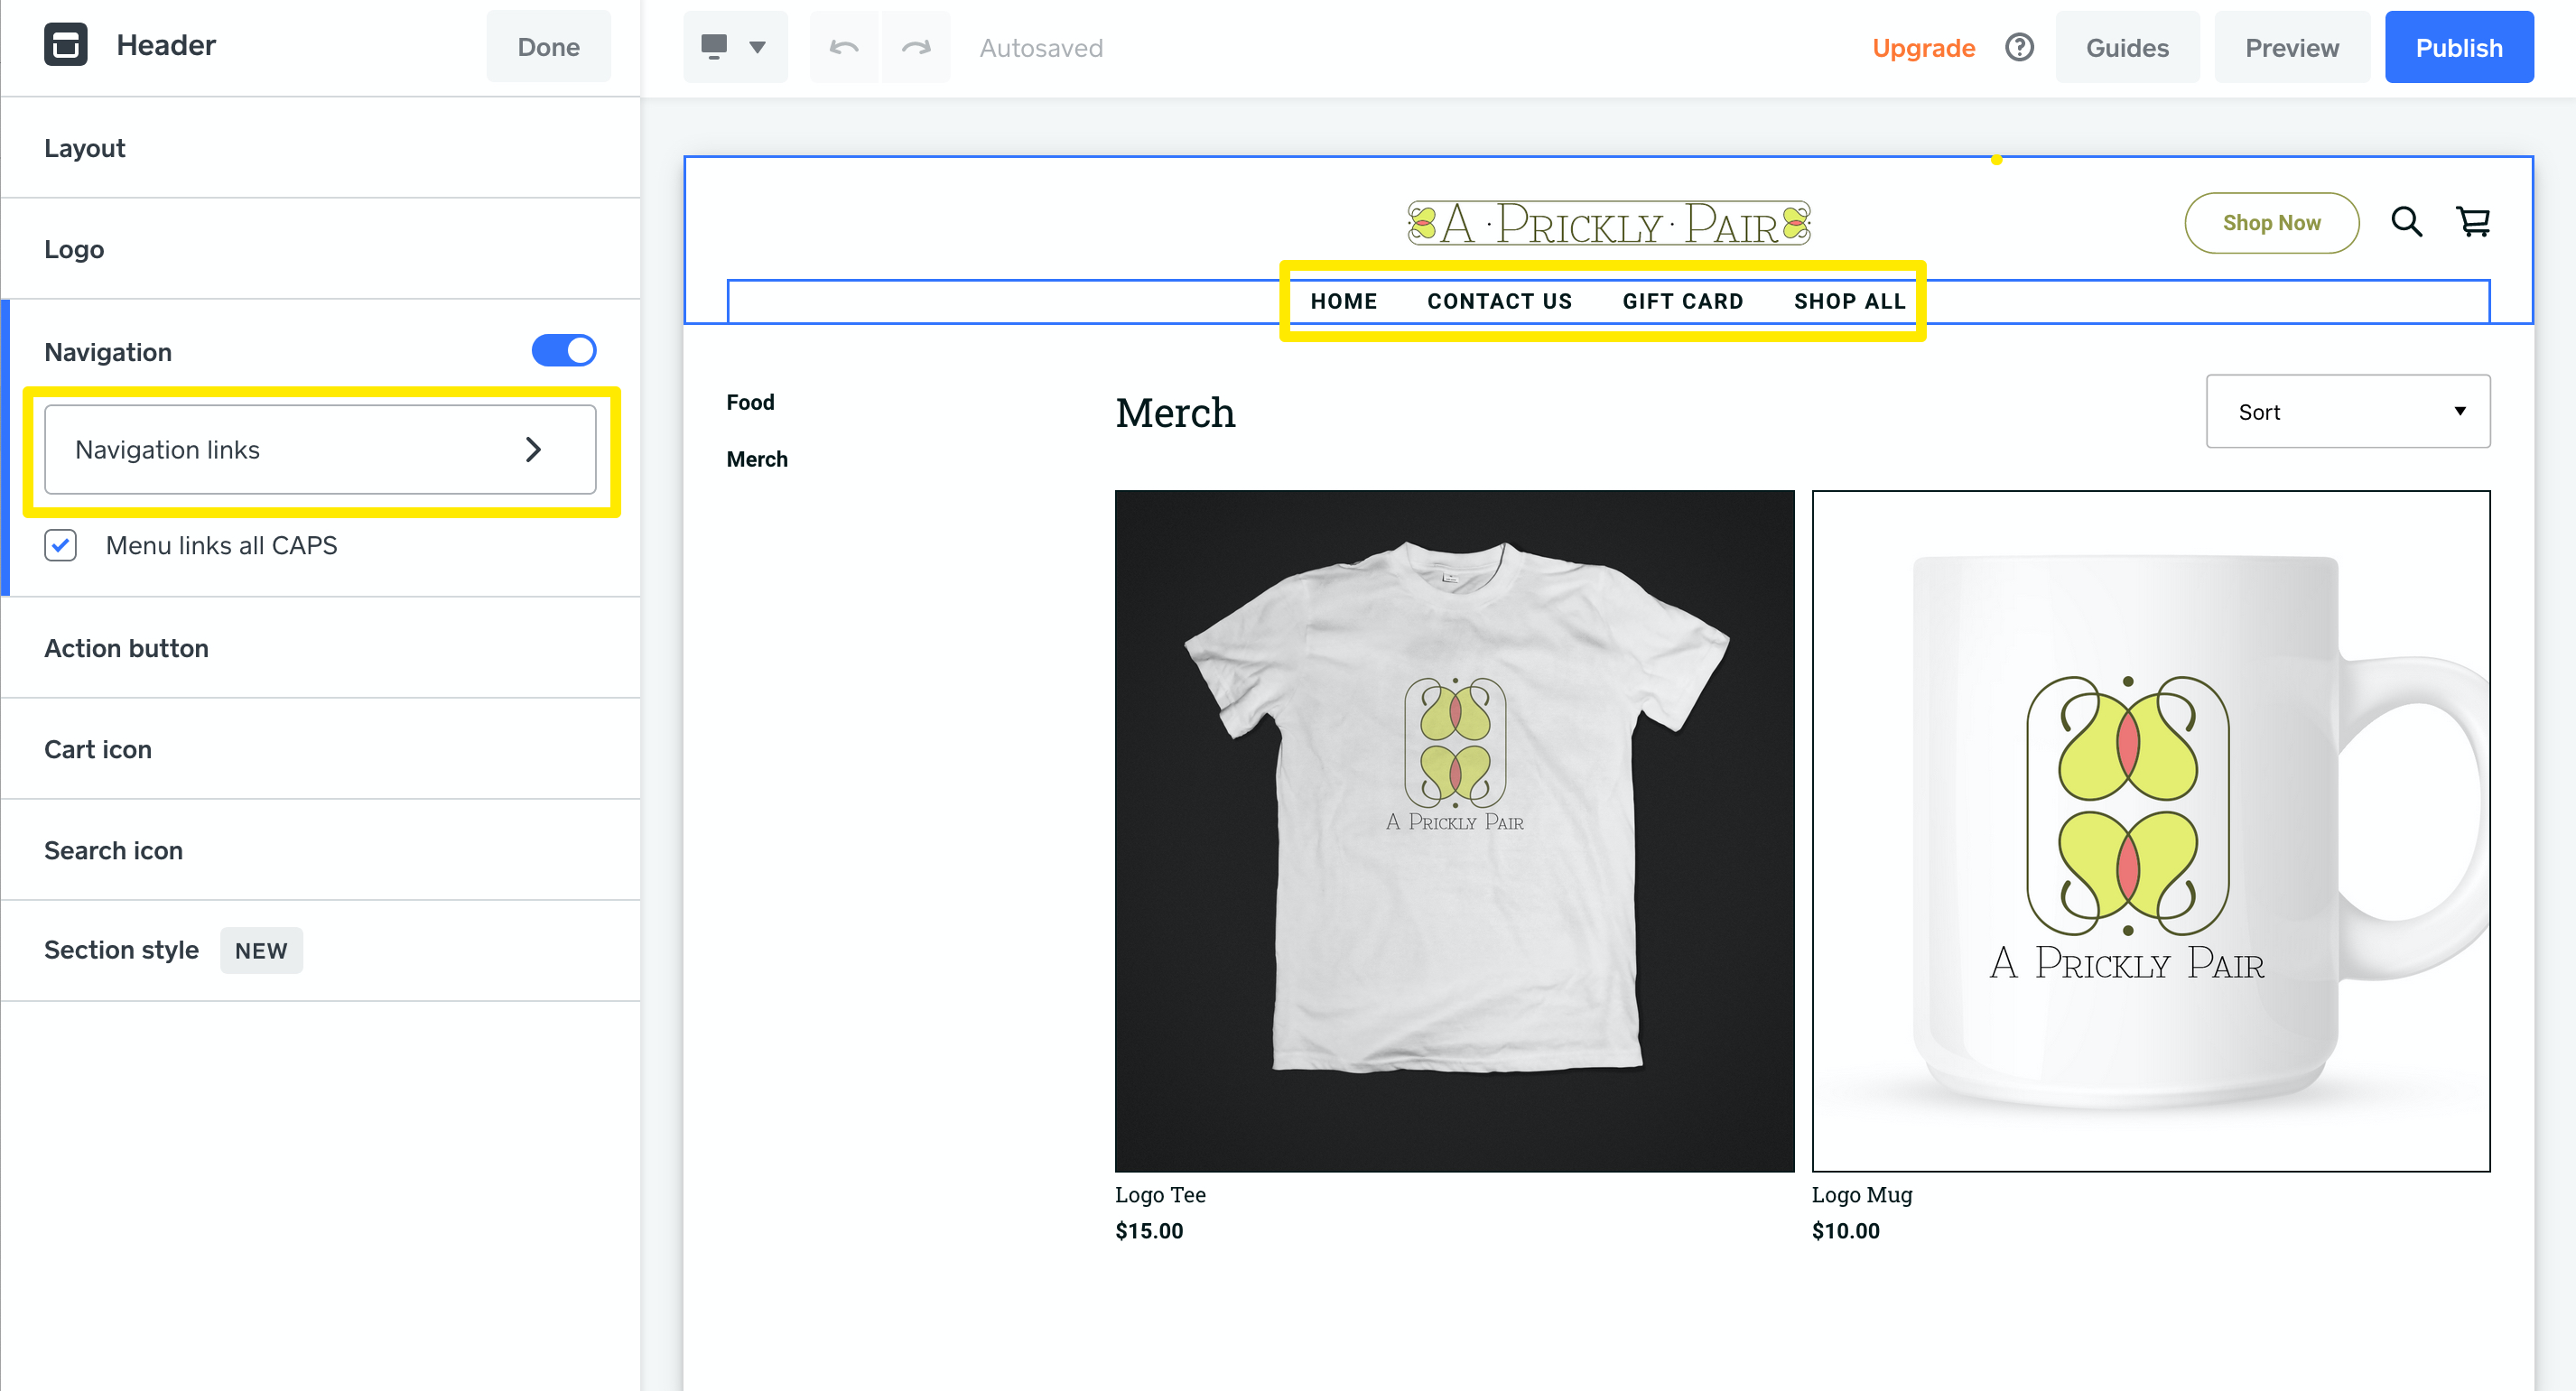
You can link to item and category pages using buttons, images or text, just like any other page on your site. You can also add them to your navigation menu.
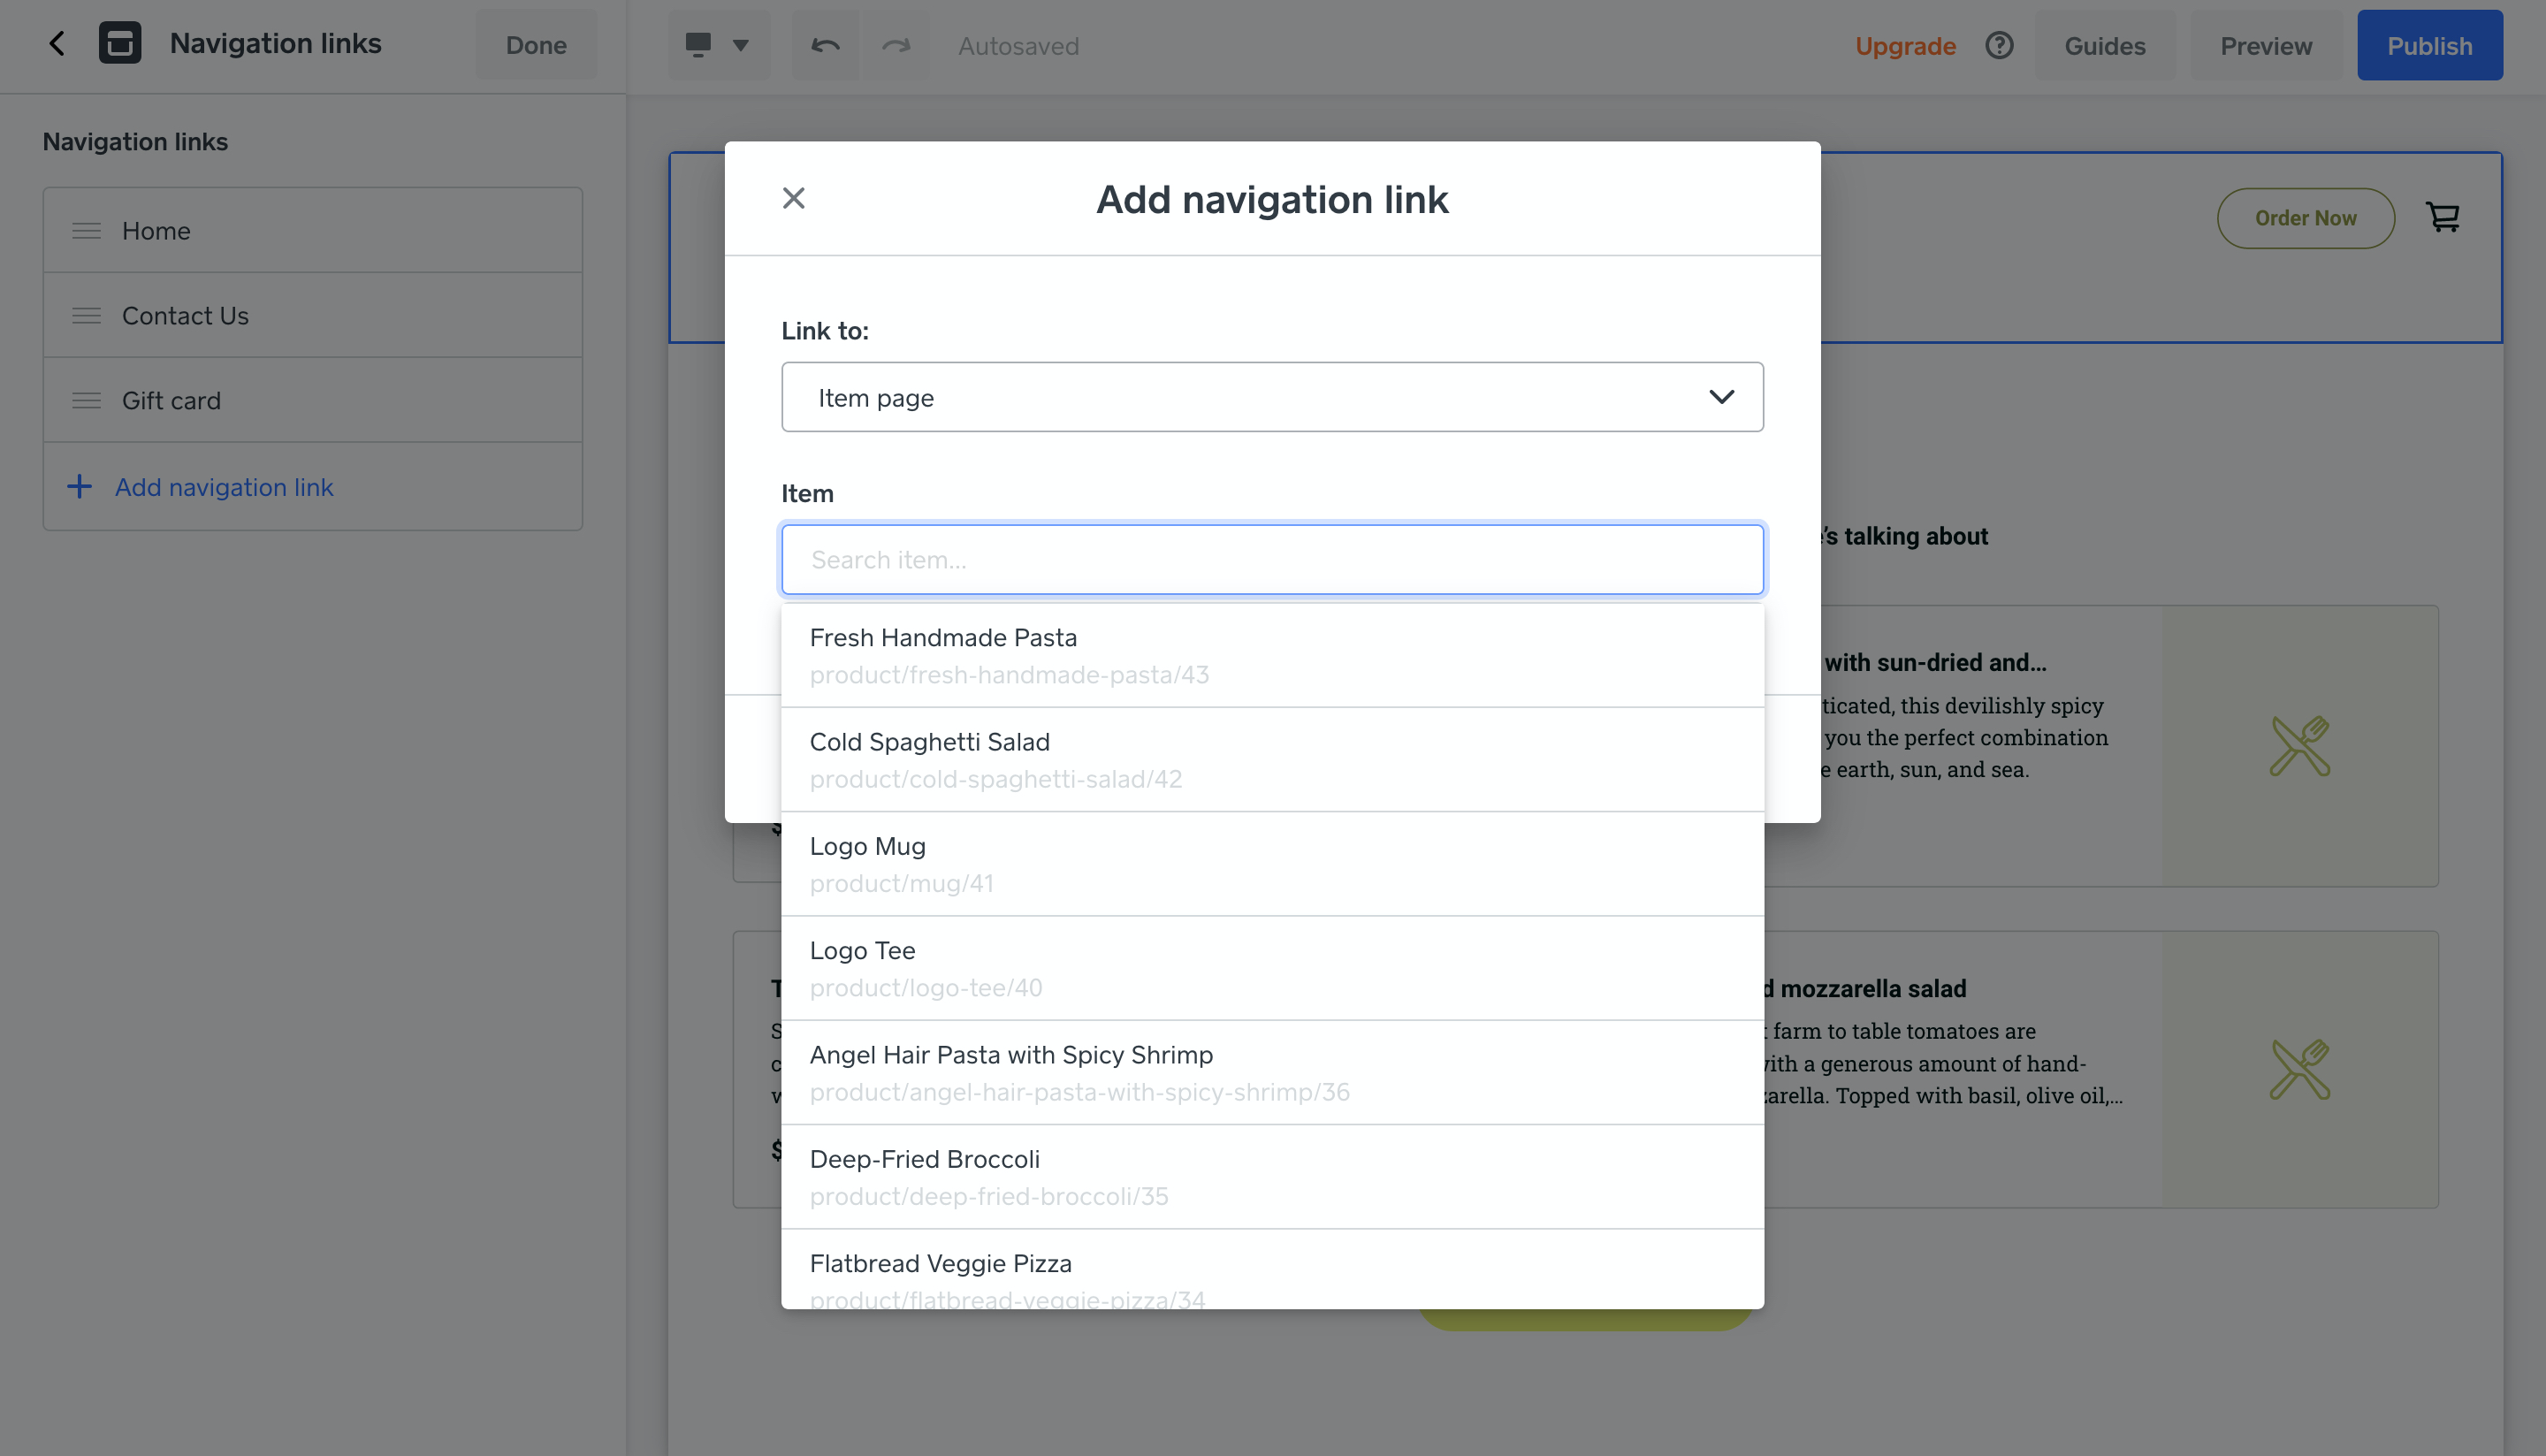
Open the Page list and click the link to edit the navigation menu. Click on “Add navigation link” and choose the type of page you want to link to, and then select or search for the specific category or item you want to add. Save when you’re done, and you’ll see the page show up in the navigation menu.
Note: You can’t link to category pages when using the Order Online template.