Manage staff schedules and availability with Square Appointments
About staff schedules
With Square Appointments, you can set staff availability on a per-week basis, giving you even more control over your staff’s schedule. This helps you schedule multi-day outages like vacations, make one-off changes to hours as needed and manage shifts across your employees without affecting your business or staff hours.
Before you begin
You have two options for updating staff availability from your Square Dashboard:
One-time change
Recurring schedule
To manage your staff’s schedules, you need to create bookable staff members. Learn how to add and manage bookable staff for Square Appointments.
Update staff schedules
You can edit staff availability as a one-time change or recurring schedule.
One-time change
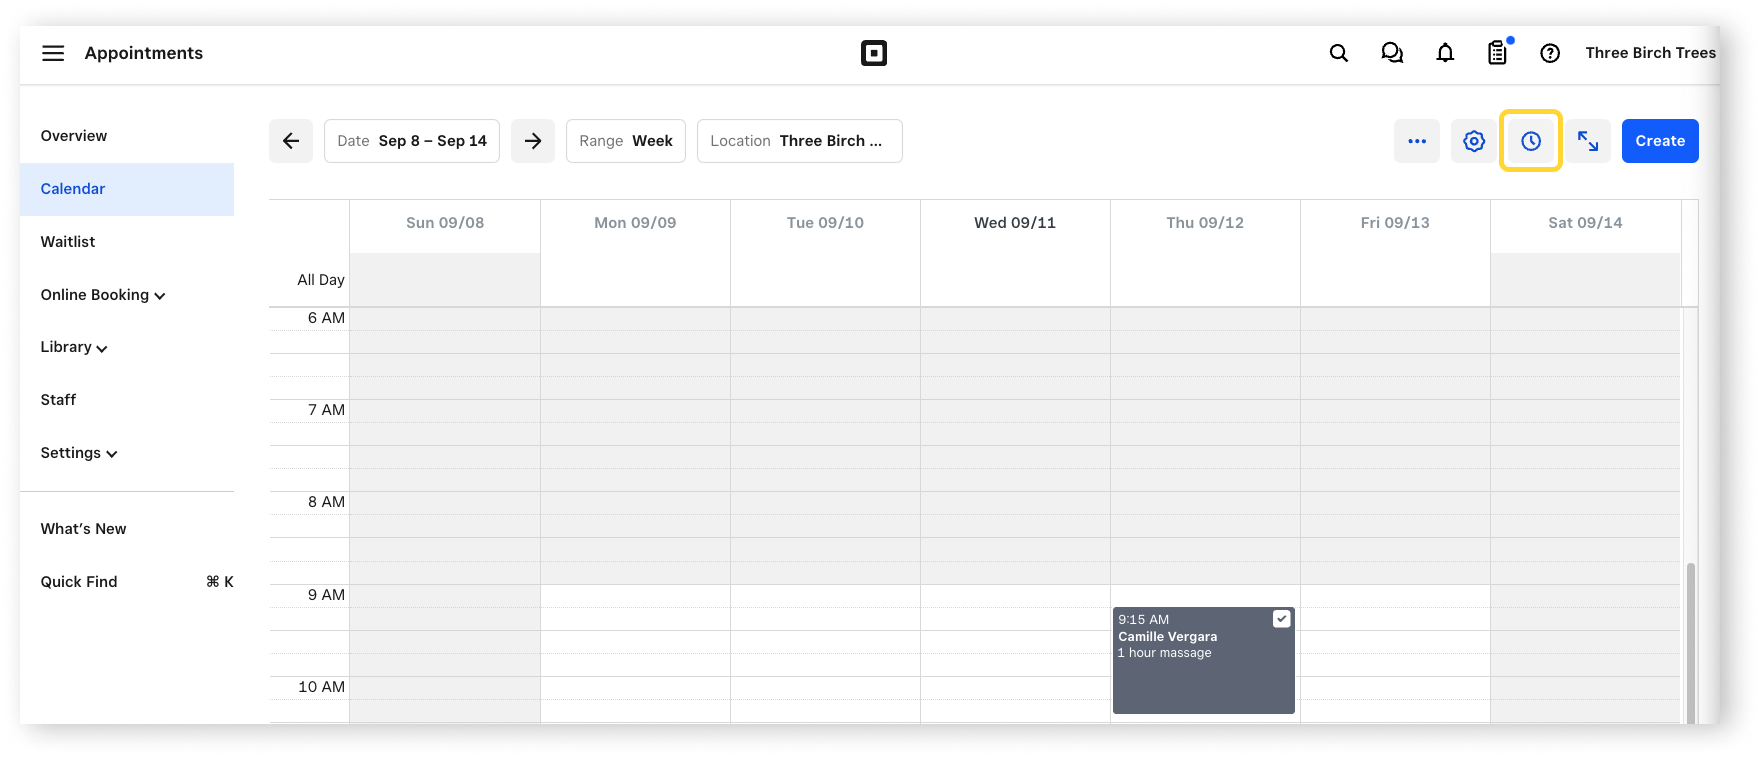
Sign in to your Square Dashboard and click Appointments.
Click Calendar.
If applicable, select the Location dropdown and choose a location.
Click the clock icon in the top right corner and select One-time change.
Select the week range and employee you’d like to customise hours for.
Select the days and update the hours.
Click Done.
Your new availability will be reflected on both your browser and POS device calendars, and will also be reflected in your online booking site.
Recurring schedule
Sign in to your Square Dashboard and click Appointments.
Click Calendar.
If applicable, select the Location dropdown and choose a location.
Click the clock icon in the top right corner and select Recurring schedule.
Select the employee you’d like to customise hours for.
Select the days and update the hours.
Click Done.
Your new availability will be reflected on both your browser and POS device calendars, and will also be reflected in your online booking site.
View and edit staff appointments
You can view the upcoming activity of each staff member simultaneously and edit appointments made by your staff.
Sign in to your Square Dashboard and click Appointments.
Click Calendar.
If applicable, select the Location dropdown and choose a location.
Select the View dropdown and choose Side-by-side.
Select the Staff dropdown and choose which staff you’d like to view.
Click on an appointment from the calendar to make changes.