Upload a Logo to Your Site
Every website needs a name, and you can display that name on every page of your website as text or a logo image. Let’s take a look at adding a logo image. Open the website editor and find the title at the top of the page, then mouse over it to reveal the options. If you don’t see the title, go to General > Settings inside the site editor and make sure you’ve entered a site title, and that the tick box to display it is enabled.

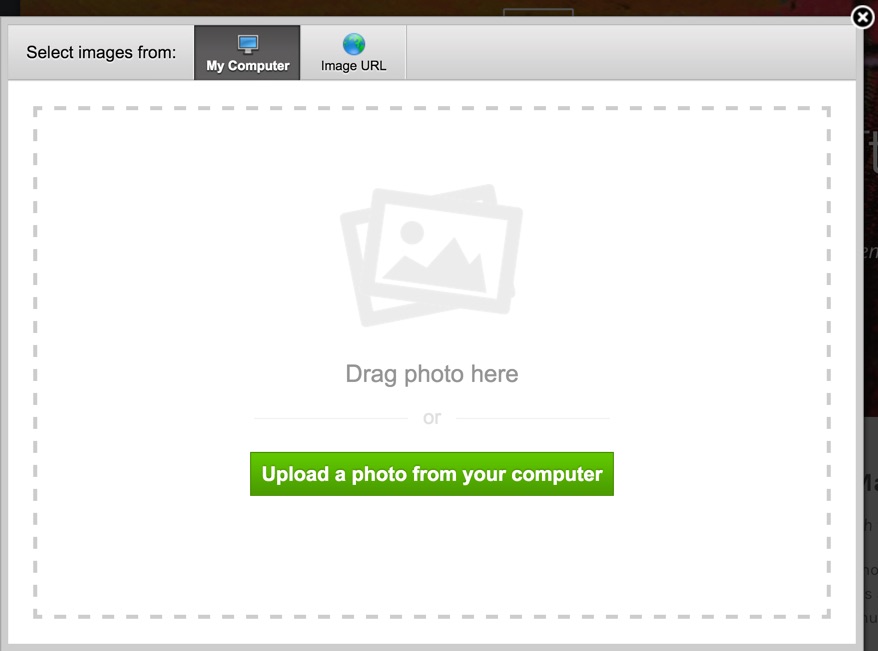
Click on Logo to bring up the image upload dialog. If you’ve already uploaded an image, you can toggle from Text to Logo to Off with these buttons. You can also remove a previously uploaded logo image with the trashcan icon, which will appear here if you have an image uploaded.

Click the button to locate your image file or drag it directly onto the window if you prefer. You can upload any standard image file (JPG, PNG, GIF), but your logo will likely look the best if it has a transparent background and a colour that contrasts well with the background of your site.
Here’s how the example website looks with a white logo image on a transparent background:

You’ll get the best results if you use an image that isn’t too tall or wide, especially if it was designed to be used as a website logo.
If you don’t have a logo image but still want to customise the look of your site title, you can always choose a more decorative font and change the size and colour of the text. Check out our guide to changing the fonts on your site to learn more.