Intro to Content Elements
Weebly Elements are the essential building blocks of your site. Nearly all the content you add to your pages will be built with Elements.
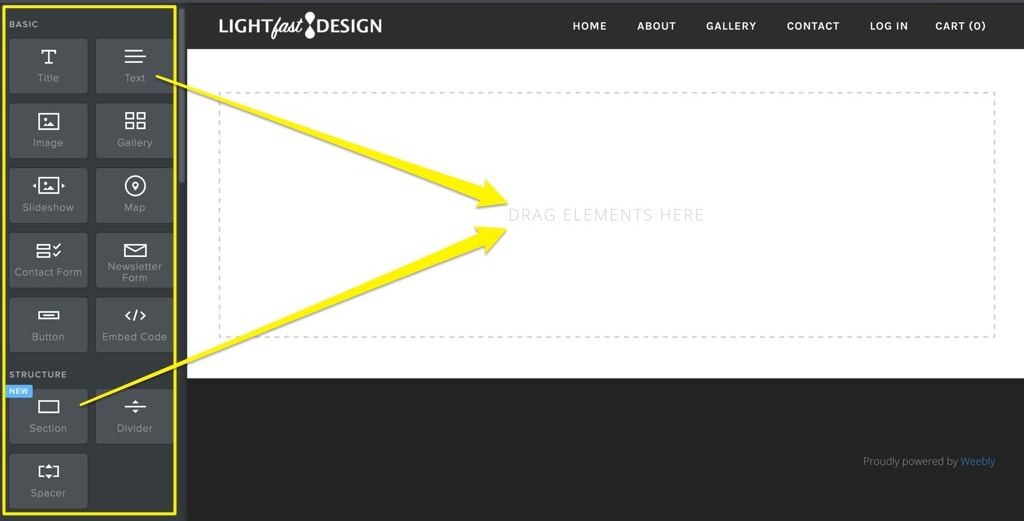
Adding text, images and more is as simple as going to the Build tab and dragging an element onto your page.
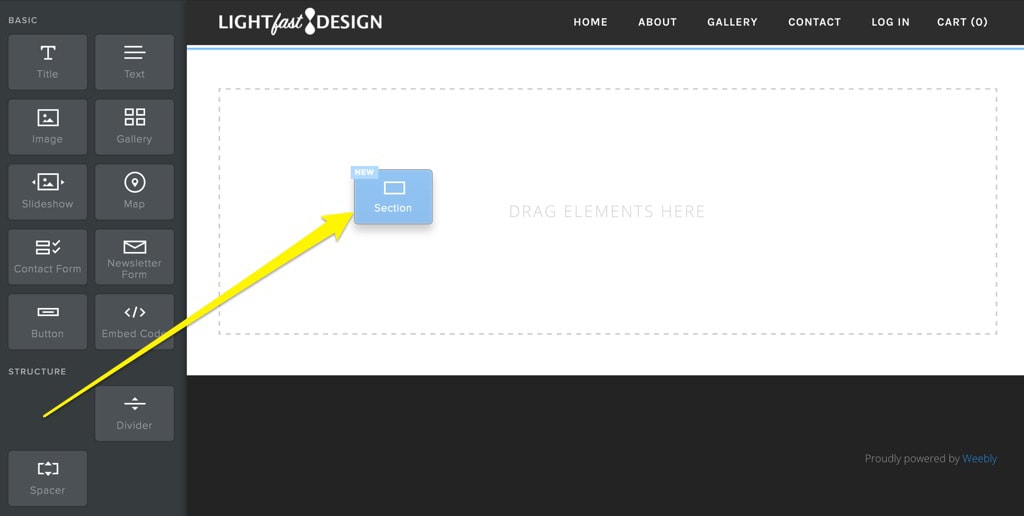
As you add more elements to your page, the page section will expand to accommodate them. You can also choose to add multiple sections for content using the Sections element.
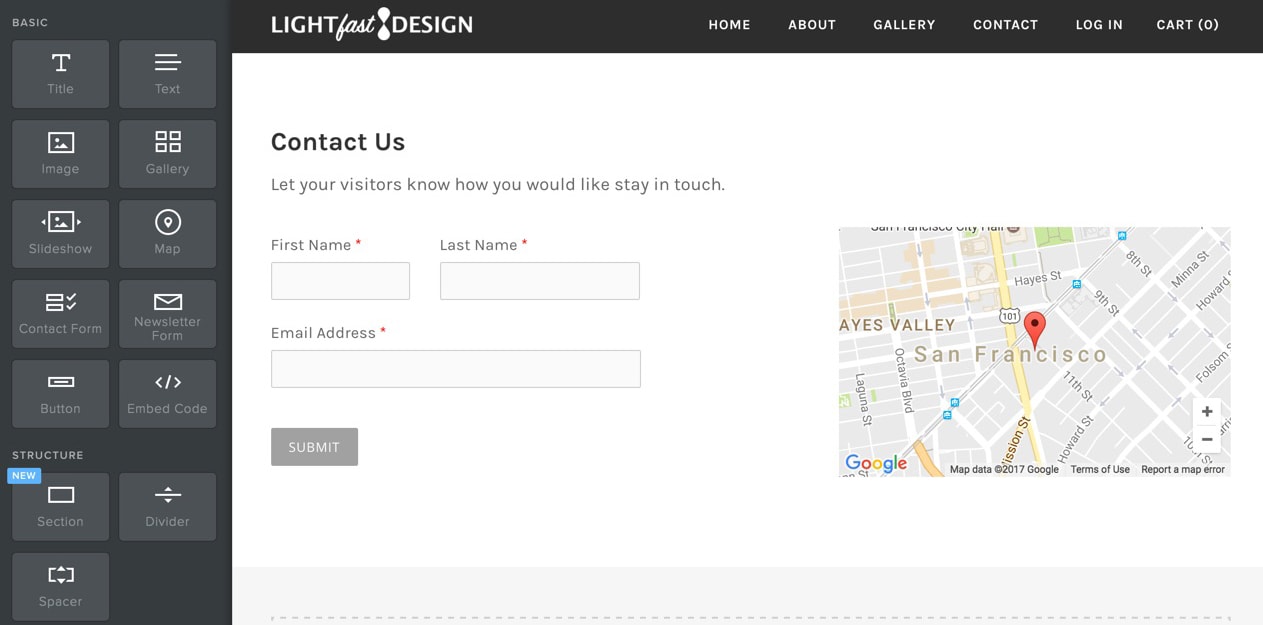
When adding a new section to your page, you can choose a pre-made layout and modify its content or you can start from scratch and add any elements you like. In the example shown above you can see one of the pre-made ‘Contact Us’ layouts – this adds a map, contact form and text that you can customise.
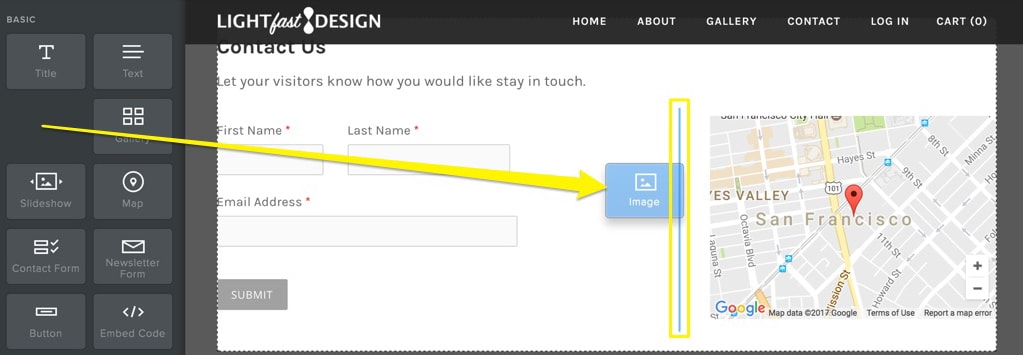
You can place elements side by side or stack them vertically. You’ll see a blue line indicating where the element will be positioned when you drop it. A vertical line will appear when placing elements side by side, and a horizontal line will be shown when stacking elements on top of one another.
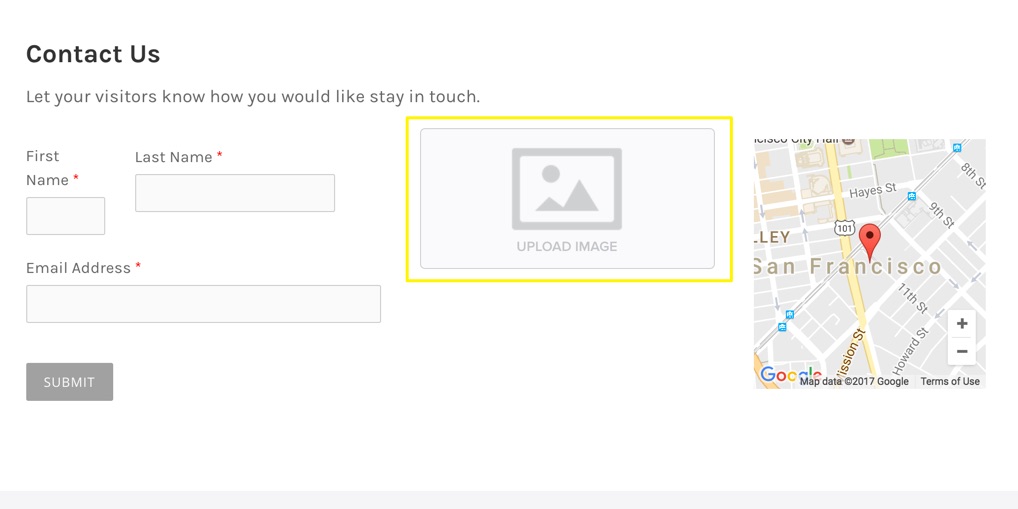
Placing elements side by side will automatically create columns across the page, and you can stack additional elements inside each column. You can adjust the space between these columns by dragging the vertical bar between them to the left or right.
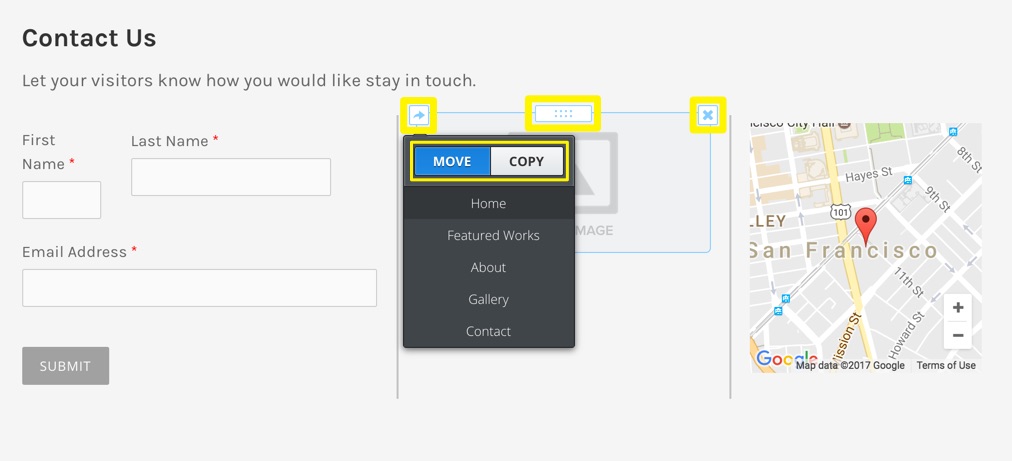
All elements have a blue border that appears on mouseover; this shows you the boundary of the element and allows you to perform basic functions using the 3 top buttons.
The ‘X’ in the upper right allows you to delete the element. Deleted elements can’t be restored, so be cautious when using this option.
The arrow in the upper left allows you to copy an element to the same (or another) page or move it to a different page.
And clicking on the button between the ‘X’ and arrow buttons allows you to grab and drag the element to move it to a new spot.