Display Products on a Page
You can display items on any page in your website using the Items element.
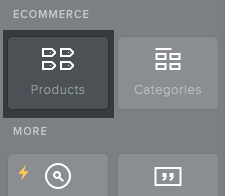
From the Build tab, drag and drop an items element onto the page.
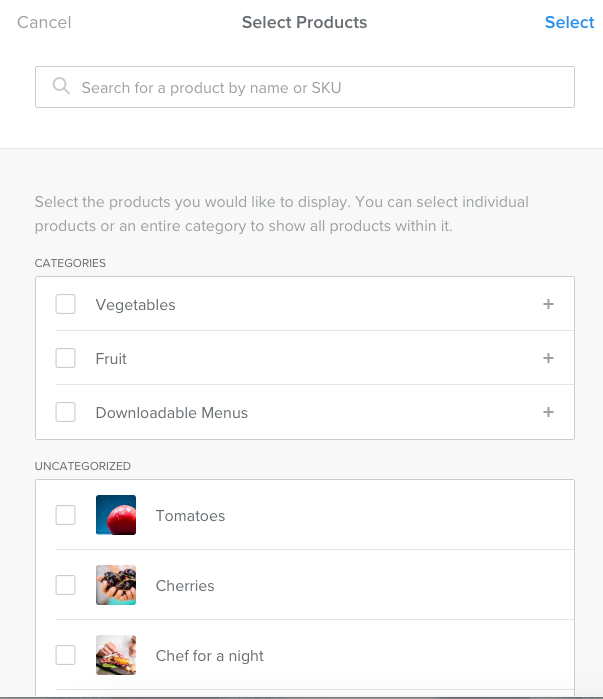
In the item selection window, click on a category to choose items or use the search field to quickly find a specific item. Add as many as you like and click the Select link when you’re finished.
Note: If you haven’t created any items yet, you’ll be prompted to add some first.
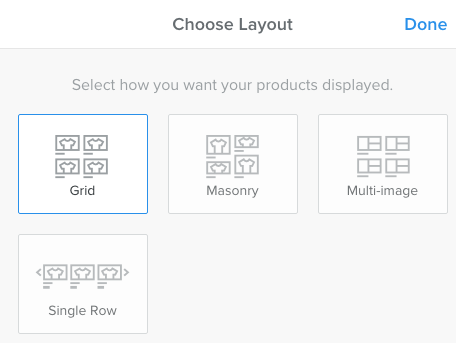
There are several different options for displaying item images and information. You can change the layout to one of the following:
Grid – Items display in rows and columns. This is the default setting.
Masonry – The items are laid out based on the size of the image – usually alternating smaller and larger.
Multi-Image – This will display all uploaded images for items that have multiple images.
Single Row – The items display in a single with left and right arrow navigation.
To choose a different layout, click inside the element to open the options and then click Change Layout. Pick a new layout style and click Done to apply it.
Once you decide on a layout, you can change other display settings. Click inside the element to open the options.
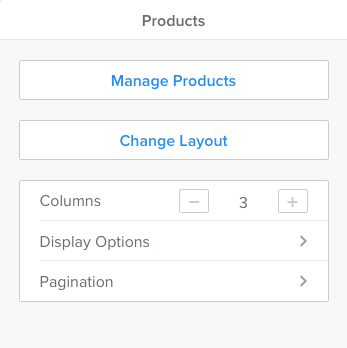
The following settings can be adjusted:
Columns – Change the number of columns the items are displayed in, ranging from one to six.
Pagination – Adds navigation when there are a large number of items. You can set the number of items to be shown per page in increments of 12.
The Display Options section offers these additional settings:
Image Options – Show or hide item images and change the aspect ratio.
Button Options – Show or hide the button that links to the item page. You can also change the button text and style.
Name, Price, Short Description – Turn these on or off for all items in the element.
Info Placement – Choose where the item image displays in relation to the text. You can also change the text alignment.
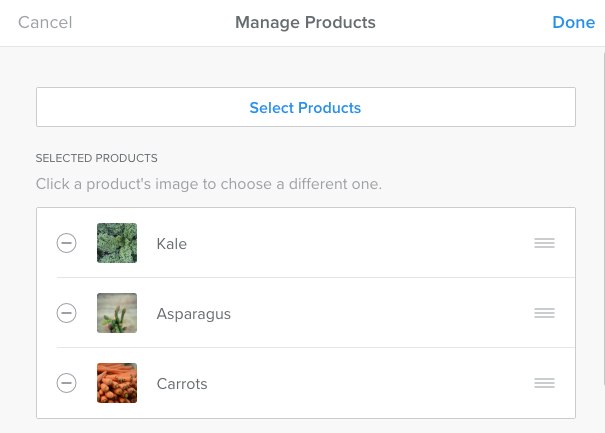
To add, remove or rearrange items, click on the element to open the settings, then click Manage Items. Use the Select Items button to add more. To remove an item from the element, click the minus icon to the left of the item in the list. To rearrange the order they’re displayed in, simply drag and drop an item to a new spot.