Create and manage items from Square Dashboard
As you add your business details to Square, you can create, edit and manage items from your Item Library via the online Square Dashboard or Square app. Managing items from here will update most item details across several other Square platforms, including Square POS and Square Online.
| Want to sync your Item Library with Square Online? Learn more about item sync. |
Create Items in Dashboard
To create items from your Item Library in Dashboard:
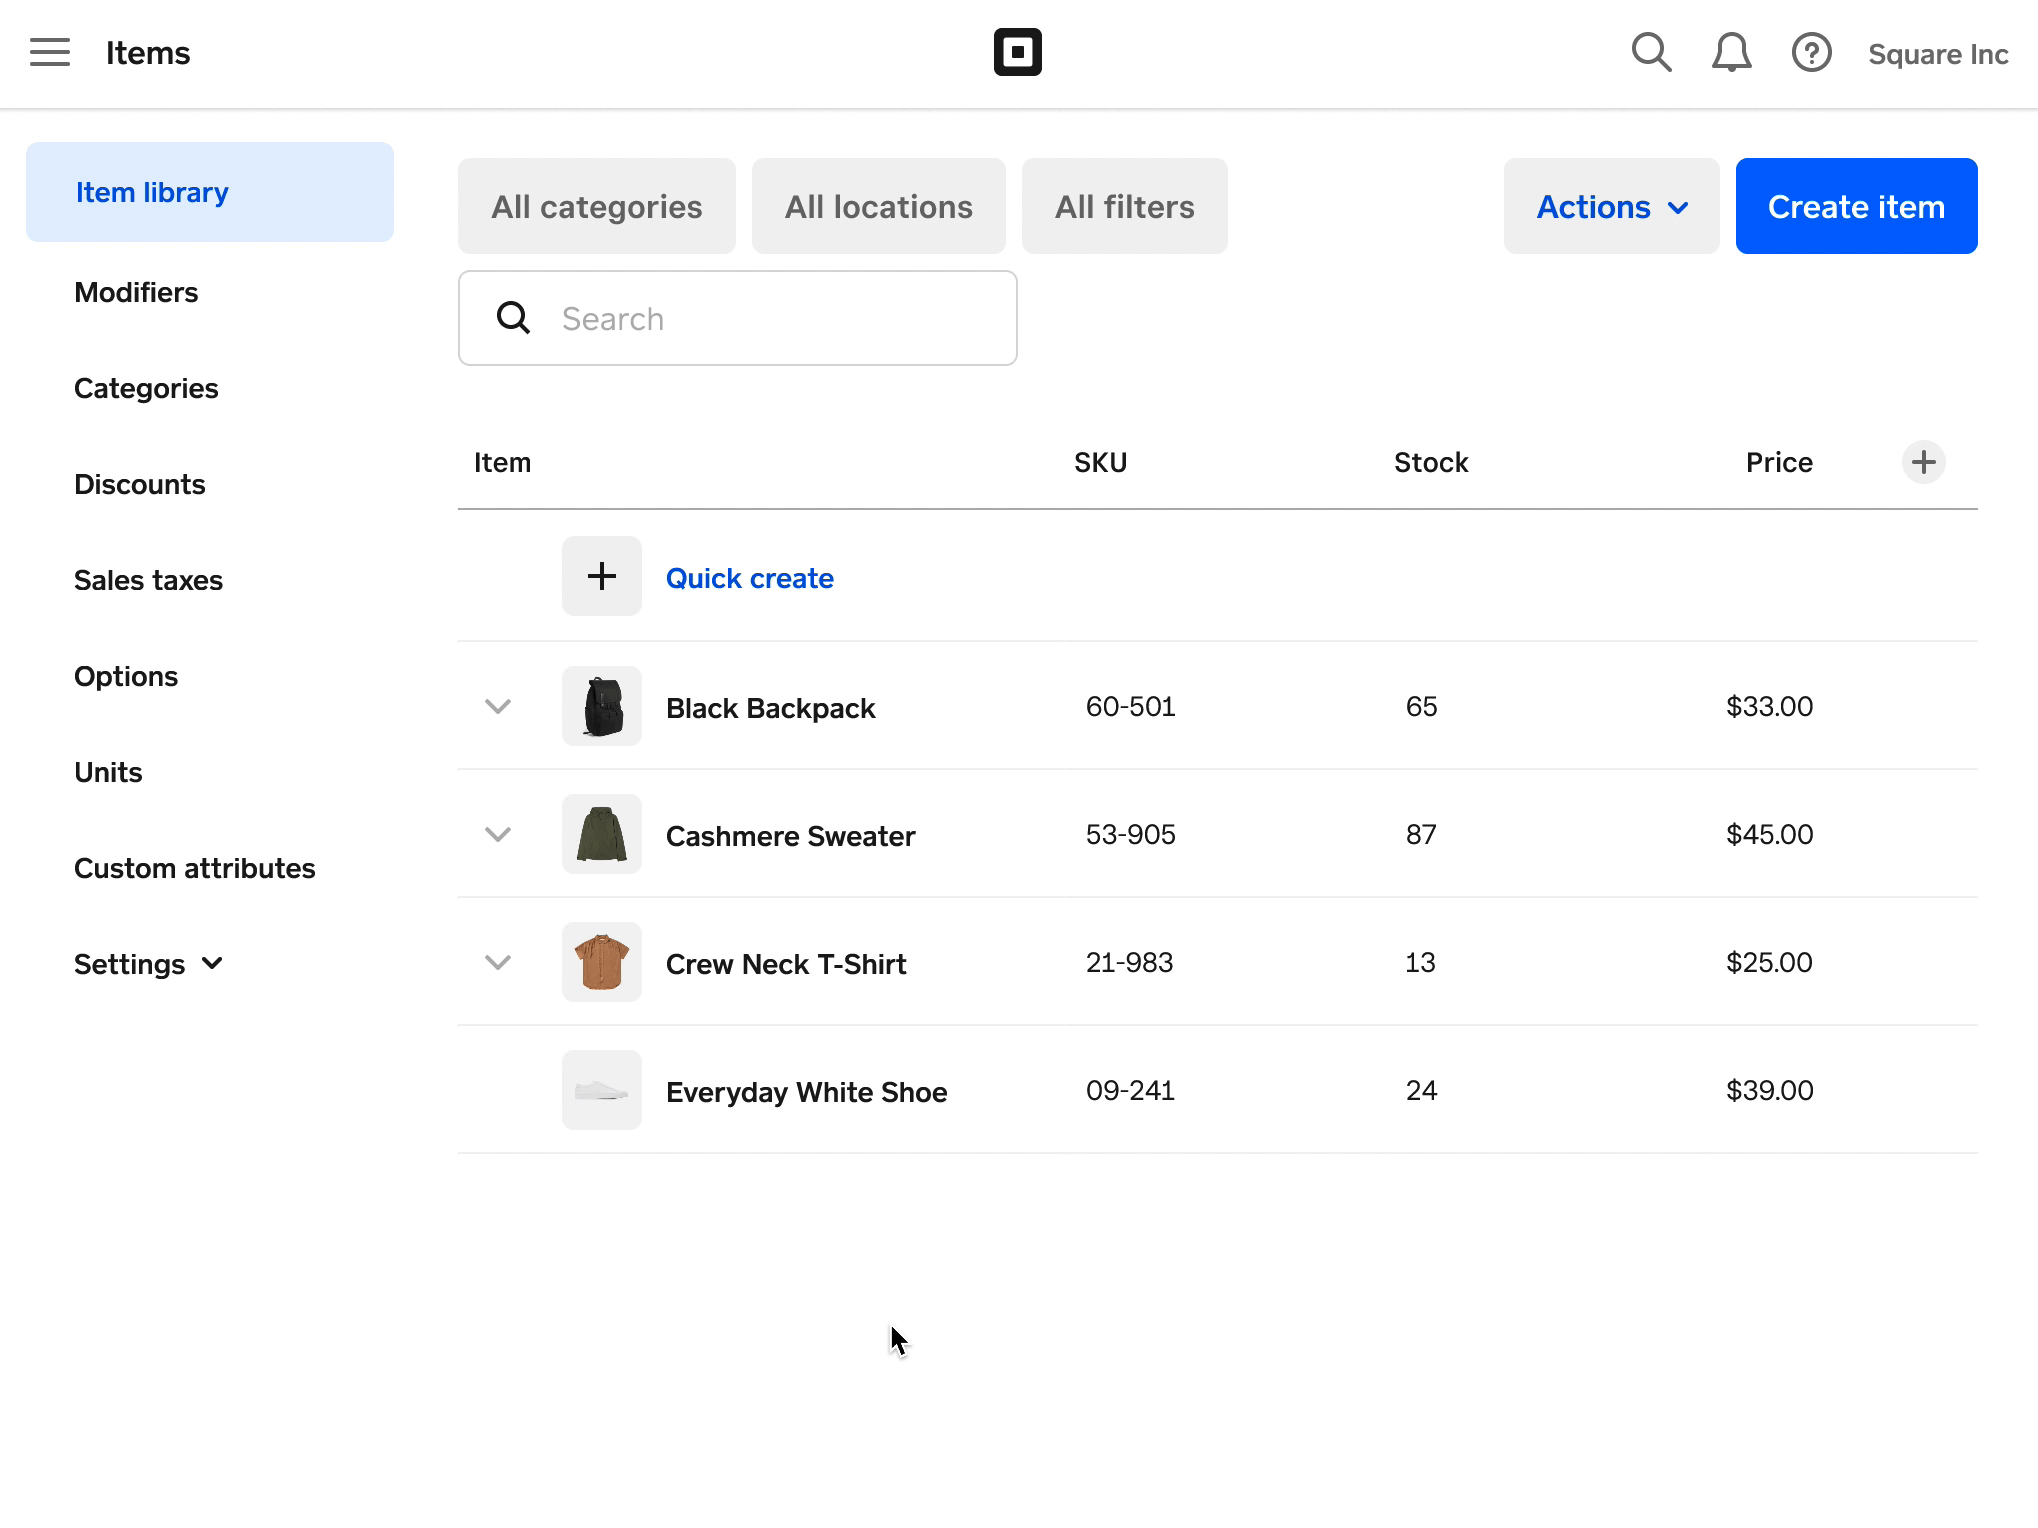
From your online Square Dashboard, go to Items & Orders > Items to open your Square Item Library.
Click Create an Item.
Click the Item type drop-down menu and choose an item type.
Enter item information such as a name, category, description and image.
Set up any of the following additional item features and click Save when finished.
Items can be specified to a few different types, including:
- Prepared food and beverage: Best for restaurants and other food venues.
- Physical: Best for retail items such as clothing or jewellery, or non-perishable foods like bottled wine.
- Event: Sell tickets to events, and include an address/online link and times.
- Digital: Lets you sell a digital file for download, like an e-book or song, that you can manually send to the customer.
- Donation: Allow anyone to send donations for any cause.
- Other: Best for items you will fulfil manually.
Different item types will add new sections you can update on the item details screen. For example, a Prepared food and beverage item will include a ‘Nutritional information’ section.
Categories help you arrange and organise your items, report on item sales, route items to specific printers, assign channel visibility and much more. Click Select to assign the item to categories you’ve already created.
To create categories first, learn more about creating and managing item categories.
Item options help you create and organise your custom item variations. These options can be reused across your Item Library, saving time when you add new variations or items. Select Add options to add options to your item.
You can click Edit variation details at any time to make edits to your variation information, or Add variation to add a new one.
Square’s inventory management gives you basic tools to keep a clear count of in-stock items in your Item Library. Learn more about how to manage your inventory with Square.
If you need customisable options, such as toppings, add-ons or special requests, create item modifiers.
Create custom attributes, and link them to items, to help add and track additional details about the items in your catalogue. Select Add custom attribute to begin.
The Skip item details screen toggle means that, when this item is added to the cart, the first item variation along with any pre-selected modifiers will be applied. You will not be shown the item details screen.
You can adjust several settings as they relate to your Square Online websites, including site item visibility, prep times for online ordering, SEO, social media links and more.
These options will be under the following sections of the item details screen:
- Where it’s sold
- Ordering
- Fulfilment
- Search and social media
Check out how to manage Square Online item settings from your Item Library for more information.
Toggle this option on if you’d like to create a payment link or buy button for this item that you can use to sell via email, social media, your website, a blog and more. Learn more about getting started with Square Payment Links.
Note: If you’re creating multiple items, you’ll be able to upload your items in bulk using item importing.
Quick Create
If your item library contains fewer than 10 items, you can use the Quick Create feature to quickly create items with a name and a price. Quick Create minimises the steps needed to create an item and you can edit the item details at any time. This feature is available from your online Square Dashboard. To get started:
From your Square Item Library, click + Quick Create and enter the item name. Note: If you haven’t created an item yet, you’ll see the item name and price fields open.
Click the Price field to enter an item price. You can also leave this blank to add a variable price at checkout.
Click Save when finished.
Set Up Item Unit Types
Each business is different – some sellers sell whole item quantities (like articles of clothing), while others sell items by weight or length. Some businesses sell both.
By default, each new item you create will have the unit type per item. When you set your unit type, you can choose from a list of preset units such as gram, litre or metre. You’ll also be able to select unit types from both the metric and imperial systems. Learn more in our unit type FAQ.
To add a unit type:
- From your Square Item Library, go to Units.
- Click Add a Unit.
- Choose a preset unit.
- Set the unit precision. This helps keep track of your inventory and item sales price by allowing you to set the item count up to the hundred-thousandths place (0.00000).
- Click Save.
Unit types will reflect on your customers’ receipts, as well as on your item and sales reports within Square.
Note: Each custom unit type must have a unique name. Names aren’t case sensitive.
- From your Square Item Library, go to Units.
- Click an existing unit. If you’re updating a custom unit, you’ll see the option to change the precision.
- Choose to either Save your changes or click Delete to remove the unit type altogether.
Note: By default, if an item is assigned to a unit type you delete, the new unit type will convert to a per-item quantity.
Note the following limitations when managing units:
- Updating a unit type for an item won’t update your stock amount. For example, if you have 10 centimetres(cm)/inches(in) of Denim in stock, and you update your unit type from cm/in to metres(m)/feet(ft), your inventory levels for the item will be reflected as 10 m/ft in stock. To keep your inventory levels accurate, make sure to manually adjust your stock levels after updating the unit type.
- Your reporting and transaction history will reflect the unit type at the time of sale. Let’s say you sell Coffee with the unit type set to ounces(oz). You later update the unit type to grams(g)/pounds(lbs), and complete another sale. If you review a report for Coffee, you’ll see separate lines for both oz and g/lbs.
- When using unit types for inventory tracking, it’s not possible for items with a smaller unit to be deducted from a larger unit. For example, it’s not possible to set the unit type for Wine as a 250 millilitre(mL) glass, and have a 750 mL bottle of wine deduct from stock every time three 250 mL glasses are sold.
- It’s not possible to set incremental minimums or maximums for unit types. For example, you won’t be able to set an increment such as 0.5 that the quantity must increase or decrease by when adjusting quantity during checkout.
Additional Item Actions
To edit or delete an item:
- From your Square Item Library, select the item to update.
- Make your changes and Save to finish, or click Actions > Delete to remove the item from your library.
To duplicate an item:
- From your Square Item Library, select the item to duplicate.
- Click Actions > Duplicate to make a copy of the item.
- Make any changes to the duplicated item.
- Select Save when finished.
If you’re creating multiple items, you can save time by uploading your items in bulk. Check out item importing for more information.
By archiving items, you can remove items from your Item Library, and prevent them from being sold, without permanently deleting them and losing their data. While items are archived, you won’t be able to take any actions such as managing stock or editing their variations. Learn more about archiving items for details.
You can mark an item or item variation as sold out in the case that it’s unavailable for sale. To start:
- From your Square Item Library, select the item you’d like to mark as sold out.
- Under Variations, click Manage stock.
- Toggle on the Mark as sold out on Point of Sale and Online option and click Done.
- Select Save when finished.
Note: This will also label the variation as sold out on any partner apps that are connected with Square.
To edit an image for a single item:
- From your Square Item Library, click on the item you want to edit.
- Under the image, click Upload to add a new image. Select the rubbish bin icon over an existing image to remove it.
- Select Save when finished.
To manage images from your image library:
- From your Square Item Library, go to Image library.
- Click on the image you want to edit. You can also select the rubbish bin icon over an existing image to remove it.
- Update the image name and provide alt text for your image to improve search results online.
- Select Save when finished.
When adding item images, we recommend the following image specs:
- High resolution that is a size of 2,560 x 2,560 pixels
- Dimensions that are square
- Supported image formats include JPG, JPEG, PNG and GIF files (images that are 360 degrees/SPIN files or 3D aren’t supported at this time)
- Up to 15 MB in size
Note: When you add, update or delete an item image, the change will reflect everywhere in Square including your Dashboard, Square app and Square Online.
If you need help taking quality photos of your items, the Square Photo Studio app makes it easy to take professional-looking product photos in just a few simple steps. Learn more about getting started with the Square Photo Studio app.
Create and Manage Item Categories
Categories help you arrange and organize your items, report on item sales, route items to specific printers, assign online visibility and much more. Learn more about creating and managing item categories.
Manage Item Stock
Square’s inventory management gives you basic tools to keep a clear count of in-stock items in your item library. Learn more about how to Track your inventory with Square.
Note: If your business requires advanced inventory features and reporting, such as Item unit cost management or Cost of Goods Sold reports, take a look at Square for Retail.
Manage Archived Items
By archiving items, you can remove the items from your Item Library and prevent them from being sold without permanently deleting the items and losing all item data and stock history. When you archive items, you will not be able to manage actions such as tracking, adjusting stock, editing variations or managing stock until you unarchive the item.
Learn more about archiving items.
Create and Manage Sales Taxes
Sales tax should be enabled for applicable items sold at your business. You can easily create and manage them directly from the online Square Dashboard. Learn more about how to set up taxes.
Note: Square fees are taken out of the total amount of each transaction, including tax and tip.
Create and Manage Discounts
You can create and edit discounts from your Dashboard or Square app. Learn more about creating and managing discounts.
Items in Square Online
Square Online is a robust platform that covers your website, items, order fulfilment, customers and much more. When it comes to your items, Square Item Library affects Square Online in a few different ways.
As you add items to your Item Library, you can automatically generate an online ordering page with Square Online to sell from a website as well as your POS. To start:
- From your Square Item Library, click Site preview to see a preview of what your online ordering site can look like.
- Click Site setup to generate the online ordering site with Square Online.
Once generated, you can navigate the Square Online Overview page in Dashboard to access the different features within Square Online or navigate the Square Online site editor to create an ordering page that allows customers to quickly purchase your items.
When you first set up Square Online in your Square account, products in your Square Item Library will sync over to your Square Online Overview page. After the initial setup, syncing will continue automatically in the background with some exceptions. Learn more about Square Online item sync for more information.
If you don’t plan on selling in person with Square POS and only have an online business, you can create and manage items directly in Square Online rather than your Item Library. Since Square Online items sync, the item information will always sync back to your Item Library when added directly in Square Online.
Learn more about creating items and categories from the Square Online Overview page in Dashboard. You can also learn how to create an item and category directly in the Square Online site editor.